
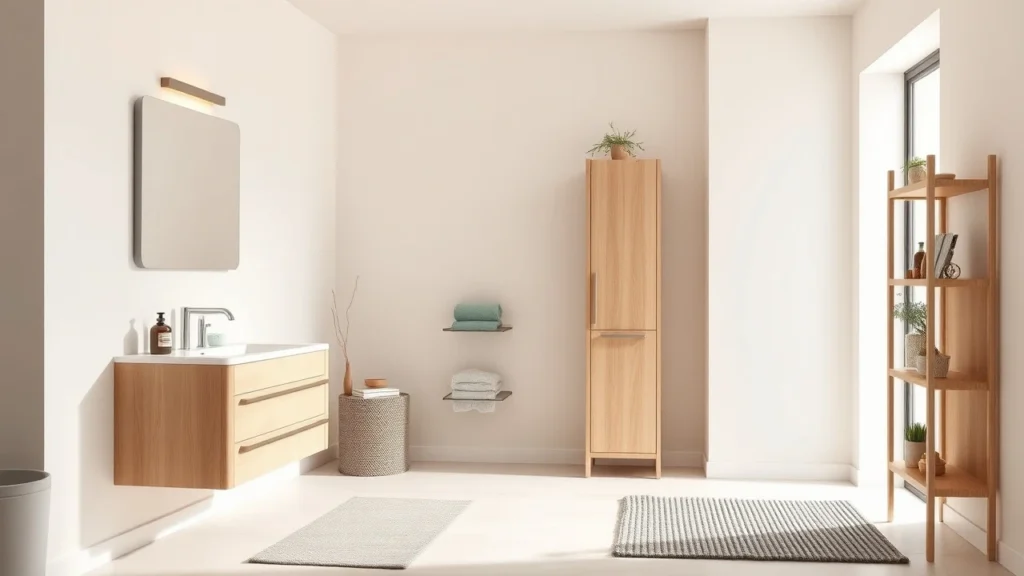
You know that moment when you open the bathroom cabinet and everything tumbles out because your “system” was really just a pile of backups? I do. Bathrooms are the one room that constantly gets damp, messy, and squeezed for space, so pretty storage ideas only work if they handle real daily use.
In this guide, I’m sharing 23 IKEA bathroom hacks that feel designer, not DIY-tragic. Each one comes with a why it works and a copyable how-to, from water-smart upgrades and smart drawer layouts to towel styling and renter-friendly changes.
If you’re planning a full refresh or just want one or two fixes that make your morning routine calmer, you’ll find plenty to steal here.
GODMORGON Vanity: Add a “Shadow Gap” for a Higher-End Look
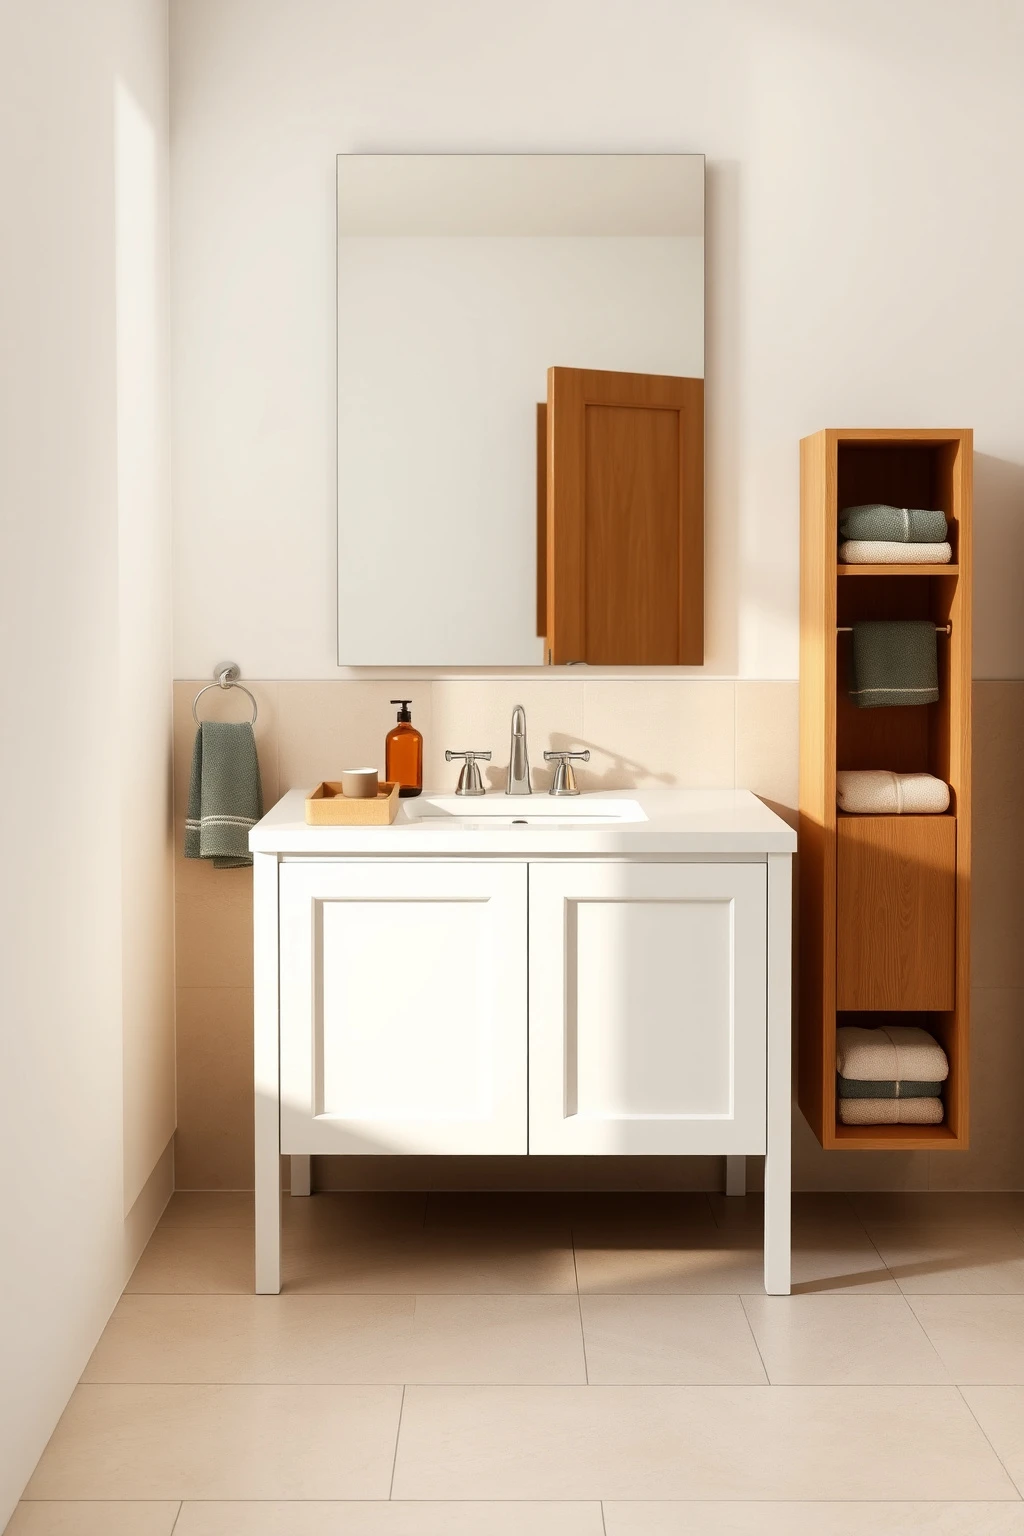
If your GODMORGON vanity feels a little flat in photos, it’s usually because it sits flush without visual separation. A small shadow gap around the toe kick and side edges makes it read like a custom piece, which instantly upgrades the whole room. This works because the eye needs contrast boundaries to understand shape, especially in bathrooms where everything competes with mirrors and tiles.
To do it, install thin acrylic spacers or plastic leveling shims behind the vanity legs so you get a consistent 1/4 to 1/2 inch shadow line. Keep the gap clean by sealing the perimeter with a paintable bathroom caulk (sanded silicone caulk is great for paint). Finish by adding two strips of peel-and-stick weather seal along the back edge where splash tends to hit. Stand back and check that the gap is even from both sides, because unevenness is what looks DIY.
Stop Mold on Bathroom Rugs With a Lift-and-Vent Technique
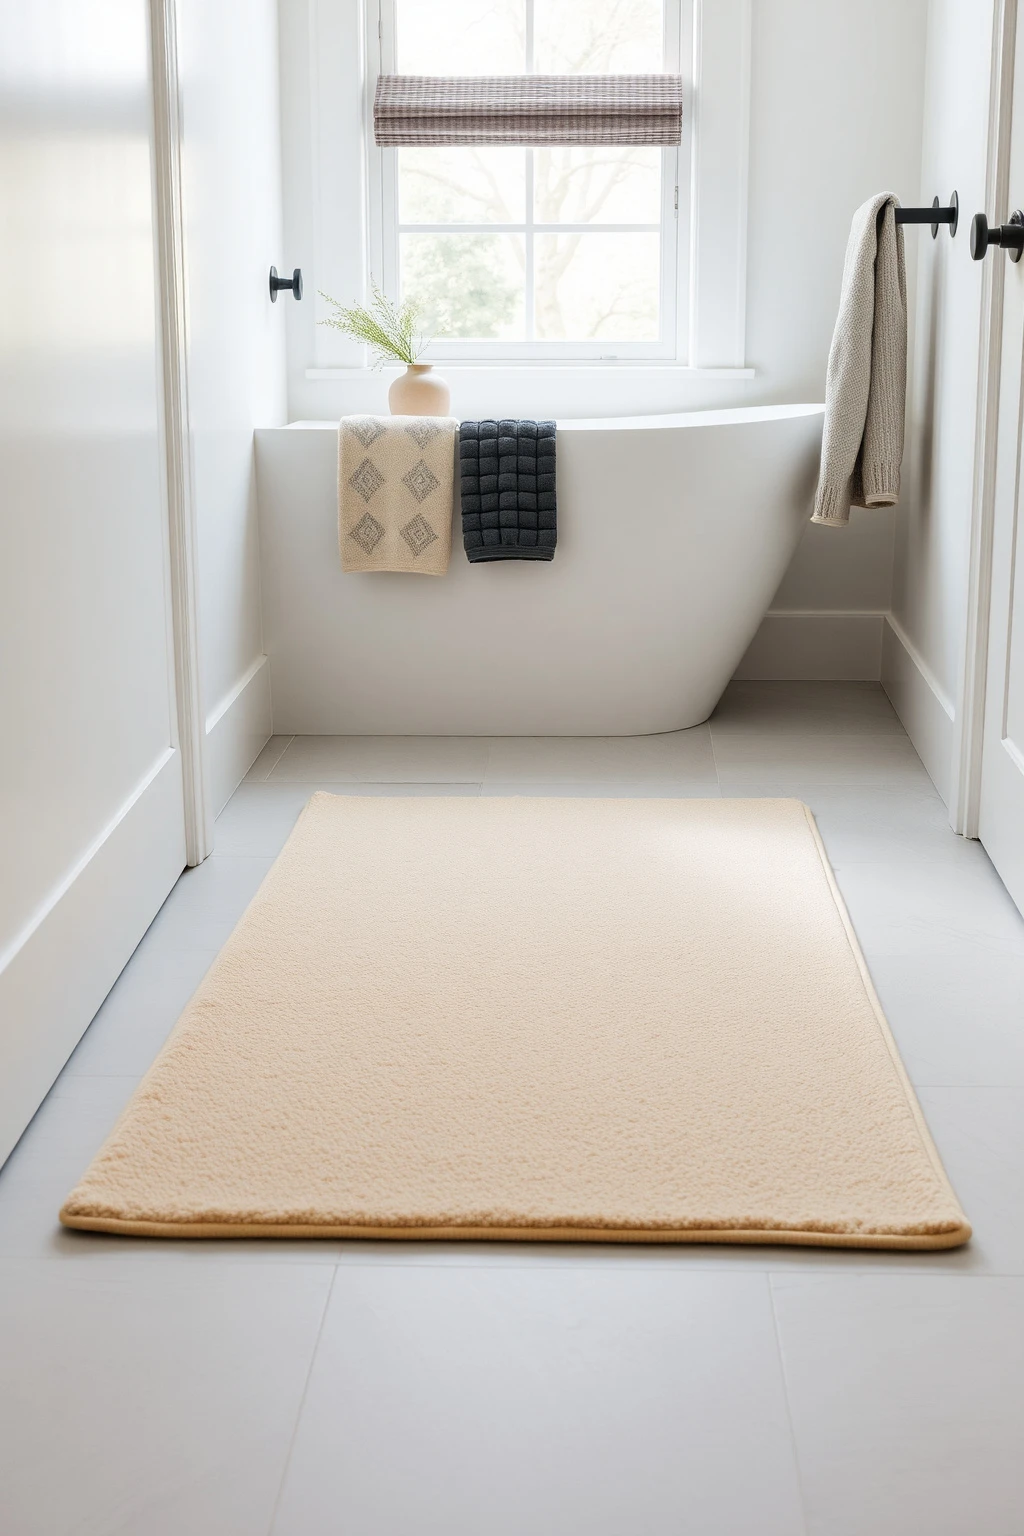
Bathroom rugs trap moisture, even when you think they’re “just drying.” The hack is to keep the rug from sitting directly on a non-breathable surface, which reduces mildew risk and keeps the pile looking plush instead of crunchy. Design-wise, you’re also preventing visual clutter from warped edges, which happens when the mat stays wet and bends.
Use a non-slip rug pad plus a 1/2 inch ventilating underlay. If your floor is tiled, cut a piece of IKEA-style shelf liner foam or breathable mat backing to fit under the rug so air can circulate. For wet zones, swap to a washable rug with a rubberized underside and hang it to dry between uses. When you’re done, don’t toss it back immediately after showering. Let it sit uncovered for 20 to 30 minutes.
Make PLATSA Shelving Bathroom-Proof With a Clear Seal Layer
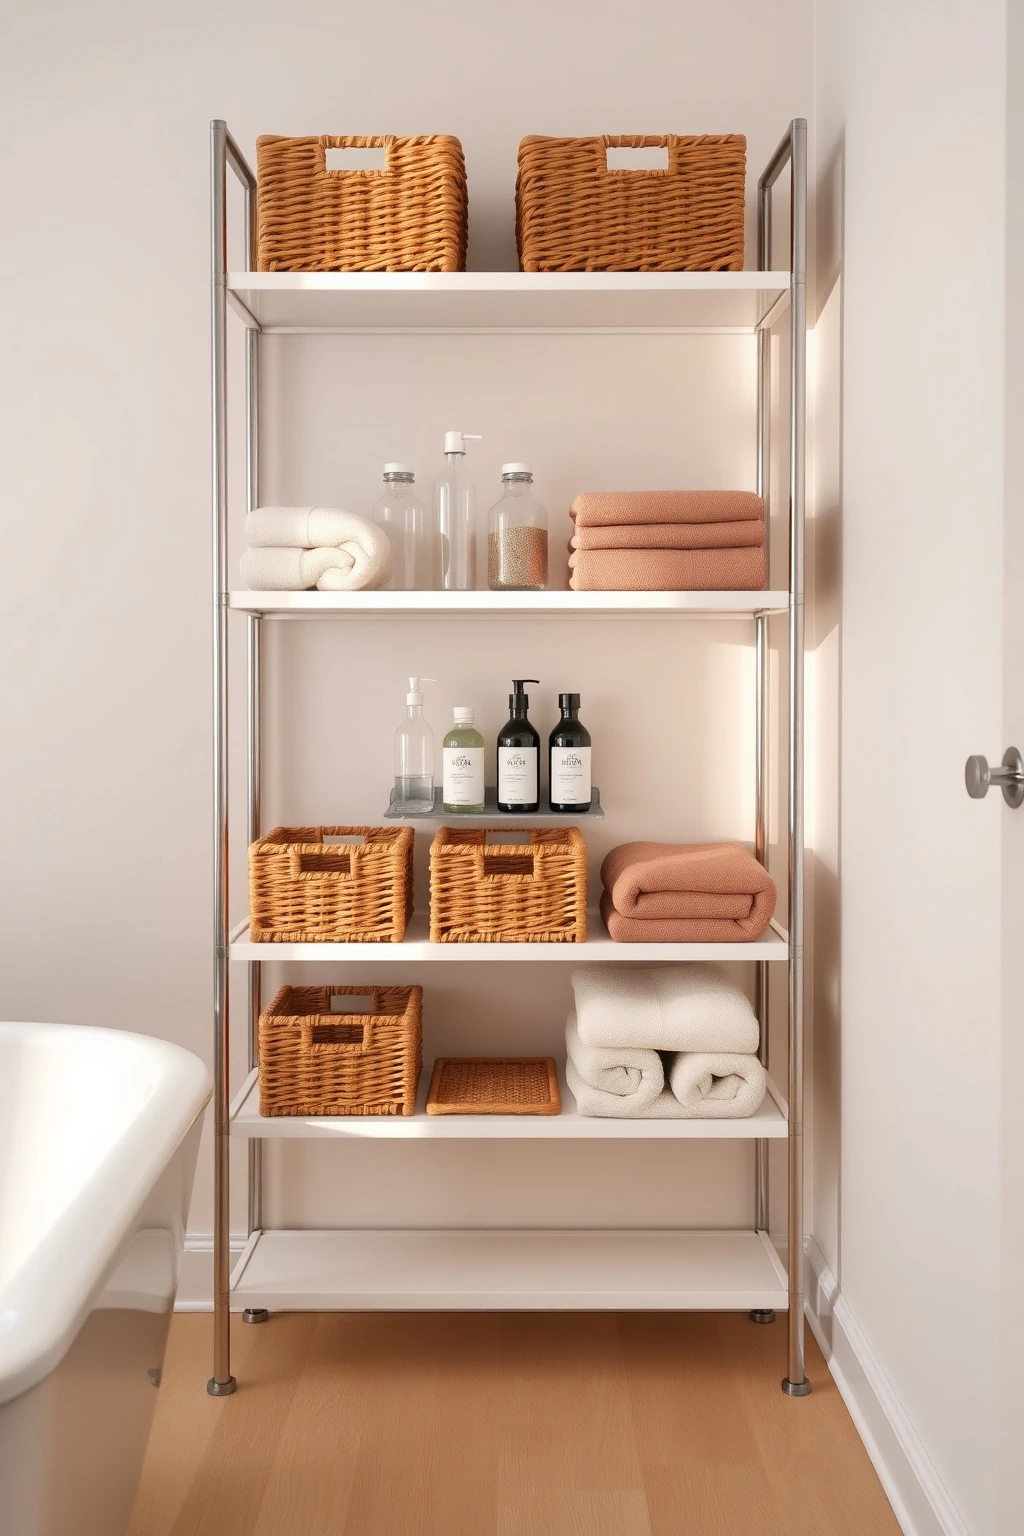
PLATSA can look gorgeous in a bathroom, but the weak point is the particleboard core when it meets constant humidity. The secret is to seal before water arrives, then keep it clean by controlling what touches the surfaces. This works because sealing interrupts moisture absorption, and clean lines make the shelf feel intentional rather than temporary.
Before installing, coat all exposed shelf edges with a water-resistant clear primer and then a topcoat meant for high humidity (a satin finish hides small scuffs). Add a drip tray for anything you pour, like hair product bottles, using a shallow plastic tray lined with a paper towel until you switch to a washable mat. Keep the top shelf reserved for display items that never get splashed, like a candle in a glass jar and a stack of folded towels. Use baskets on the middle shelves to hide odds and ends and reduce the “bathroom clutter” effect.
Swap Open Baskets for Sliding Inserts to Stop Visual Noise
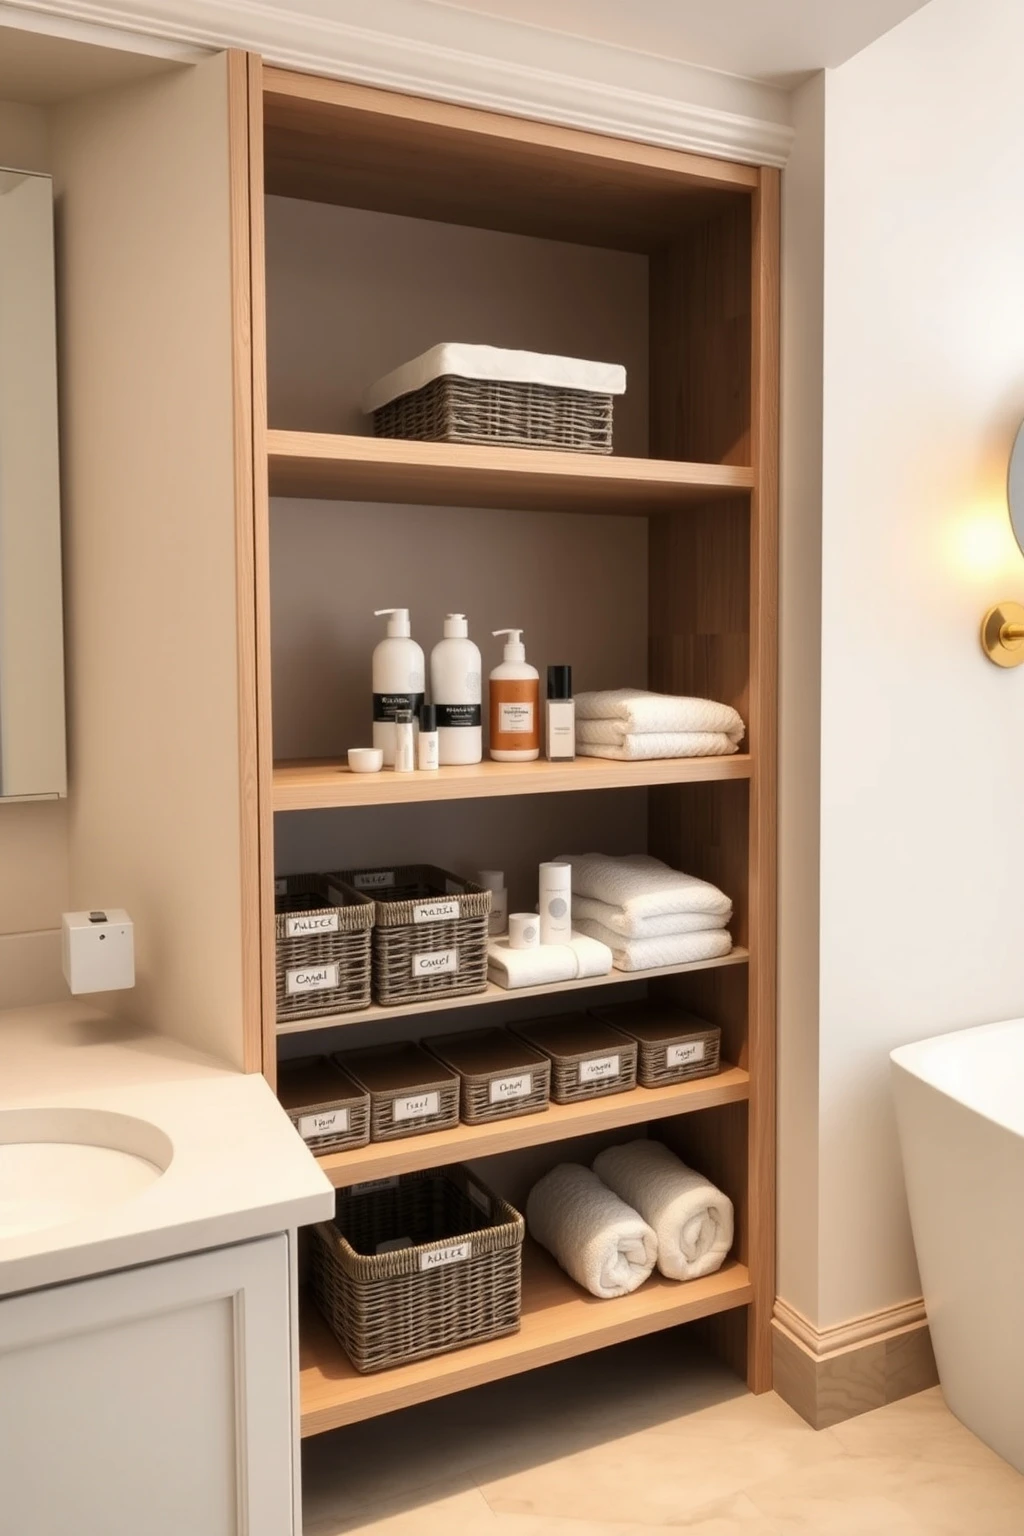
Open storage looks airy until your everyday items spill into the frame. If your towels, hair tools, or kids’ toothbrush caps are always visible, it reads messy even when you “did your best.” Sliding or enclosed inserts keep your bathroom calm because the visual field stays controlled and tidy.
Take the baskets or bins you already use and replace the layout with pull-out inserts sized to fit your shelf depth. Measure the space and choose inserts that leave 1 inch of clearance for easy grip and smooth tracks. If you’re using IKEA KOMPLEMENT-style drawer systems in a vanity, use small bins for makeup brushes and separate bins for toiletries that are tall. Pro tip: keep only one “overflow basket” per zone. Everything else gets a closed home.
Design a “Morning Zone” Using ONE TALL IKEA Caddy
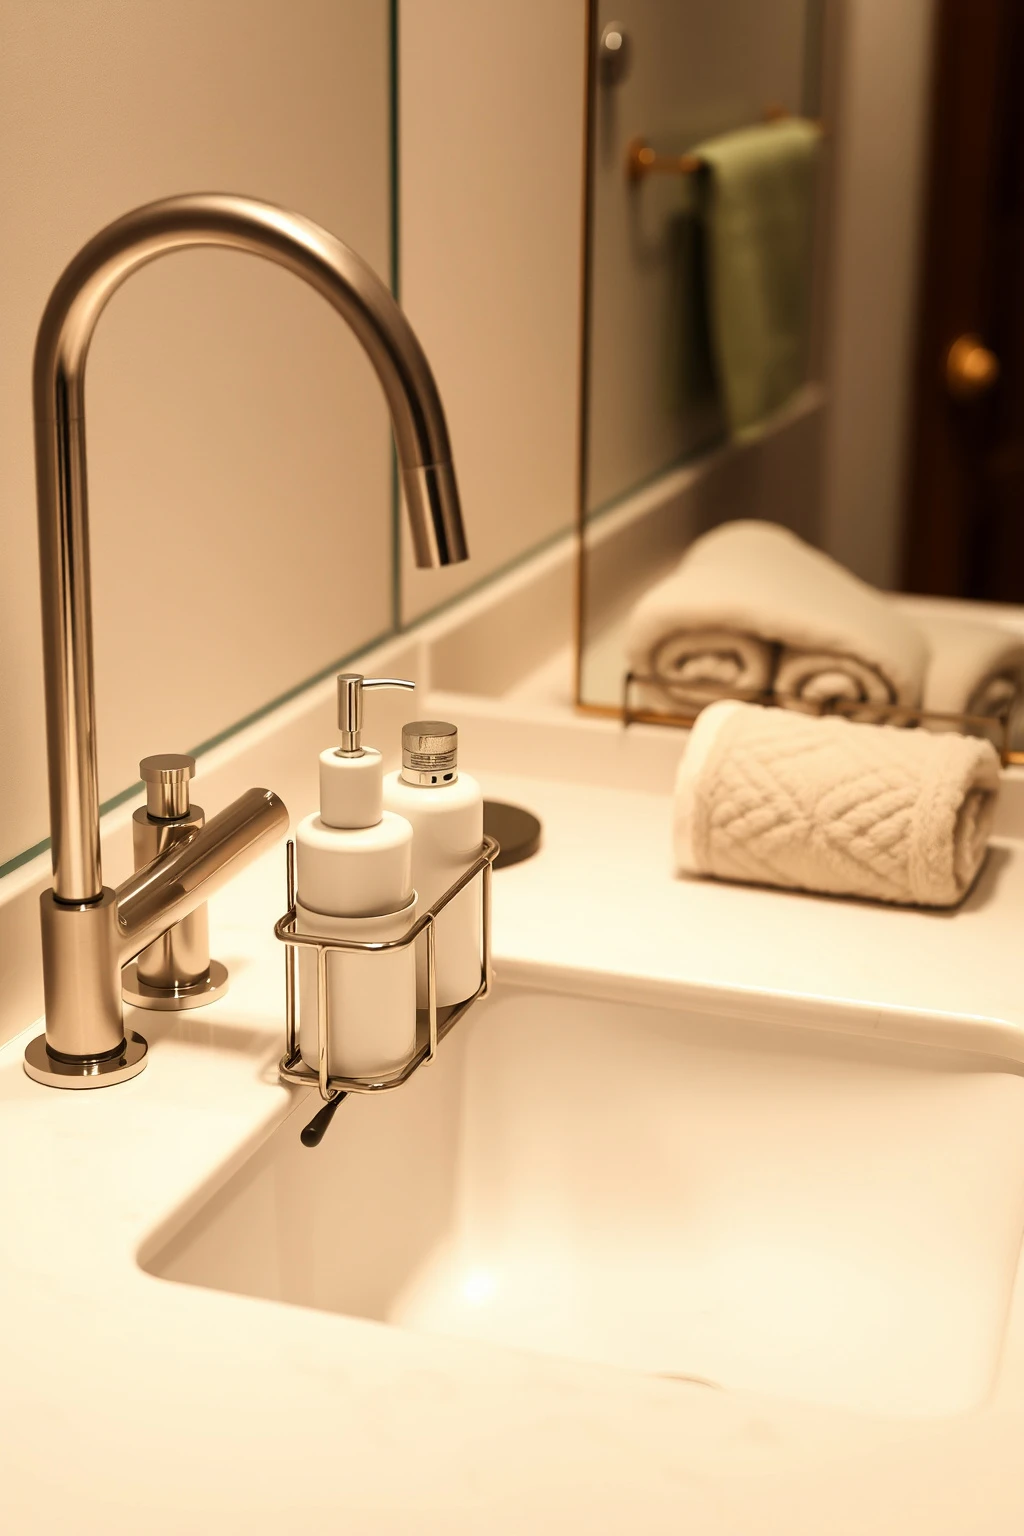
In a busy household, bathrooms fail because everything gets stored in five different places. Your mornings feel chaotic when the toothbrushes are on one side and the hand soap is halfway across the counter. The fix is creating a morning zone that concentrates daily touchpoints, which improves flow and reduces frantic searching.
Pick one tall, narrow caddy that can hold 3 to 6 essentials, such as a slim IKEA counter organizer or a small standing shelf unit. Place it where you actually start your routine, typically within arm’s reach of the sink. Inside, separate by function: face wash and toothbrush in one section, hand soap and moisturizer in another, and a tiny tray for rings or lip balm. Then keep the rest of your products in closed storage so the zone stays uncluttered.
Turn a SMALL IKEA Side Table Into a Floating Vanity Station
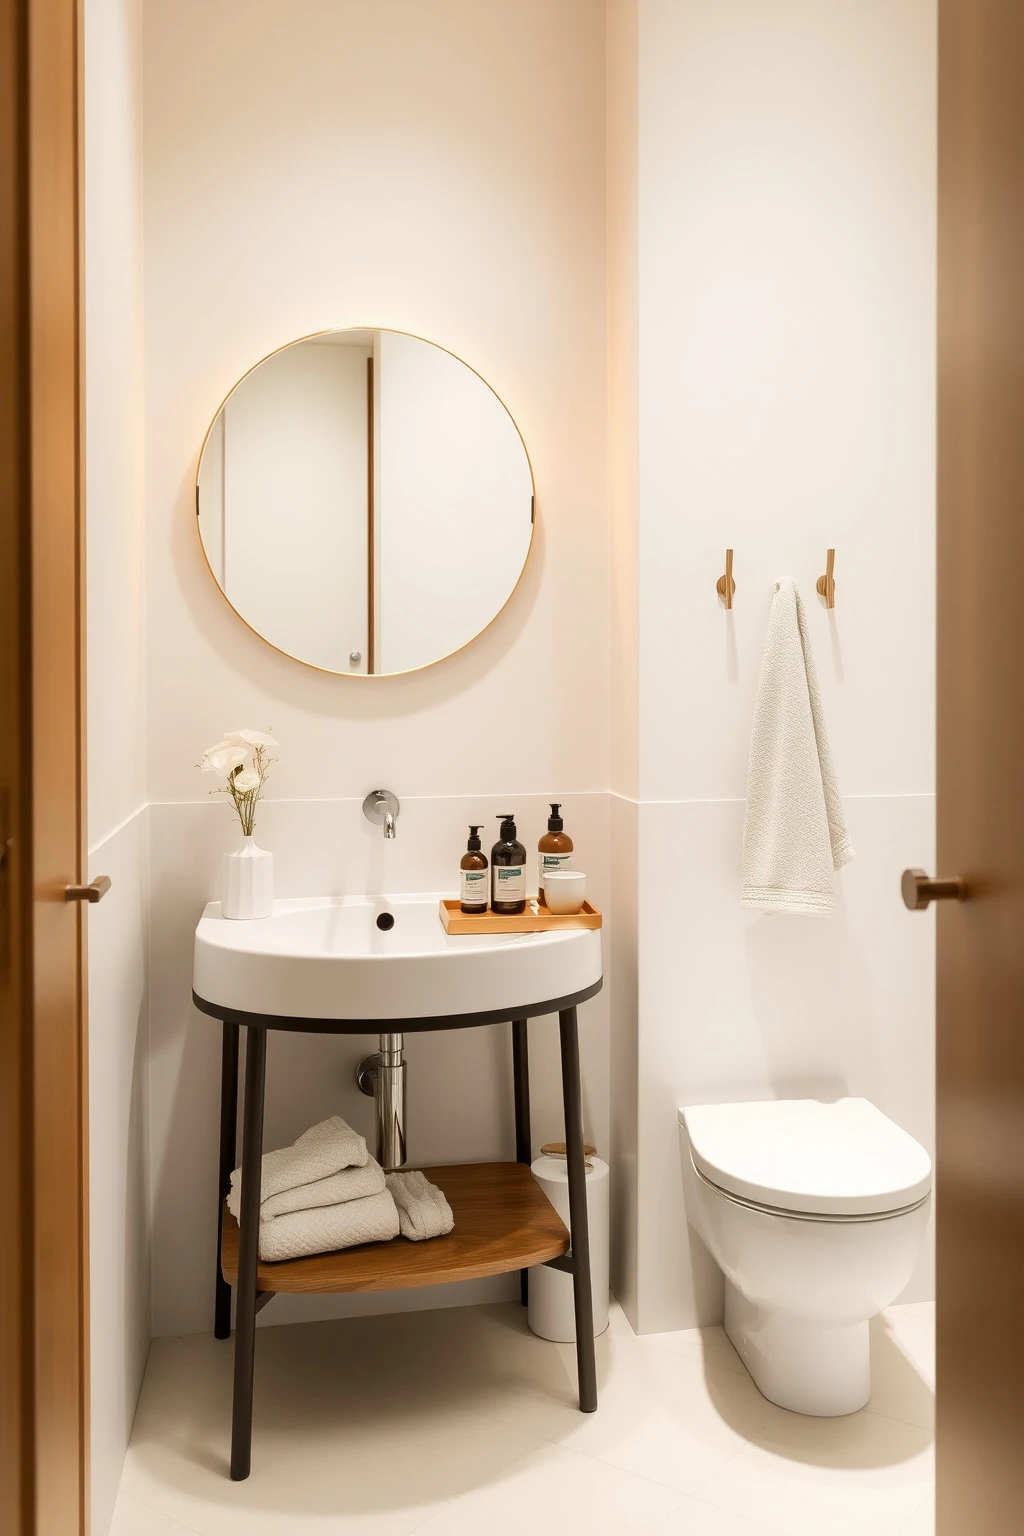
If your bathroom is so tight that a full vanity feels like it’s taking over, scale down and borrow the function instead. A small side table can become a vanity station if you respect height and waterproof the top, and it instantly creates a more tailored, boutique look. The principle here is proportion: matching the sink area with a surface that’s the right height keeps your eyes from zigzagging.
Choose a side table with a top height around 30 to 32 inches for most standard sinks. Apply a bathroom-safe water sealer or sealant to the top if it’s not already designed for moisture. Add a tray to define the “countertop” zone, and use a wall-mounted mirror so you don’t lose floor space. Finish with two hooks for towels at 60 to 66 inches from the floor so they land comfortably within reach.
Use IKEA Shower Caddies, Then Add a “No-Splash” Liner
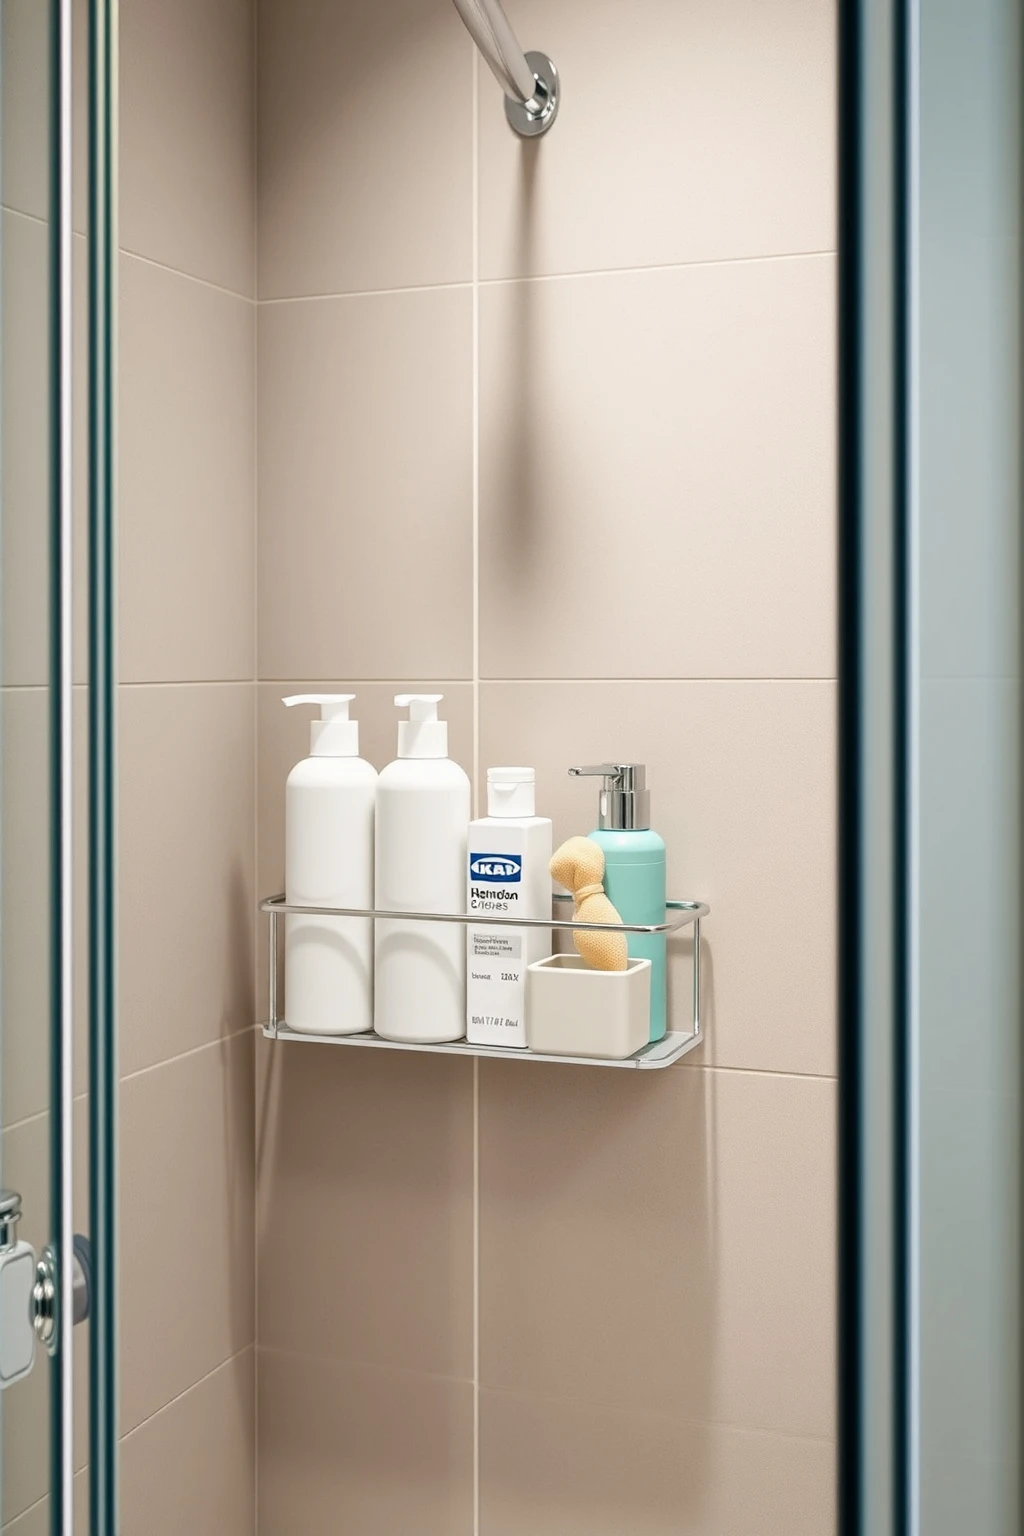
Shower caddies are meant to keep things off the floor, but a lot of them still drip water onto products. That constant dampness turns shampoo bottles into slip-and-slide and makes everything look grungy faster. By adding a liner that catches drips, you protect your items and also create a cleaner, more intentional shelf line.
Pick a caddy with enough depth and place a thin, water-resistant shower liner sheet or EVA mat inside the base. If your caddy sits on a ledge, add a small 1-inch splash dam using flexible silicone trim at the back edge. Keep bottles upright and use one small basket for loose items like razors and loofahs so water drains cleanly. Clean the liner weekly with a quick rinse so it stays clear instead of cloudy.
Mount Towels Like Boutique Hotels With the 5-Finger Spacing Rule
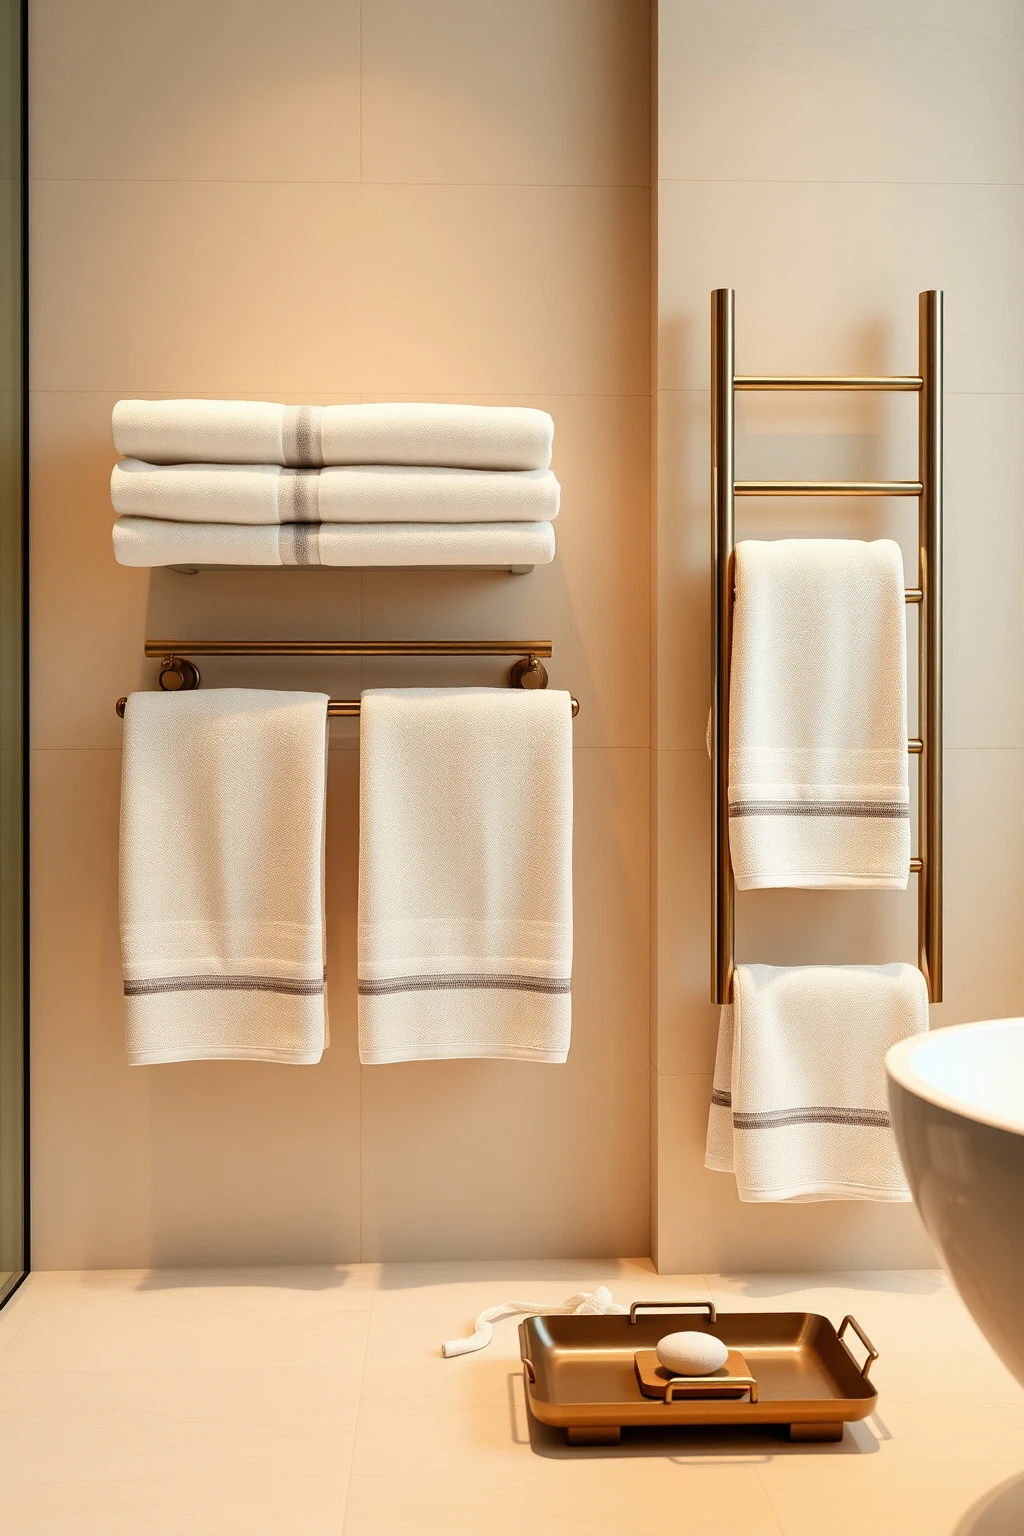
Most towel arrangements fail because spacing is inconsistent, not because the towels are wrong. Boutique hotels look effortless because every folded edge has breathing room, and the same visual rhythm repeats. That’s a design principle of spacing and alignment: it keeps the eye calm and makes small bathrooms feel more upscale.
When you hang towels, fold each one into thirds and hang so the fold ends line up. Use the 5-finger spacing rule between towels, which is about 4 to 6 inches depending on your hand size. Hang bath towels higher than you think, typically 62 to 66 inches from the floor for the top fold. Leave a tiny vertical gap (about 1 inch) between stacked towels so the fabric can dry without looking crushed.
Fix a Cluttered Medicine Cabinet With IKEA “Vertical” Dividers
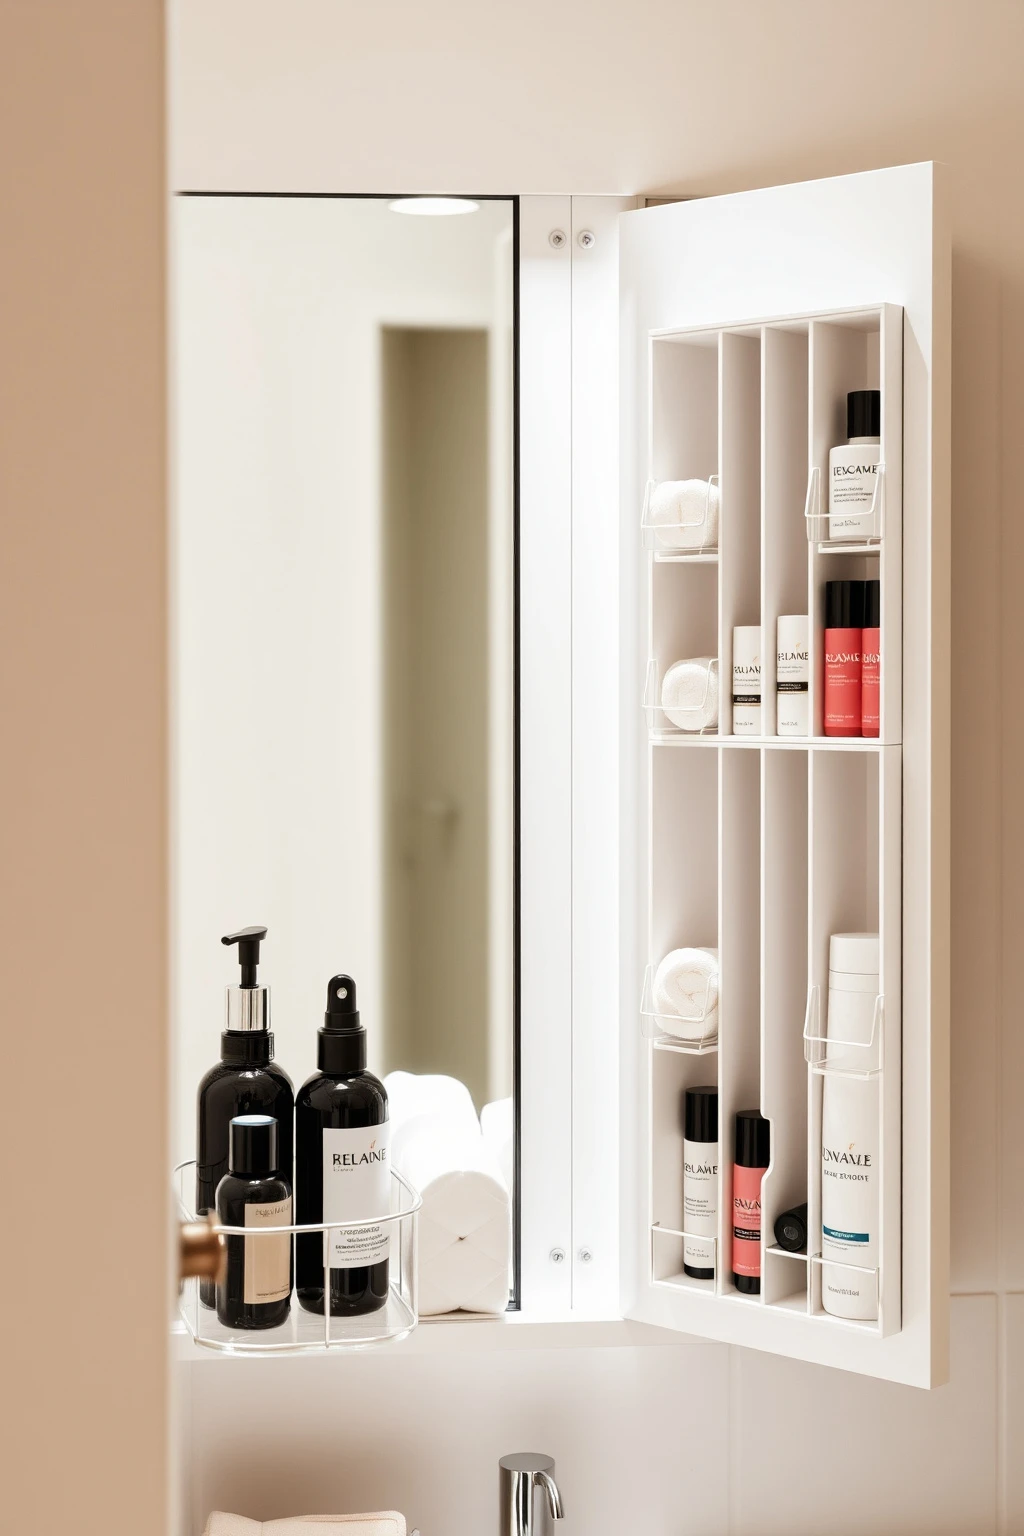
Horizontal organizers inside a medicine cabinet make everything slide and end up in one messy pile. If you’ve ever found half-used creams at the back, you already know vertical zoning is the answer. This works because gravity becomes your ally, and vertical compartments reduce visual scanning time.
Use vertical dividers or small IKEA organizer trays stacked upright, not flat. Keep tall items like serums in one column and short items like cotton pads in another. Aim for compartments that are only 1 to 2 inches wider than the widest bottle so it doesn’t wobble. Label the top edge with tiny dots (paper labels protected with clear tape are renter-friendly). Leave one “reset shelf” at eye level for daily items so you never have to dig.
North-Facing Bathroom? Add Warm Mirrors and a Light-Color Counter
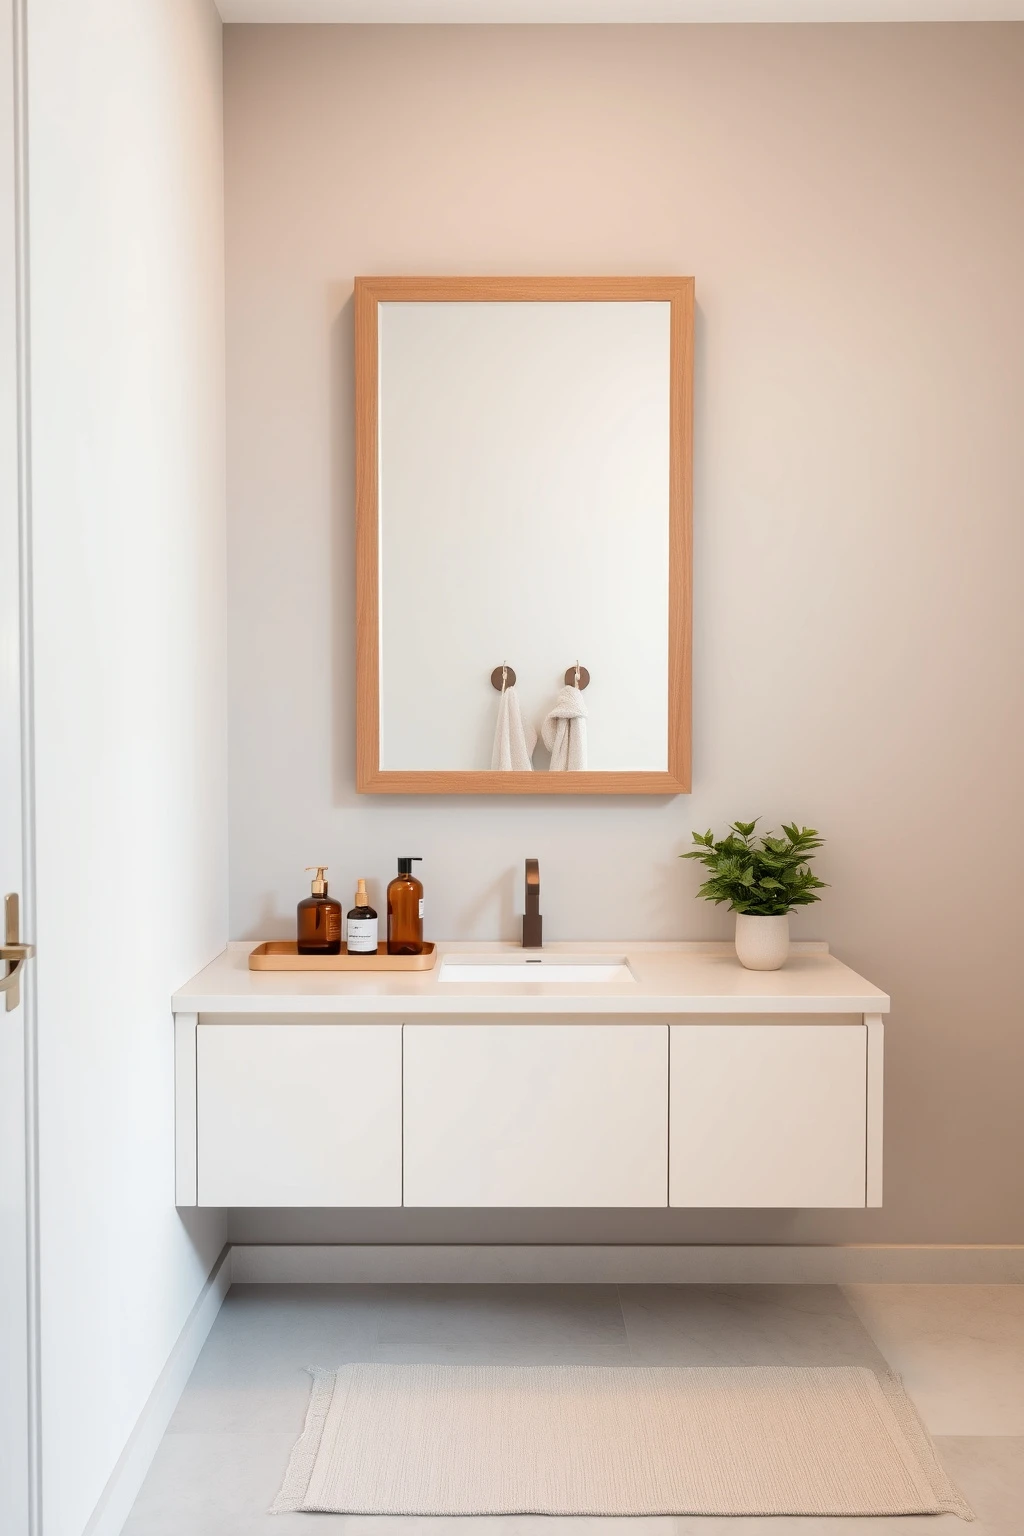
If your bathroom faces north, you already know it can feel a little gray and gloomy, even with good bulbs. The hack is to warm up reflectivity, because mirrors and light counters bounce usable daylight better. In design terms, you’re controlling contrast and temperature so your bathroom looks clean rather than cold.
Choose a mirror frame in warm materials, like light oak or brushed brass tone, and pair it with a vanity or countertop in warm ivory, pale sand, or soft white. Swap any charcoal or dark mats for a light gray with warm undertones, not blue-gray. Add a small lamp near the mirror or a warm LED strip behind the mirror so the light hits the face area first. Finally, keep wall styling minimal and use one grouping of warm ceramics rather than multiple small dark items.
Use IKEA PLASTIC BINS, But Cover Them With Fabric Labels
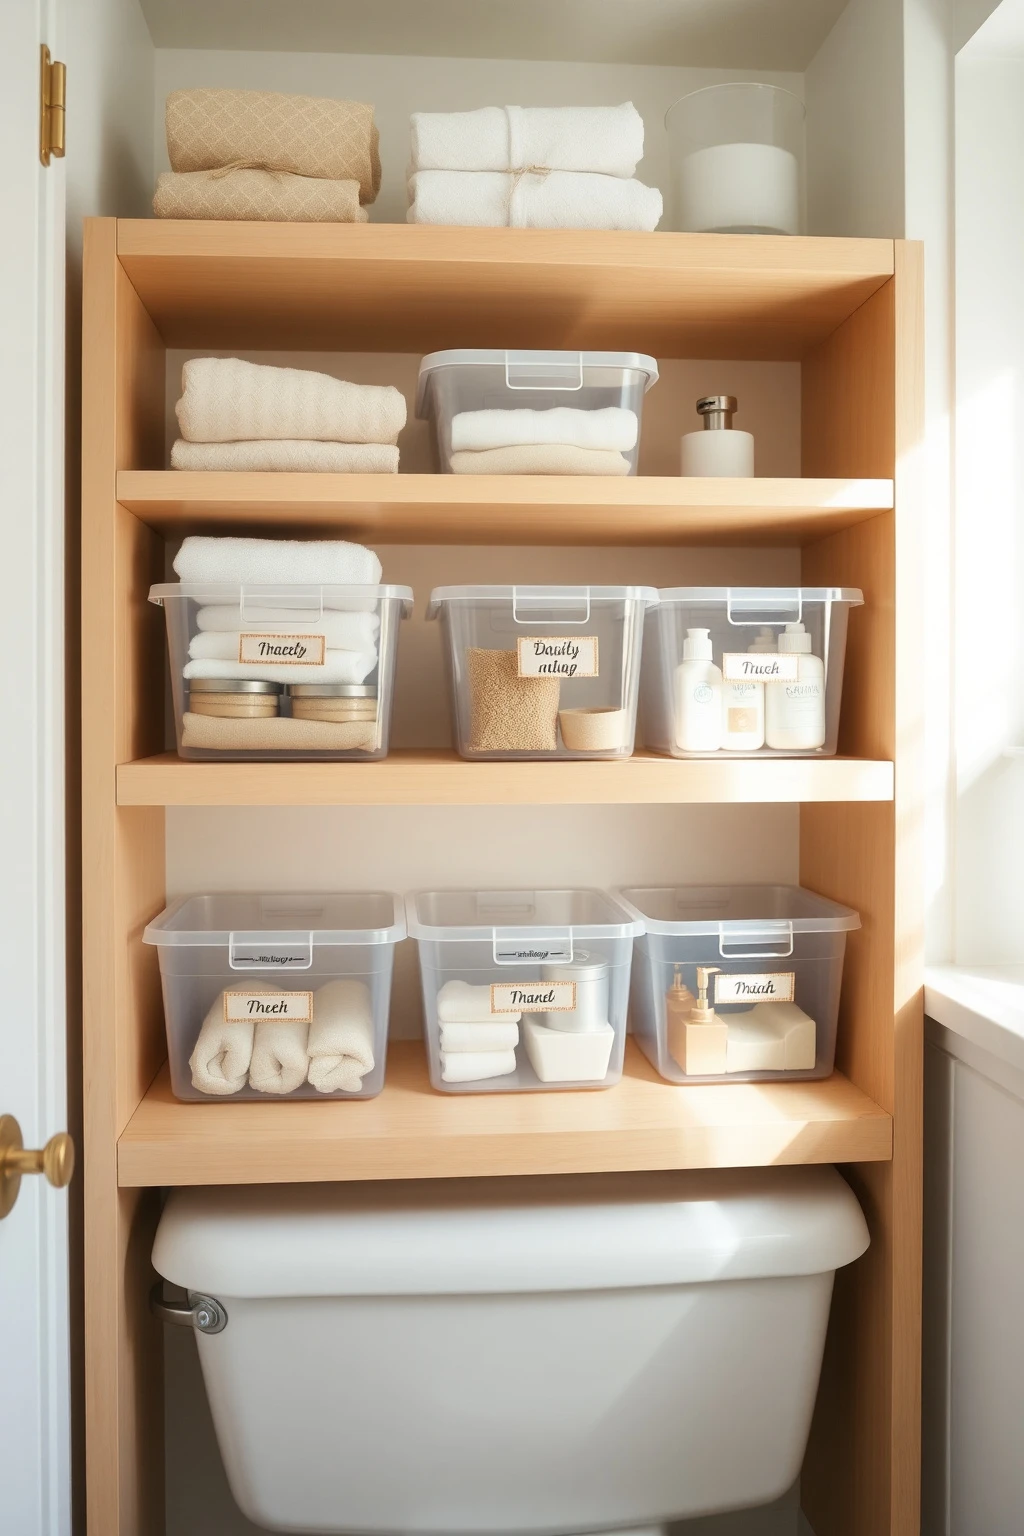
Clear bins can look modern, but they also show every mess and cap left open. If you use IKEA bins for makeup, shaving, or kids’ bathroom chaos, cover them with fabric labels so the organization looks intentional. This works because you reduce visual noise while keeping the practical benefit of visible storage.
Print or handwrite labels on fabric tape, then apply a piece of clear packing tape over each label to protect against splashes. Keep label categories simple: “Daily,” “Extras,” “Kids,” and “To Replace.” Place labels on the front edge of the bin so you can grab quickly. Use one color for each person in a shared bathroom, like dusty rose for one child and sage green for another, and keep the bins otherwise neutral.
Renter-Friendly Paint Trick: Color-Match Your Shower Shelf Brackets
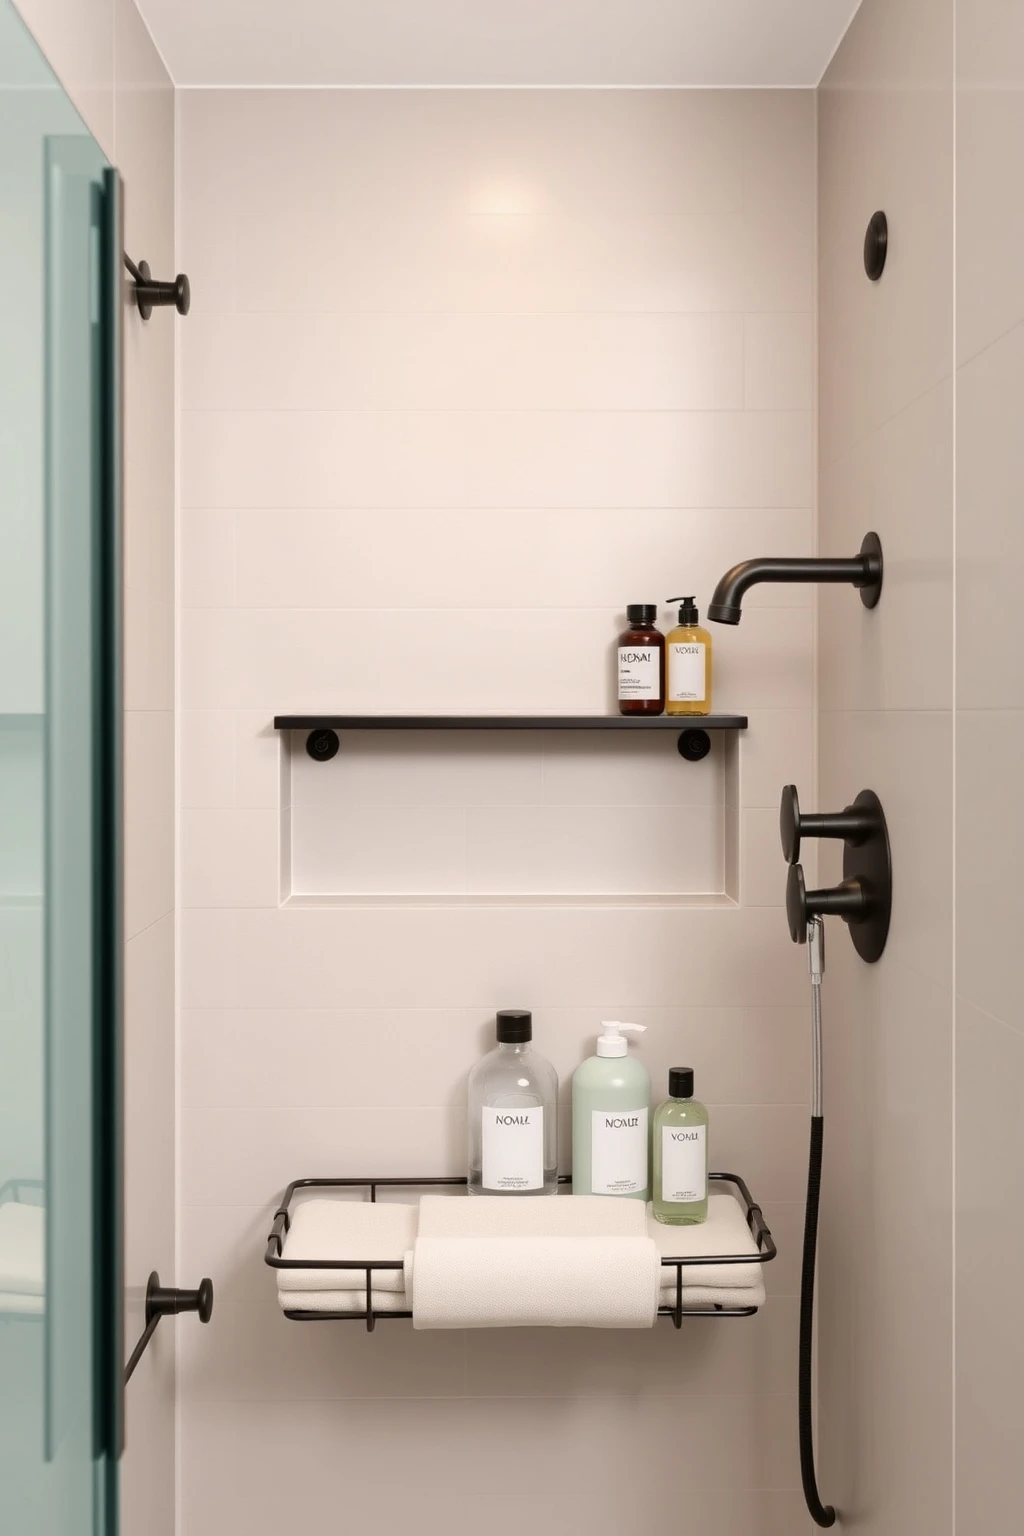
Metal shower shelves often look like they were added later, which is why they can feel less polished in a thoughtfully styled bathroom. A fast hack is to color-match the brackets so they disappear into the fixtures. This works because visual continuity reduces “hardware clutter,” letting the rest of your design shine.
Before install, wipe brackets clean and spray with a bathroom-rated paint in a finish close to your hardware, like matte black for chrome mixed with black accessories. Let it fully cure, then mount the shelf. If you have a tiled wall, choose a paint tone that blends with grout, not the tile itself, so you avoid a speckled look. Use shelf liners in a neutral linen color to hide water spots that collect over time.
Upgrade Your Sink Area With a “Two-Layer Tray” Layout
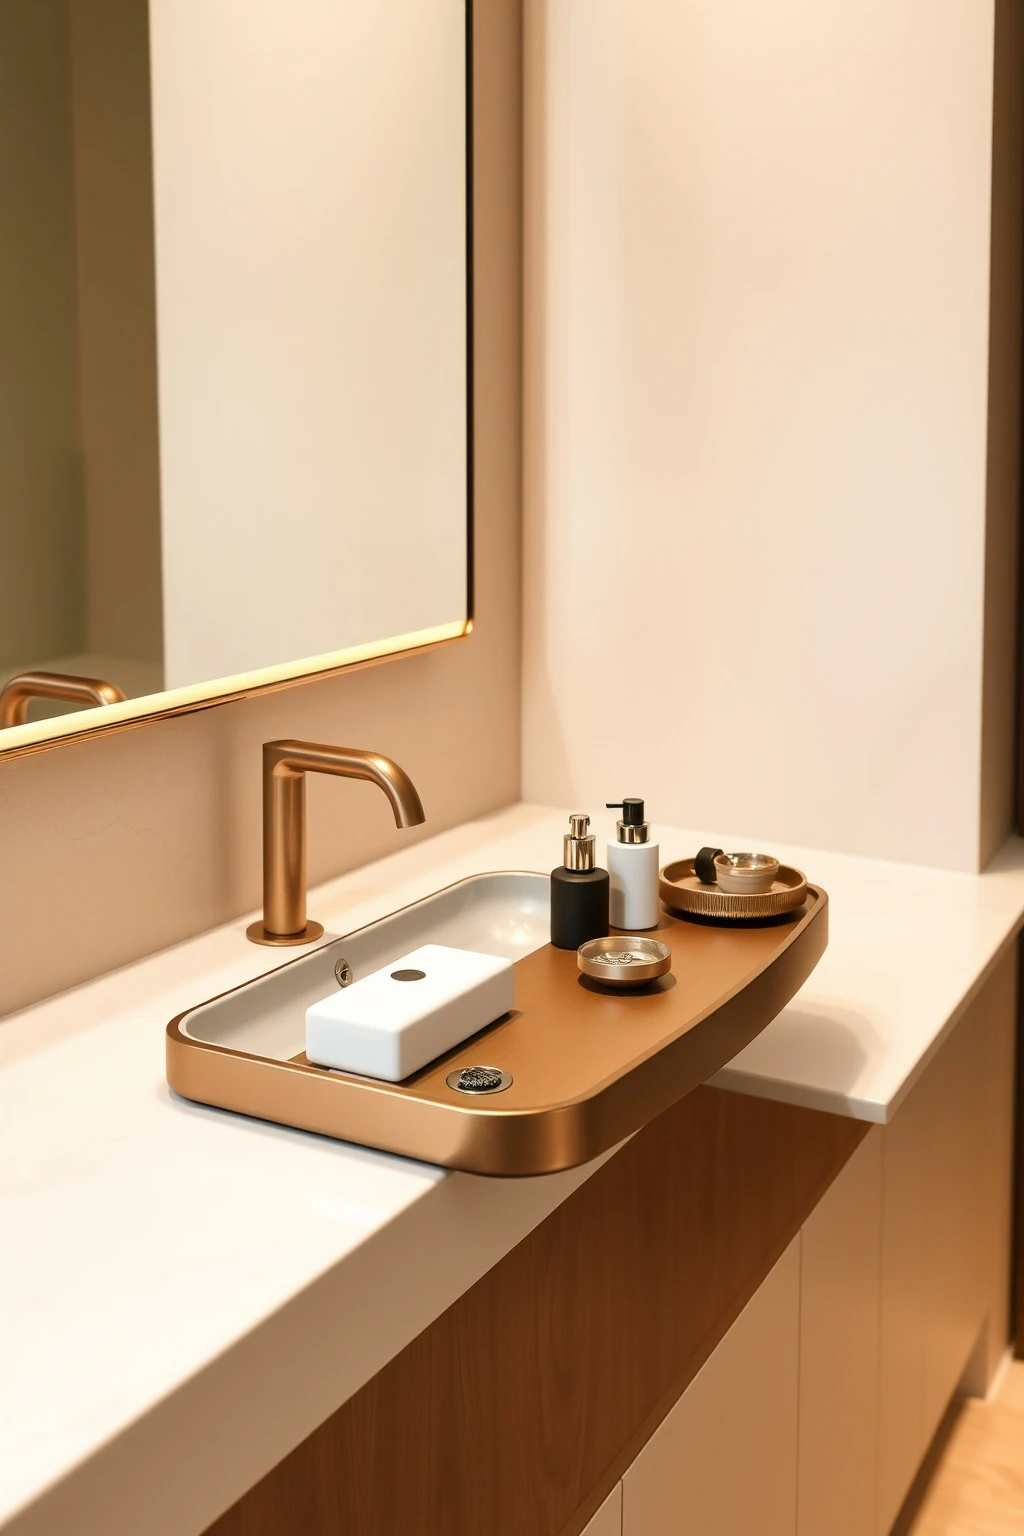
Most sink counters look cluttered because everything sits at the same height. The fix is stacking, using two layers so small items don’t sprawl across the entire surface. This works because you create hierarchy and keep negative space, which makes the counter feel larger.
Use a large shallow tray for the “base” items like soap and hand lotion, then add a smaller tray on top for daily tools such as lip balm, hair ties, and a small dish for earrings. Keep bottles grouped by height, tall in the back, short in front. Aim to leave 2 to 3 inches of clear countertop on at least one side of the sink so it doesn’t feel crowded. For a cohesive look, pick one glass color, like clear plus warm amber, and repeat it in both trays.
KIDS BATH Hack: Use a Height-Appropriate Lower Shelf for “Return Zones”
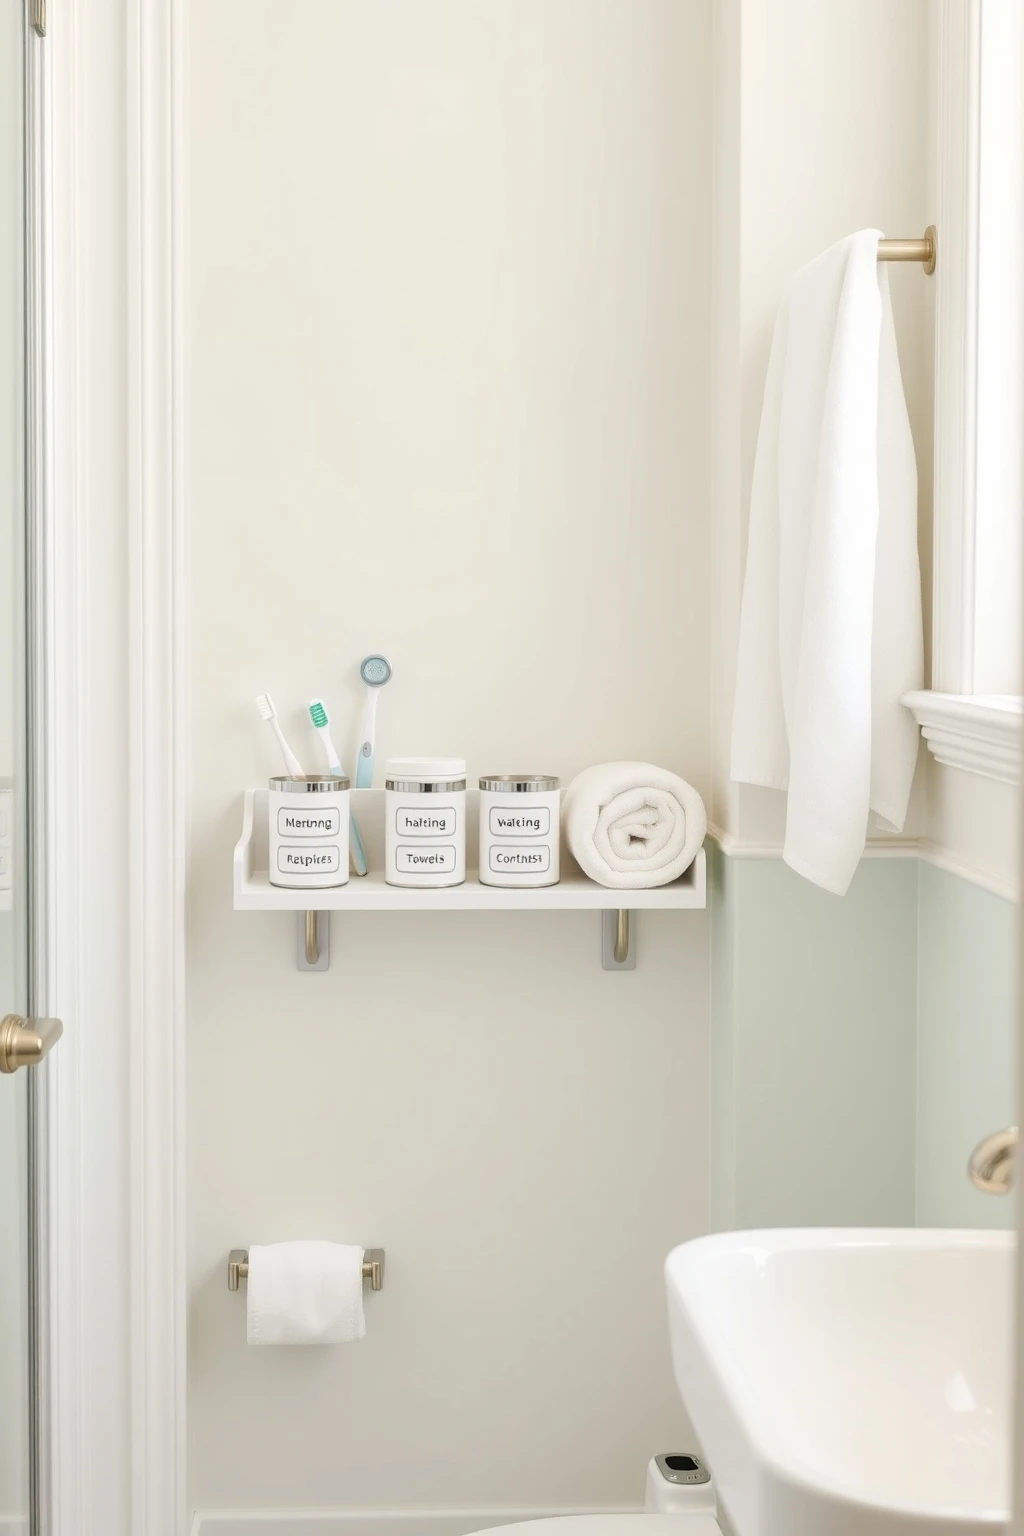
Kids’ bathrooms get messy fast because items are stored too high to return. If you want less chaos, give them a return zone at their level, not just storage at yours. This works because the habits stick when the action is easy and the friction is low.
Install a slim IKEA wall shelf or small storage unit where the top is about 36 to 40 inches from the floor. Use three containers inside: one for toothbrushes, one for towels (rolled), and one for “extras” like washcloths. Label with simple icon stickers so they can match by shape, not by reading. Keep breakables out of reach and use washable organizers. Your adult routine stays slower because the mess is contained.
Replace Tub Clutter With a Slim “Over-the-Drain” Basket System
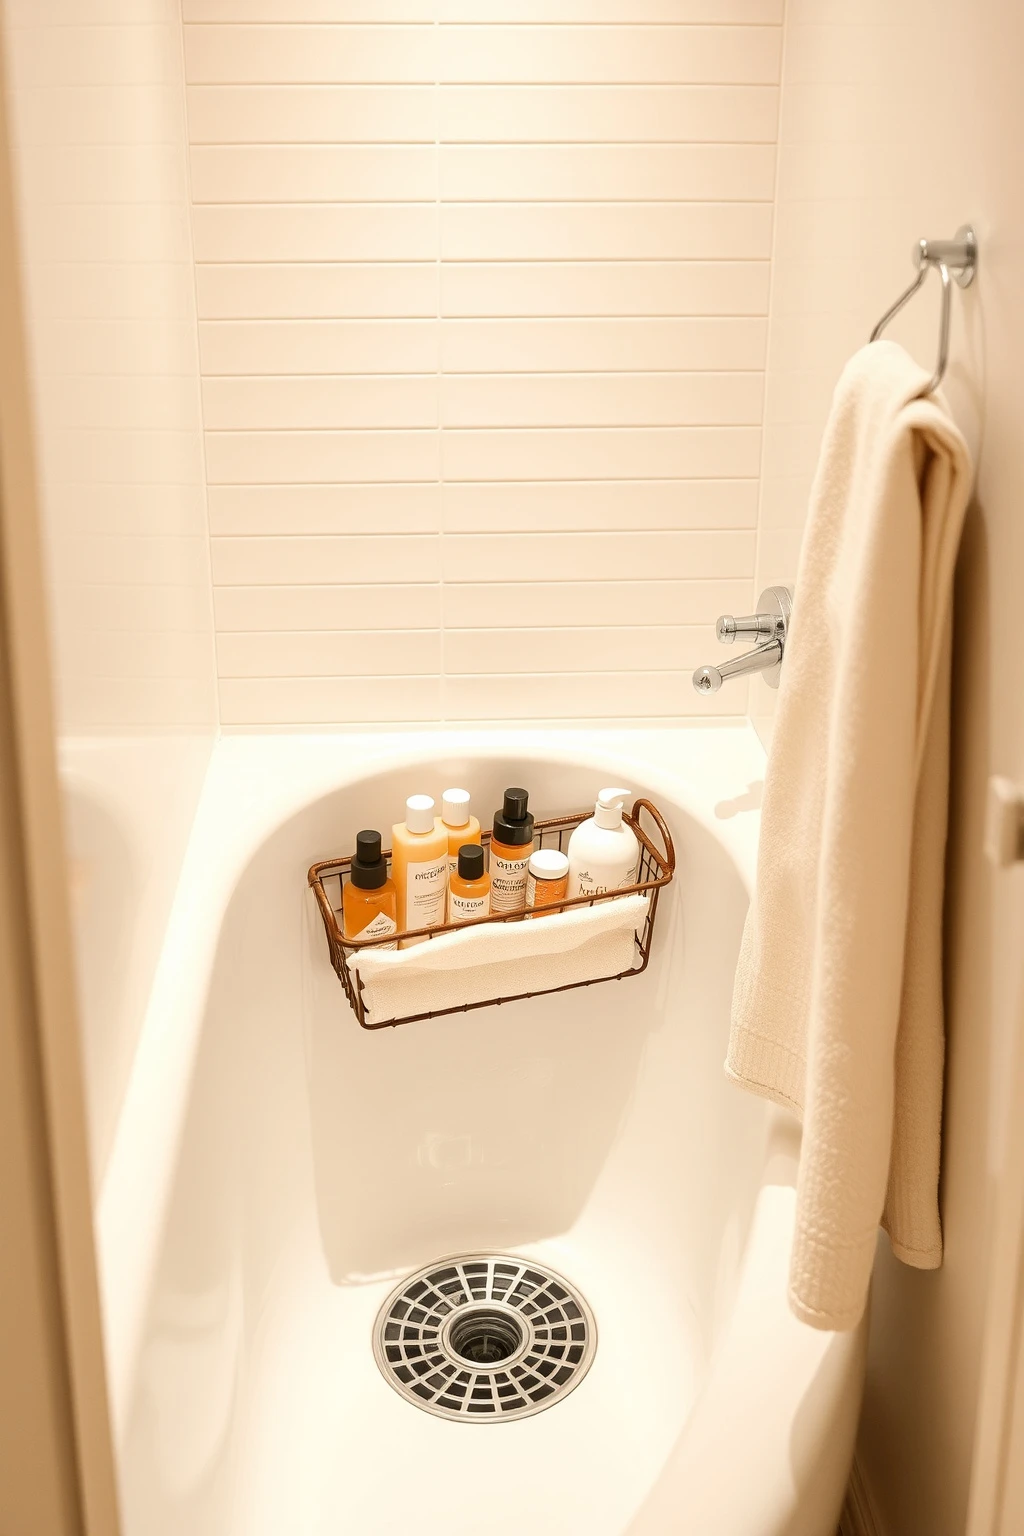
Bath toys and shower extras multiply, especially when there’s nowhere for them to go except the floor. A slim basket system near the drain keeps everything tidy and lets water drain, so it also stays cleaner. The design principle is that you’re creating a dedicated circulation-free zone so the floor stays visually clear.
Choose a basket or organizer that fits your tub curve without blocking the water channel, then place it in a spot where it can drain after use. Add a removable liner bag or washable mat inside so toy grime is easy to rinse. Store fewer items in public view and rotate the collection weekly. When you’re not using it, keep one container empty so you can quickly reset after bath time.
Make a “Vanity Behind-Drawer” Storage Space With a Hanging Under-Shelf Rail
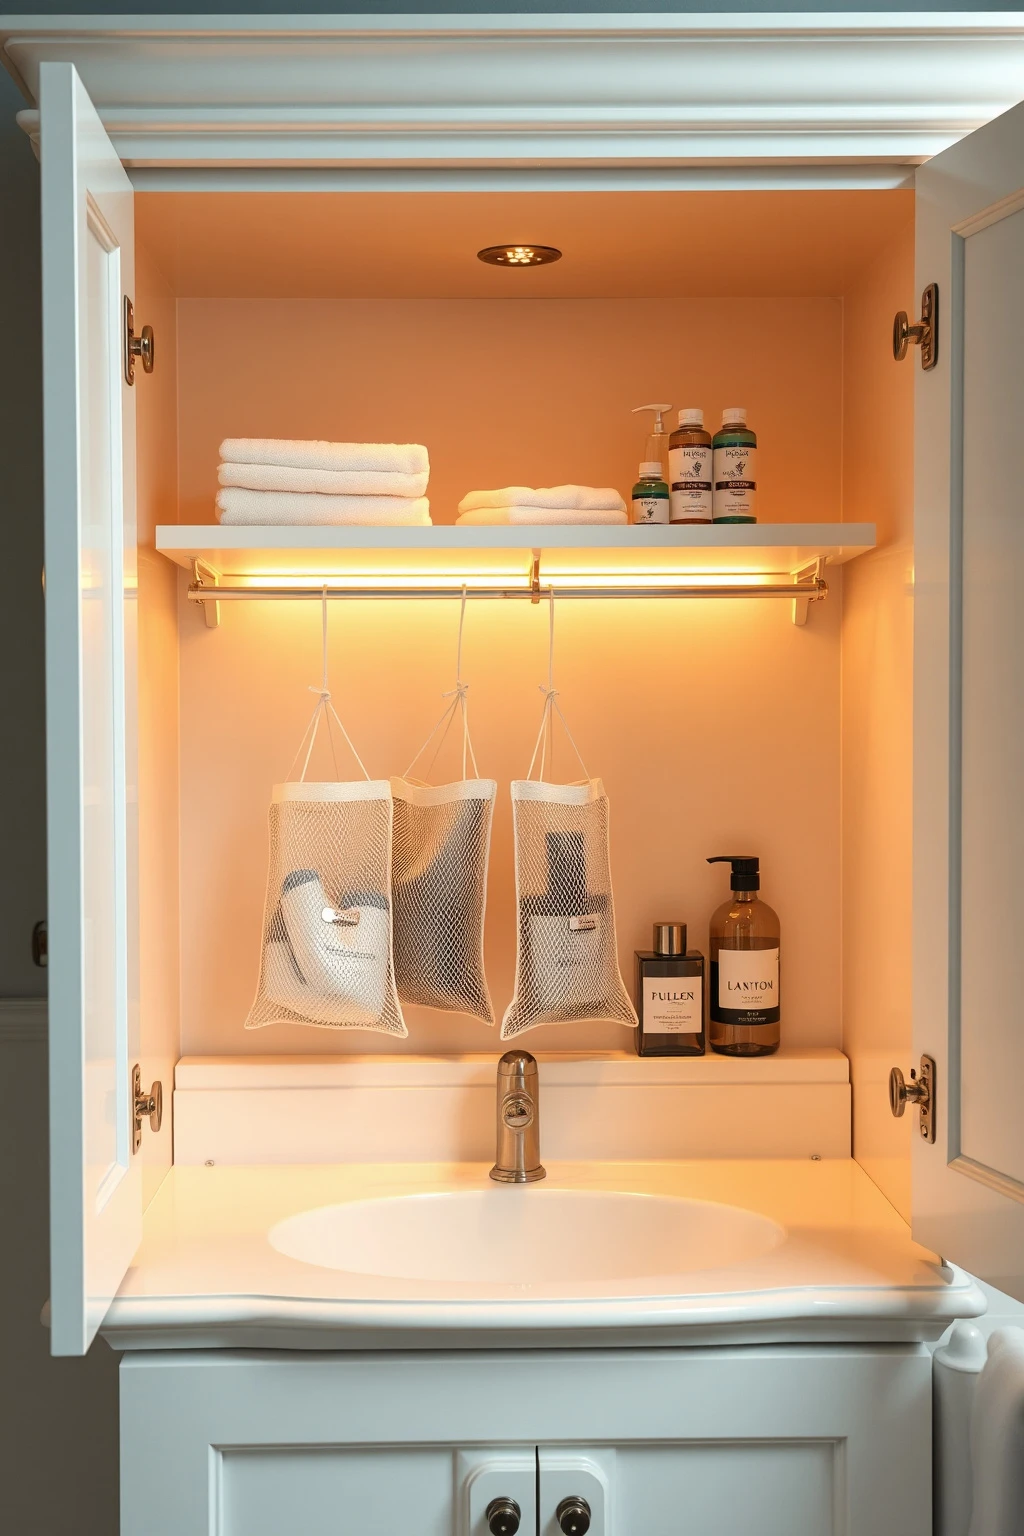
If you’re always reaching under the sink for hair tools or backup skincare, you’ve already lost prime storage time. The hack is to create a second storage layer behind or under a drawer with a hanging rail. This works because you use vertical clearance you already have, and you keep small items from rattling around.
Install a small under-shelf rail or hooks on the underside of a shelf inside the cabinet, then hang lightweight organizers like a narrow cloth caddy or small mesh pouches. Keep the heaviest items on the bottom shelf and hang only lighter bottles and tools. Use 2 to 3 compartments: one for replacement items, one for tools like tweezers and scissors, and one for cleaning tabs. Make it renter-safe by using adhesive hooks rated for steamy bathrooms and replacing them if they peel.
Halo Lighting Hack: Use an IKEA Mirror With a Diffuser for Softer Shadows
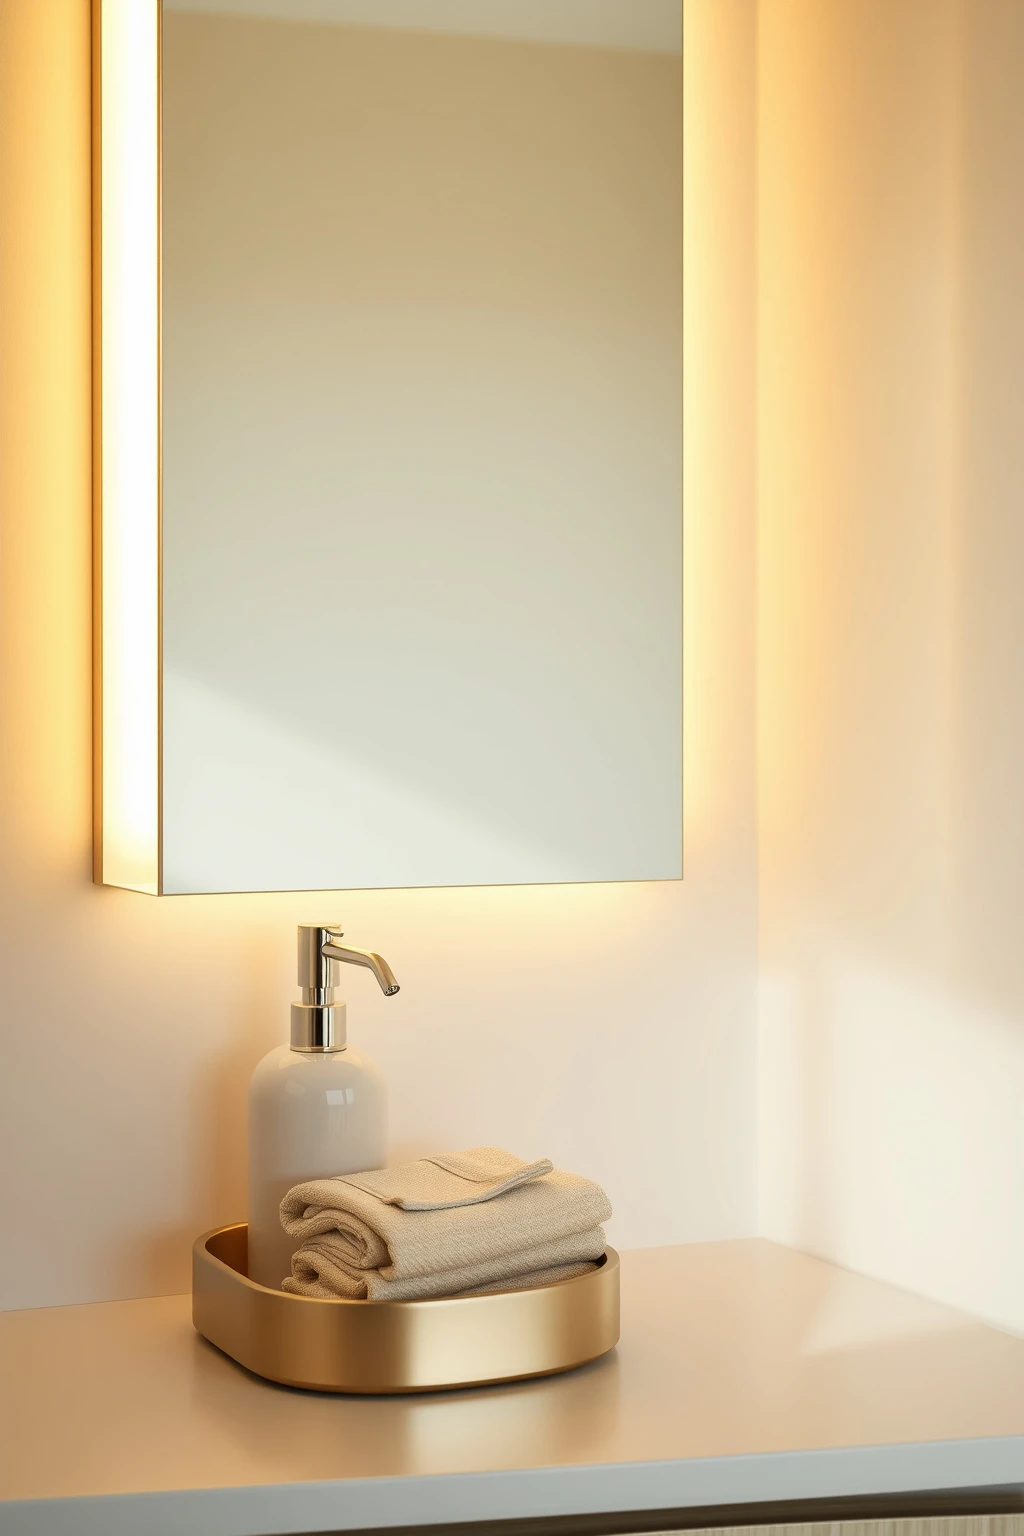
Harsh overhead lighting makes bathrooms look harsher and can exaggerate clutter shadows on the wall. Softer, diffused mirror light flatters skin and makes the room feel more expensive. The reason it works is straightforward: diffusion reduces contrast spikes where your eye would otherwise notice mess.
If you already have an IKEA mirror, add a diffuser solution by using frosted LED light covers or a clip-on diffuser strip behind the mirror frame. Keep the color temperature around 2700K to 3000K for warm, flattering light. Position the lighting so it reflects on the mirror surface rather than blasting straight down on the counter. Then style just two things on the counter, like a soap pump and a small ceramic tray, so the softer light reads intentional instead of sparse.
Conceal the Trash With an IKEA Swing Bin That’s Easy to Wipe
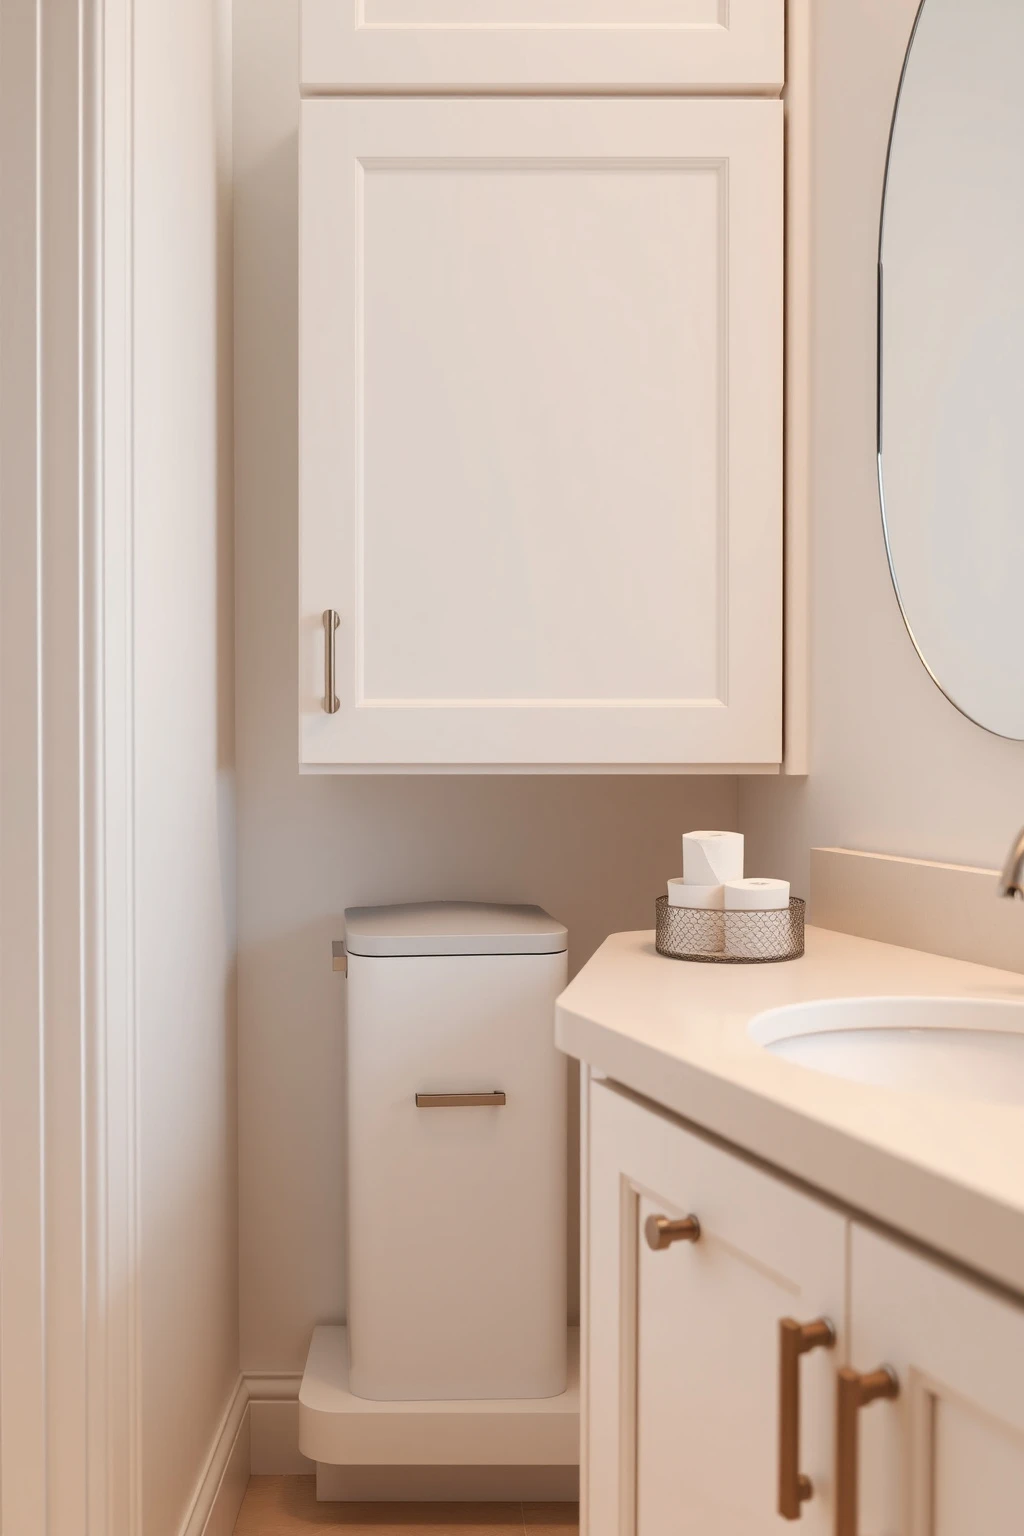
Trash cans in bathrooms are visually loud, and that’s true even if they’re “cute.” If you’re trying for a calm palette, swap to a covered or swing-style bin that doesn’t dominate the corner. This works because the room’s visual hierarchy stays clean, and covered bins also contain odors better.
Choose a compact, swing-lid bin that can be wiped down and place it behind a door or next to a narrow cabinet where it stays mostly out of sight. Line it with a thicker bag sized to avoid sagging. If your cabinet door opens inward, test the clearance so the lid doesn’t scrape. Keep a small refill stash in a closed basket so trash runs don’t turn into a hunt.
Small Powder Room Trick: Use a Wall-Led Shelf for One-Tier Storage
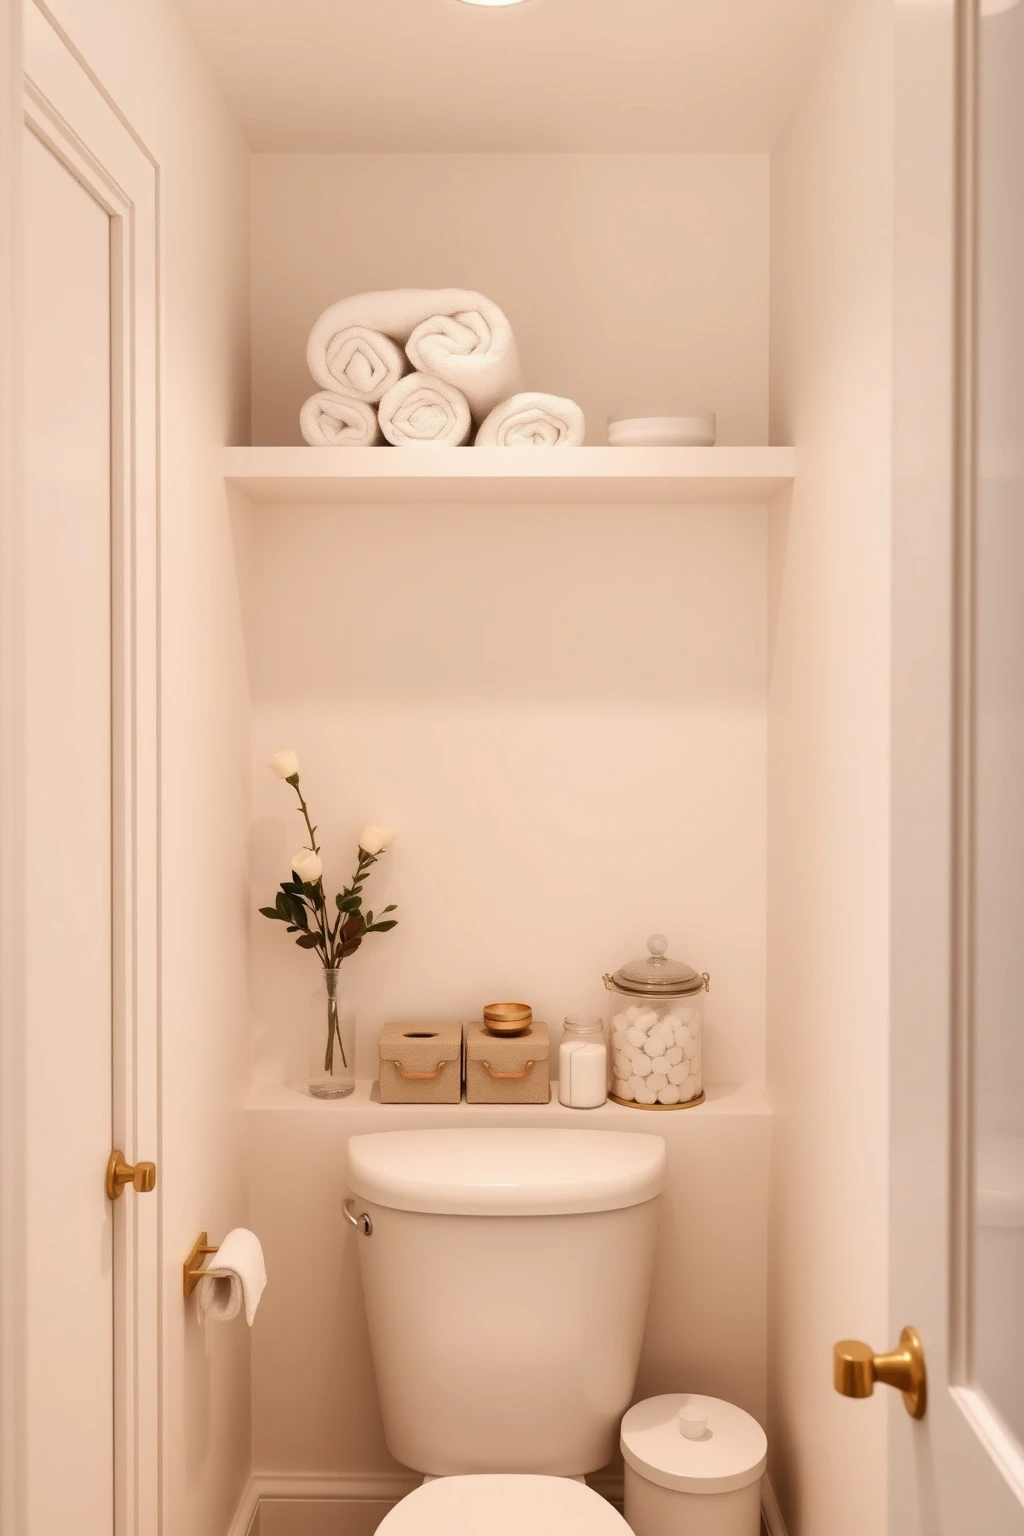
In a powder room, you can’t afford bulky cabinets, and the floor instantly feels crowded. A wall-led shelf gives you storage and display without taking up the sightline. This works because you add vertical organization, leaving the lower part of the room open and airy.
Pick a shallow ledge shelf that’s just deep enough for rolled hand towels and a couple of bins. Mount it so the shelf sits at about 72 inches from the floor, which keeps items at comfortable reach without blocking the mirror. Style with one repeating color, like warm white linen plus a single charcoal ceramic accent. Use baskets only for back-of-house items and keep the front shelf devoted to visually calm pieces like cotton rounds in a glass jar.
Turn an IKEA Step Stool Into a Makeup and Hair Tool Caddy
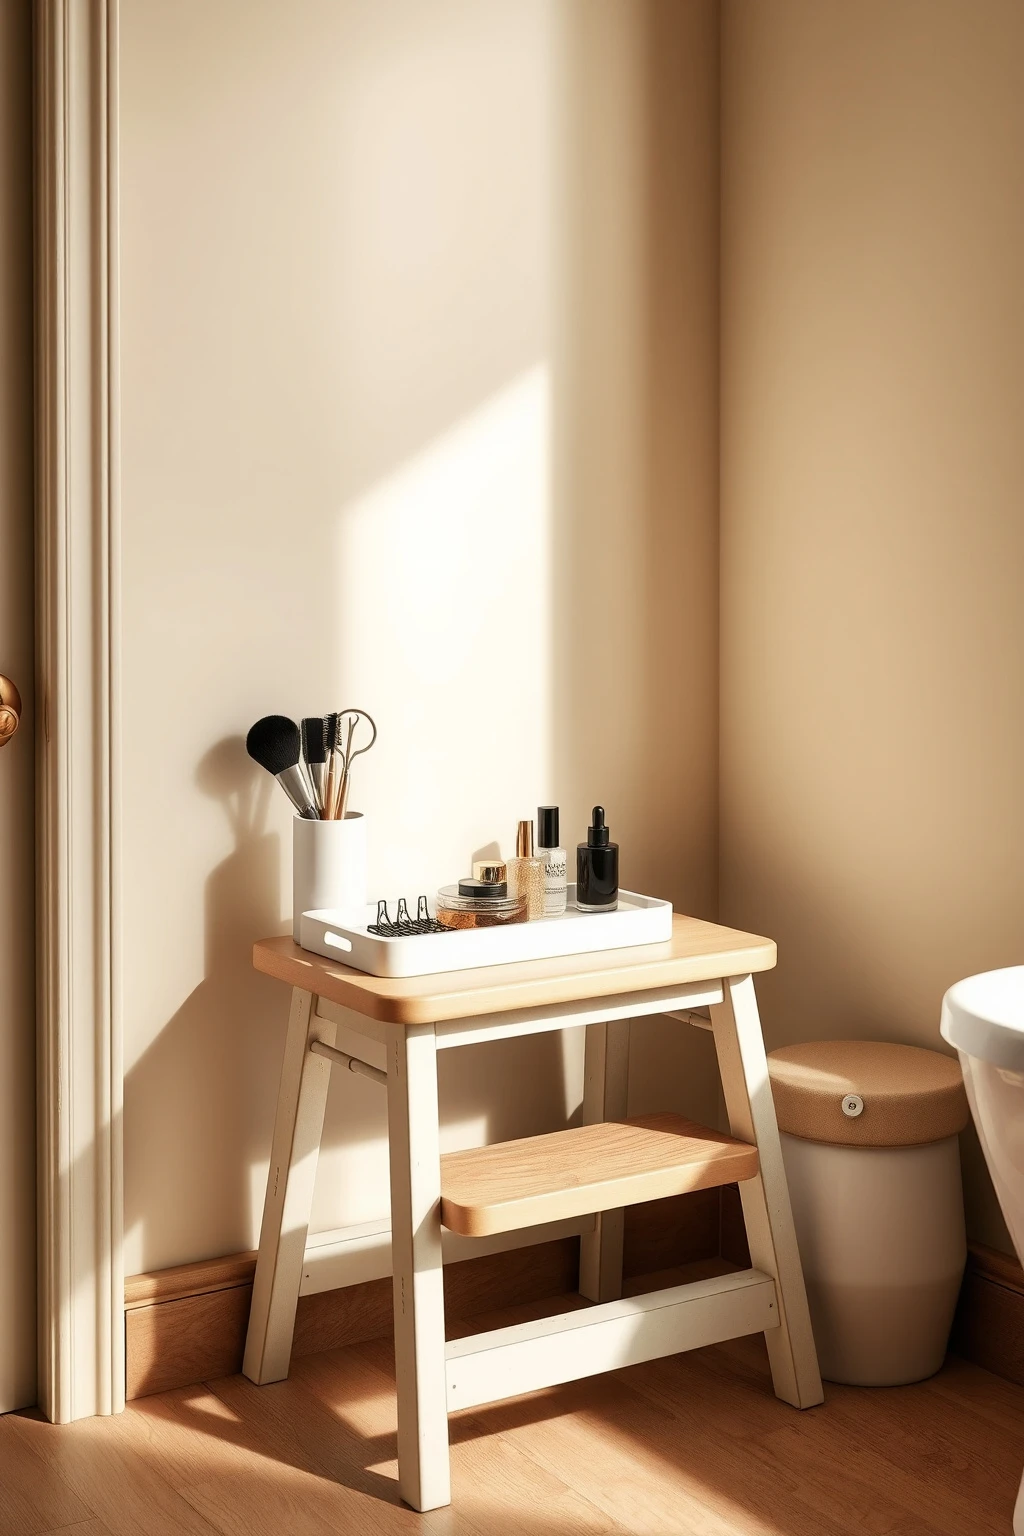
That step stool you keep for light bulbs and deep cleaning can actually solve counter clutter. If you repurpose it into a structured caddy, you get vertical storage plus a practical height for reaching the sink mirror. The design principle is dual function with controlled lines, so the stool doesn’t look like “utility storage.”
Choose a step stool with a solid surface and seal it with a water-resistant top coat if it’s not already finished for moisture. Add two removable organizers: one shallow tray for hair ties and clips, and one small bin for heat tools, like a heat-safe mat inside the bin. Keep it tucked near the vanity but not in the main traffic path. When you’re ready to style, it pulls out and becomes a mini station. When you’re done, store it quickly without moving everything.
Water-Safe Paint Over IKEA Furniture: Seal, Then Paint Edges Only
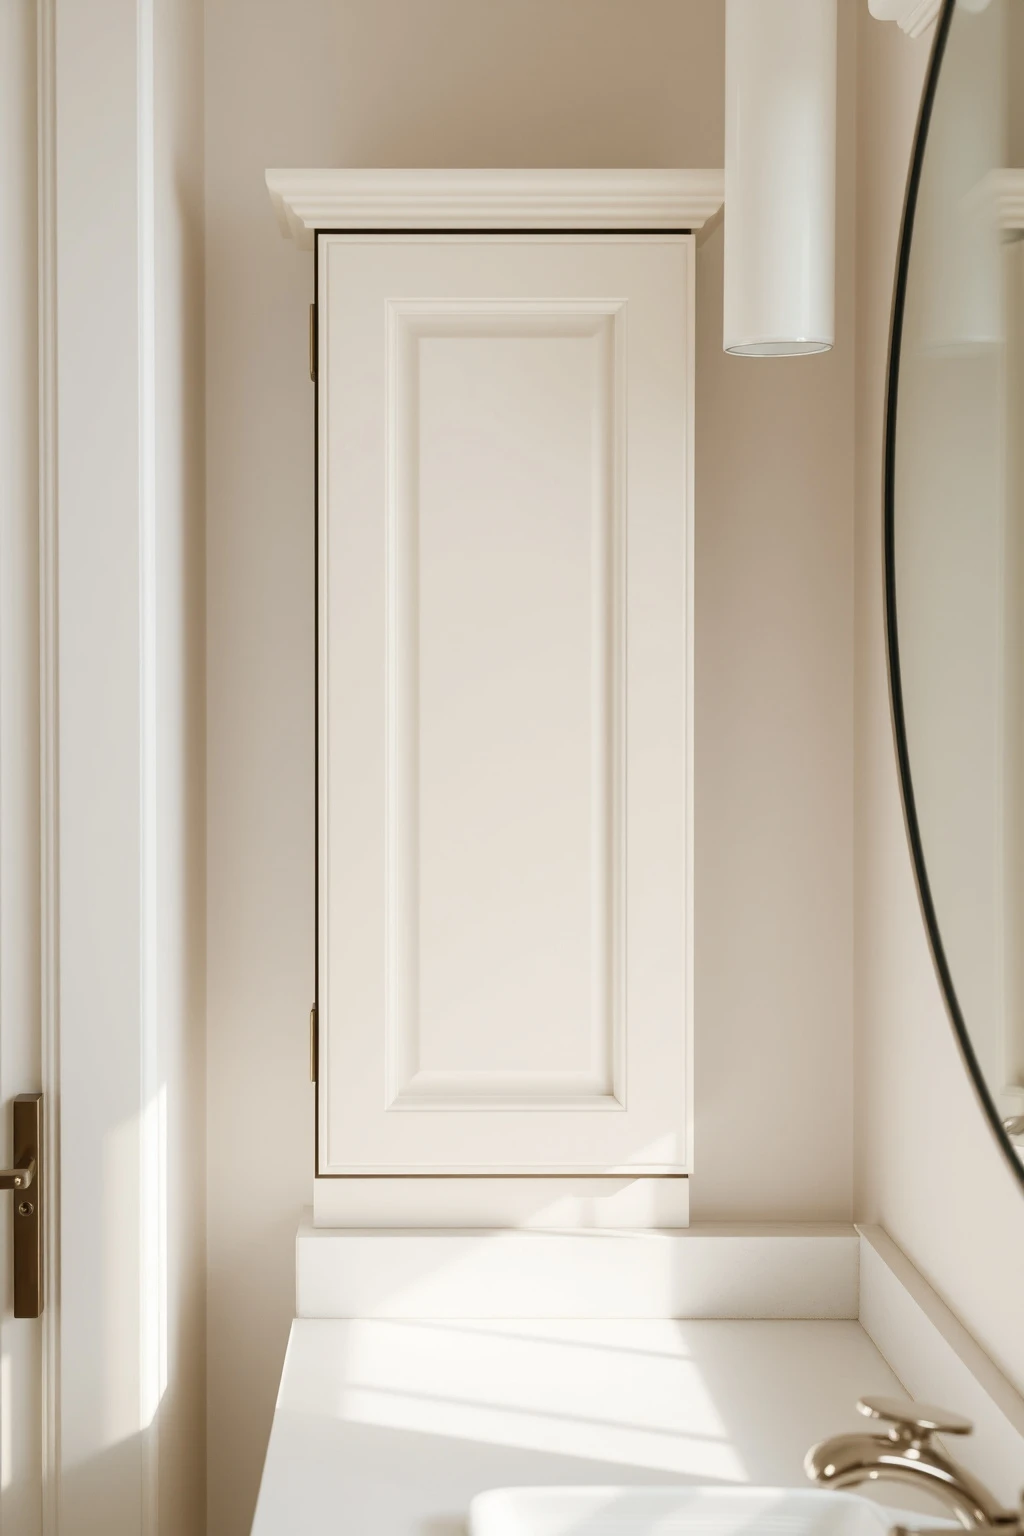
You can get that custom painted look without replacing everything, but the order matters in a bathroom. Most paint failures happen at edges, where moisture hits repeatedly. If you seal properly and only paint the areas that truly need it, you avoid peeling and keep the finish looking crisp.
First, sand lightly and apply a bathroom moisture barrier primer to edges and any area close to water splash. Then paint with a bathroom-rated enamel. Use painter’s tape to keep paint only on the outer visible faces and not on inside surfaces that are constantly wiped wet. Finish with a clear topcoat if you want extra wipe resistance. This is especially useful if you’ve got IKEA furniture already installed, because you can spot-fix scuffs instead of redoing the whole piece.
Create a Spa Shelf With the “One Tall, Two Short” Rule
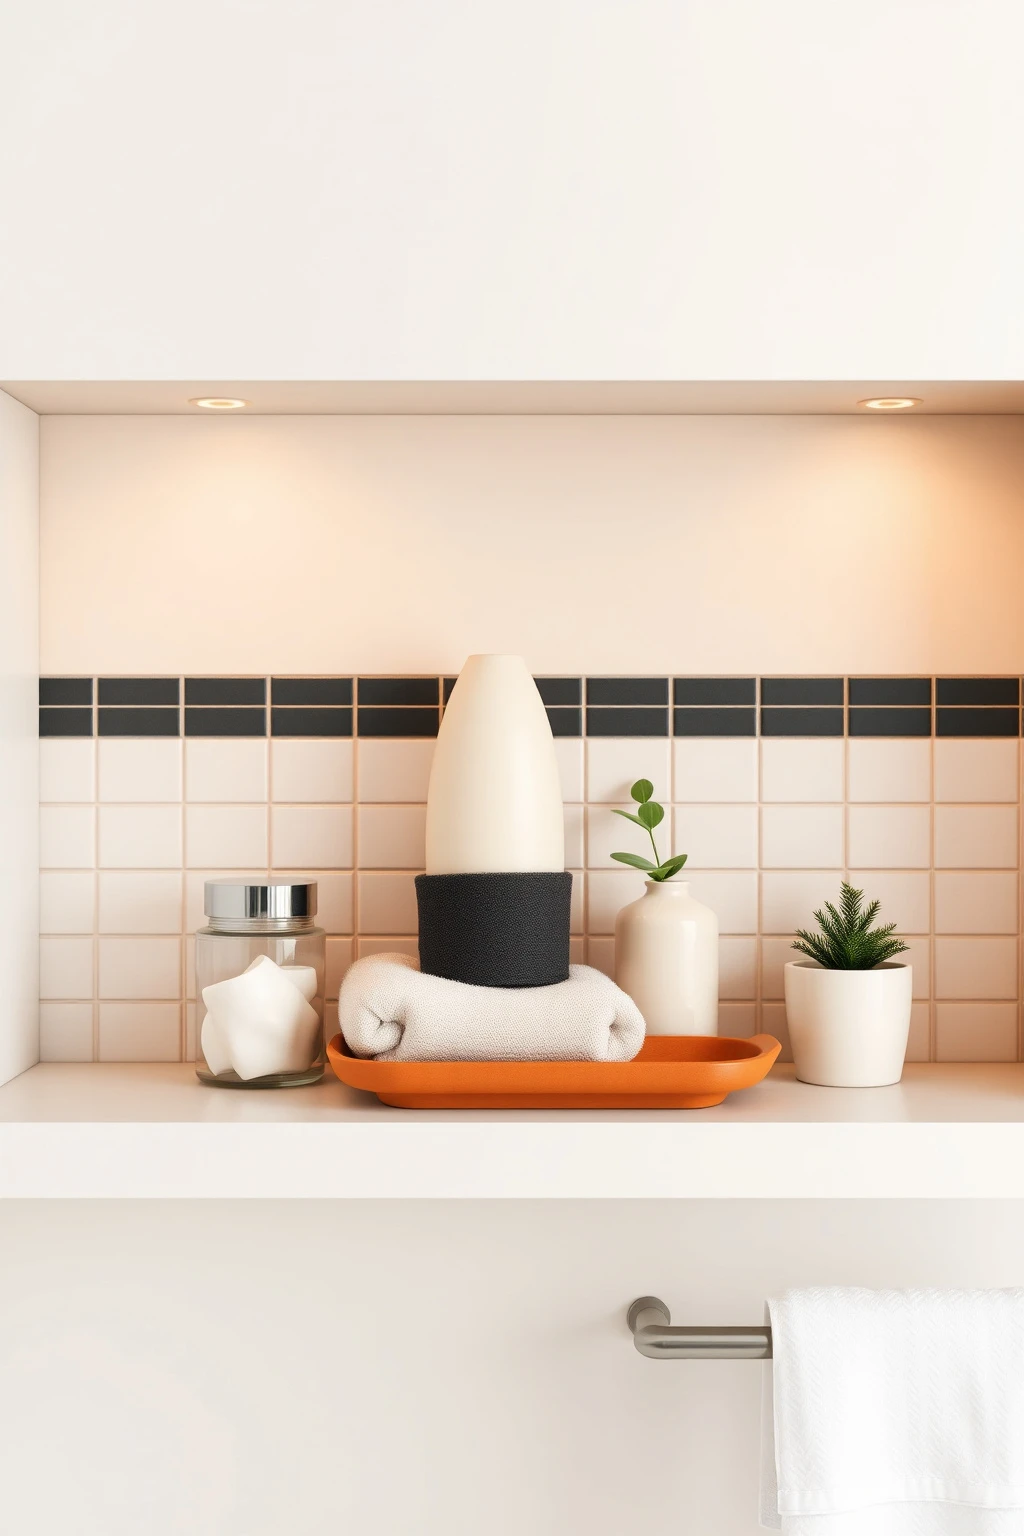
Bathrooms look styled when there’s rhythm, not when there are more objects. The one-tall, two-short rule gives you instant balance and keeps the shelf from looking like a yard sale of products. It works because your eye reads a simple composition instead of a bunch of competing heights.
On a shelf or cabinet top, place one tall element, like a ceramic vase or a stack of rolled towels secured with a ribbon. Then add two shorter items on either side, like glass jars for cotton rounds and a small tray for jewelry or grooming tools. Keep your color palette to two neutrals and one accent, such as warm ivory, charcoal, and a single terracotta tone. Leave a clear space of at least 2 inches around each object so nothing looks cramped. This also makes it easier to wipe down dust without moving everything.
Hack a Corner With a Lazy-Susan-Like Organizer for Tight Lofts
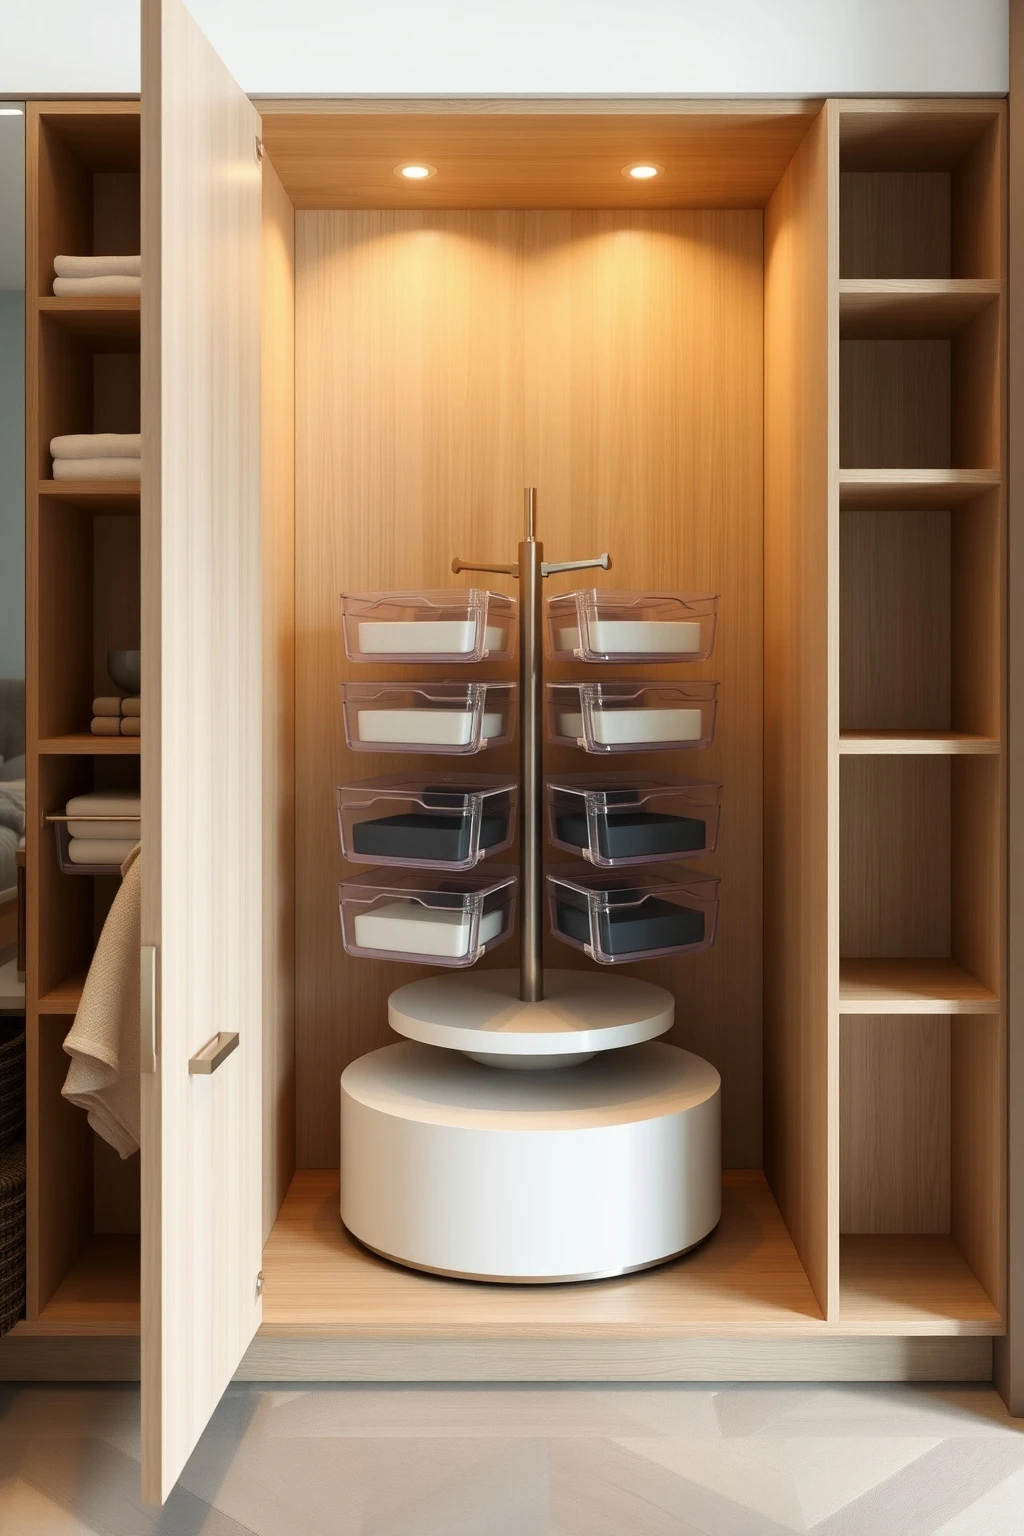
Corner cabinets are the Bermuda Triangle of bathrooms, especially in lofts where the layout is awkward. If you can’t see what’s in the back, you’ll buy duplicates and the cabinet will feel perpetually full. A rotating organizer solves this by bringing products to the front with minimal effort, which improves daily flow.
Choose a rotating organizer insert sized to your corner cabinet opening, or improvise with a round turntable base and separate bins that don’t tip. Ensure the base has a non-slip ring because tile floors and cabinet floors both get slick when damp. Place daily items on the top tier and backups on the lower tier. Keep liquids in a leak-proof basket. Then wipe the cabinet floor once a month so water residue doesn’t accumulate and cause bins to stick.
Conclusion
Once you start treating your bathroom like a system, not a storage unit, everything gets easier. Pick one or two hacks that fix the real pain points for your household, like moisture control, morning organization, or towel styling, and you’ll feel the difference fast.
My favorite takeaway: keep your surfaces calm and your “daily items” clustered, because that’s what makes a bathroom look designer even when you’re working with IKEA basics.

Mush Decor
Writes about accessible, timeless interior styling for readers worldwide.
More about Mush DecorRelated articles
 Bathroom Ideas
22 Small Guest Bathroom Ideas for Guests
Need small guest bathroom ideas? Get 22 stylish, practical upgrades that make visitors feel welcome and comfortable.
Read More Bathroom Ideas
22 Coastal Vintage Bedroom Ideas You’ll Love
Discover 22 tangible coastal vintage bedroom ideas—from driftwood textures to rattan storage—each ready to implement today.
Read More Bathroom Ideas
20 Pink Coastal Bathroom Ideas to Brighten & Relax
Discover 20 pink coastal bathroom ideas, from blush tile and rattan storage to lighting and styling tips for a bright, relaxing retreat.
Read More