
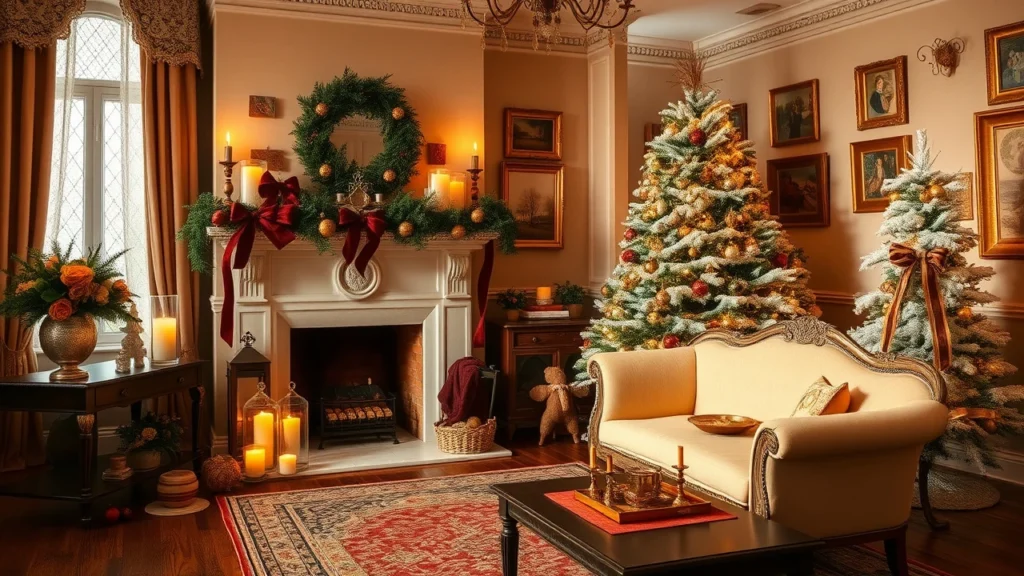
Last night, I watched someone unbox a box of ornaments and hang them like a grocery list, one at a time, with zero plan. It looked fine for ten minutes, then it turned into that flat, scattered holiday feeling we all know.
Victorian vintage decorating is different. The magic comes from proportion, layered textures, and the kind of lighting that makes warm brassy metals and velvet garlands look like they belong together.
In the ideas below, you’ll find 24 specific ways to style your home using familiar vintage materials (velvet, mercury glass, gilt, patterned paper), plus practical rules you can actually follow so your decor looks collected, not random.
Mirror-Backed Mantel Glow with Mercury Glass Vignettes
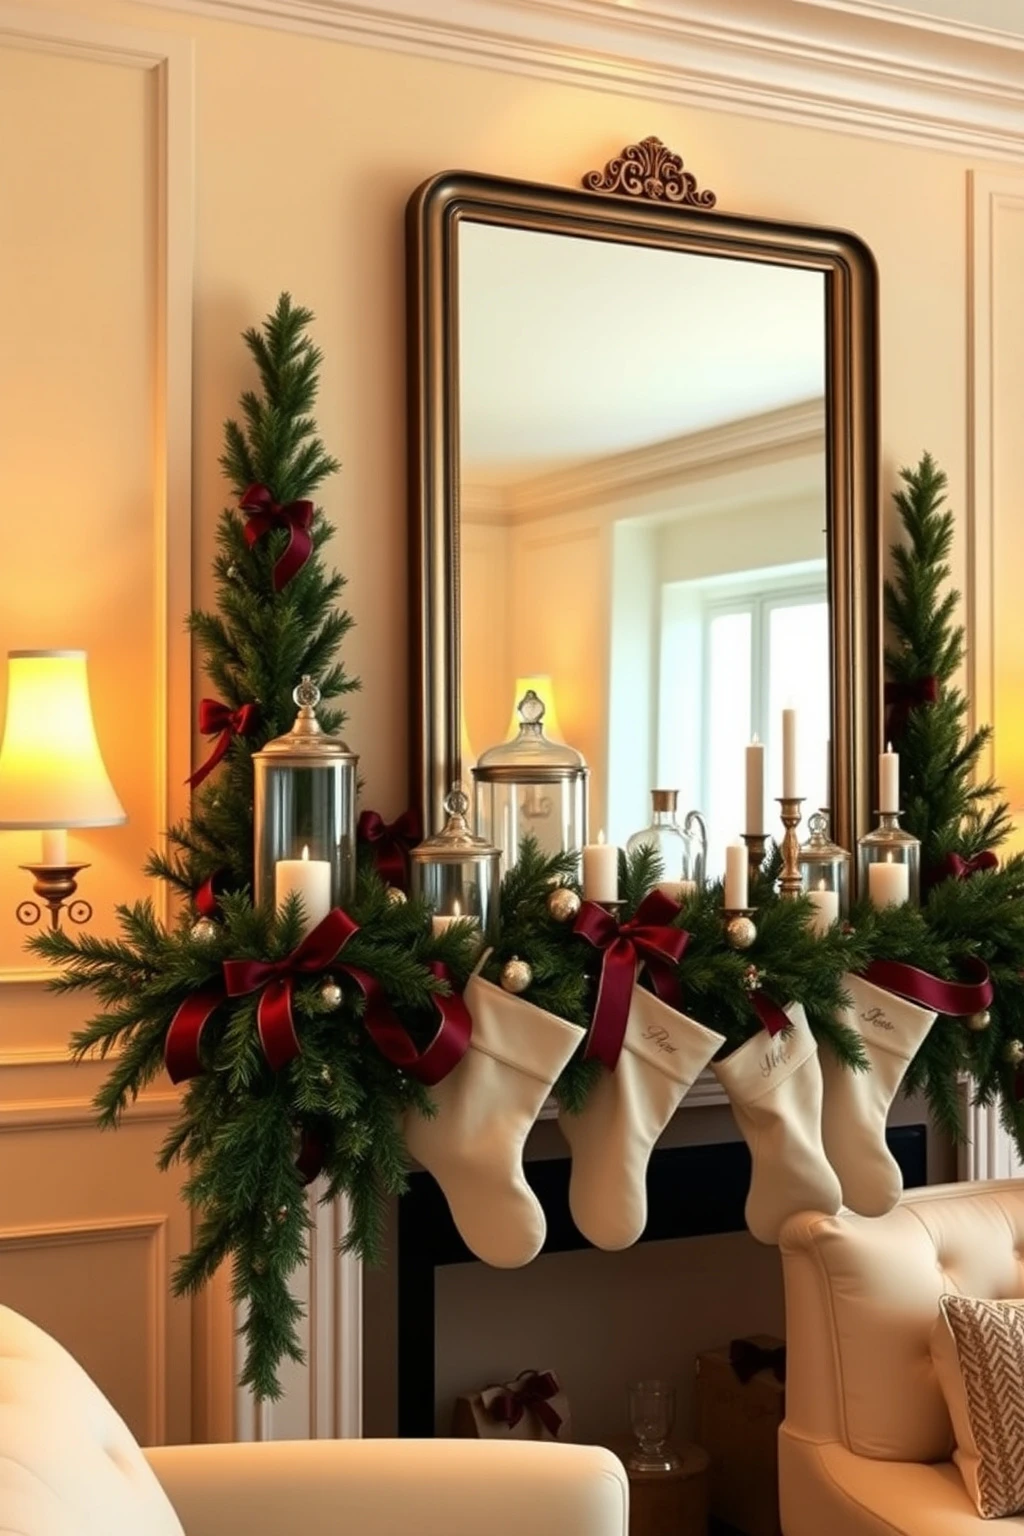
If your mantel always looks darker than the rest of the room, it’s usually missing one thing: controlled light bounce. Victorian styling leans on reflective surfaces, and mercury glass does that job beautifully without feeling modern.
Start by placing a mirror on the mantel or propped against the wall behind the arrangement. Add three mercury glass pieces at different heights, like a tall hurricane, a shorter cloche, and a small bud vase, then tuck them between evergreen branches so the light travels through the greenery. Mist a few ornaments with a light pearl spray to create a soft “haze” effect, but keep it to the first inch of the surface so you don’t lose detail. Leave 6-8 inches of breathing room between the clusters so the room can read as intentional, not crowded.
Velvet Ribbon in Measured Loops, Not Random Ties
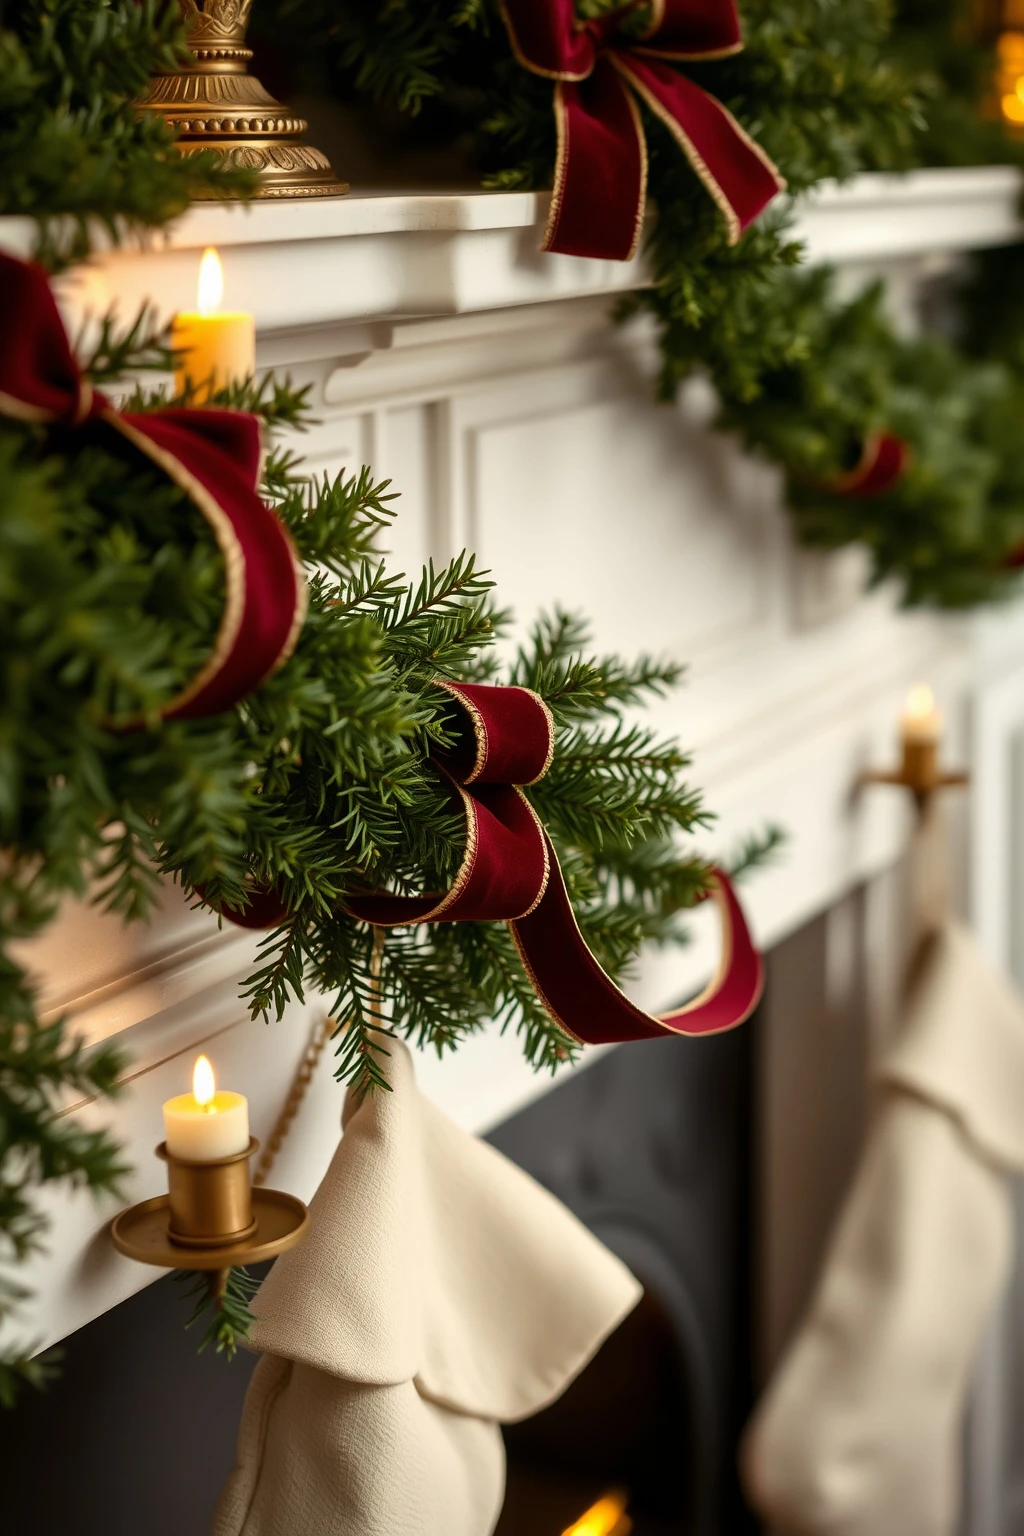
The fastest way to make vintage decor look sloppy is to tie ribbons “wherever there’s space.” Victorian ribbon work has structure, and that structure reads as luxury from across the room.
For a mantel garland, cut velvet ribbon into 14-18 inch lengths and make consistent loops, each about 6-7 inches wide. Use the same ribbon color family (try deep wine, dusty rose, or antique gold) and alternate textures, like velvet with a narrow grosgrain, so you get variety without visual chaos. Secure each loop with hidden floral wire at the back of the garland, then trim the tails straight across for a crisp edge. If you’re working with a small entryway, keep to one ribbon width (2.5-3 inches) so the scale stays proportionate to the wall.
A Flocked Tree That Still Looks Like Real Family History
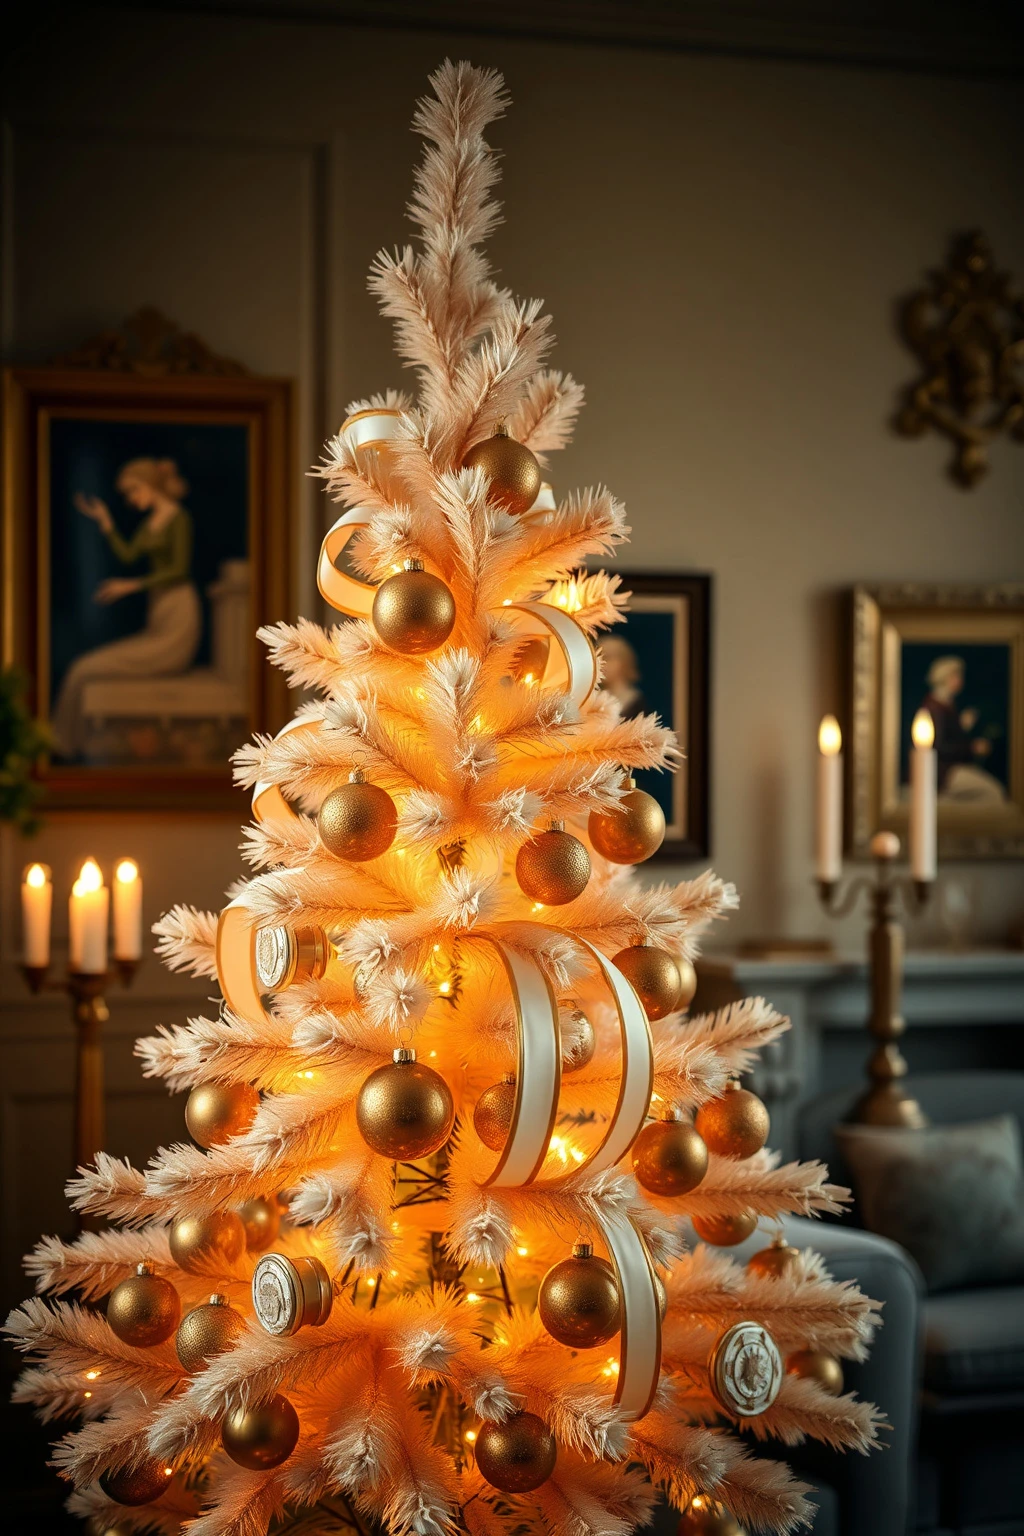
Flocked trees can go either elegant or cheap-looking, depending on how they’re layered. The trick is to pair the white texture with warmer, older-looking finishes so the tree doesn’t turn icy.
Use a pre-lit flocked tree, then choose ornaments that repeat a palette: antique gold, tarnished brass, and warm ivory. Add at least two sizes of glass ornaments (around 2.5-3 inches and 4-5 inches) and scatter them using a simple rule: 70 percent in clusters and 30 percent spaced out. Incorporate one sentimental “memory” section, like a string of vintage card-style ornaments or a strand of miniature wrapped candies in vintage paper, placed slightly higher than eye level. Avoid going too symmetrical; Victorian decor looks collected over time, so you want pockets of interest, not perfect columns.
Gingerbread-Print Wallpaper Rolls as Ornament Backdrops
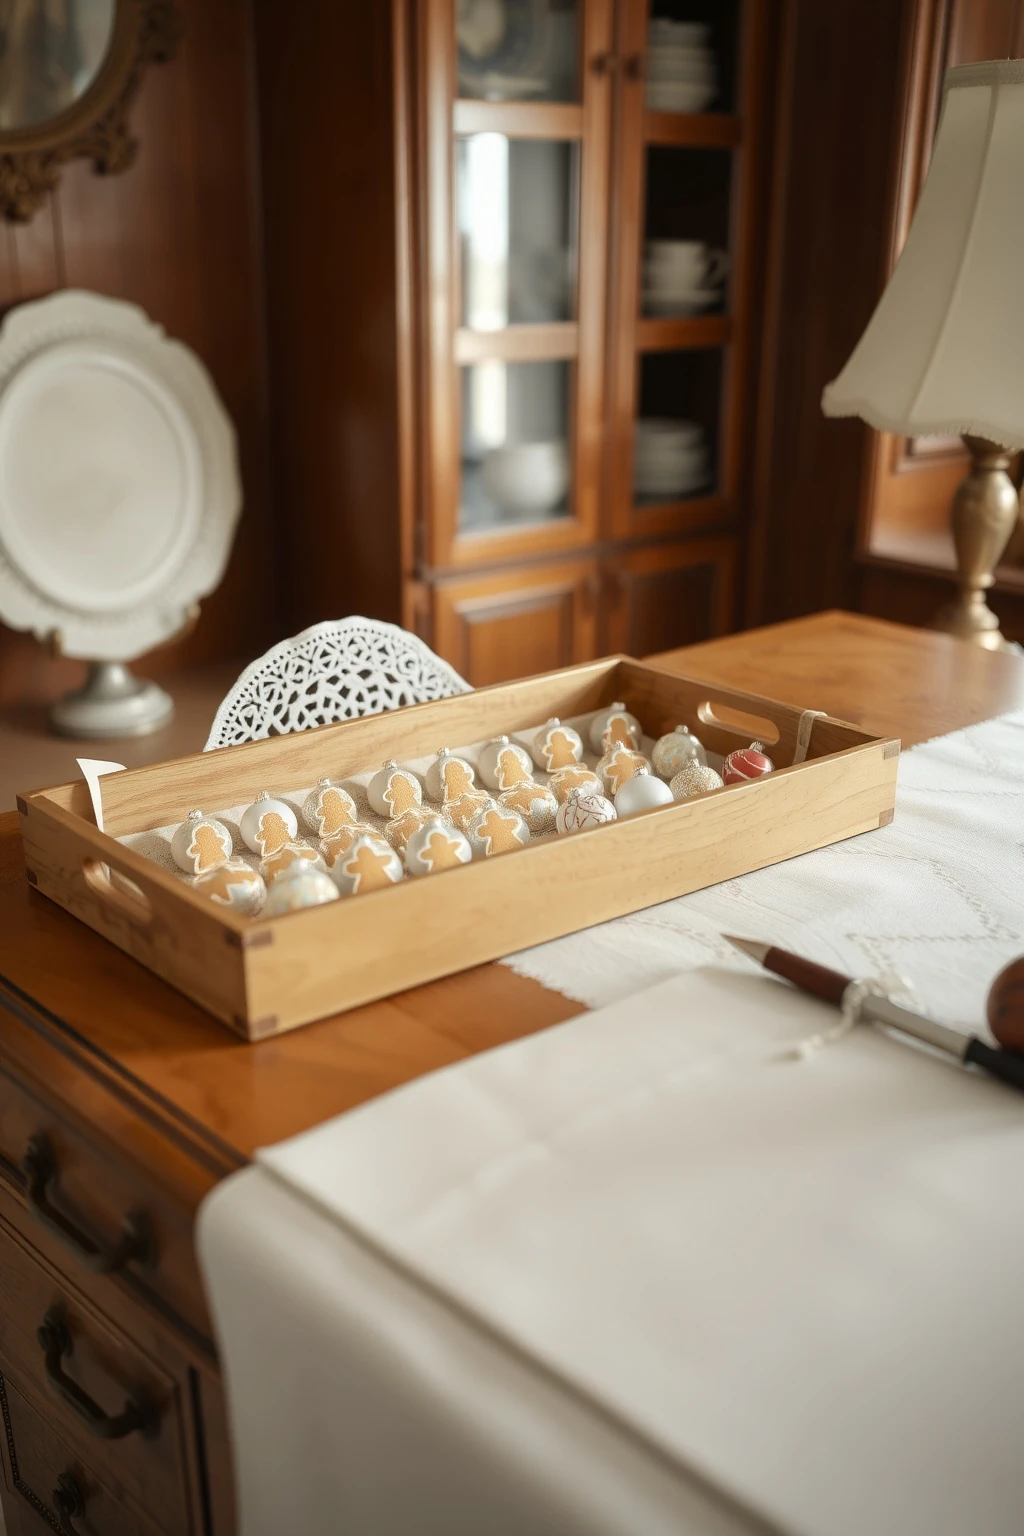
Those adorable gingerbread prints usually end up as a border that disappears in the noise. Instead, treat patterned paper like a stage set so your holiday objects look curated, not randomly dropped.
Cut sheets of gingerbread or Victorian motif paper into 6-8 inch strips and line the back of a tray, a shadow box, or even the back of a small cabinet shelf. Add a 1-inch “ledge” by folding the top edge, so ornaments sit with a clean horizon line. For a more upscale feel, layer a thin doily or lace paper insert behind the first row of ornaments, then top with a gold cord or narrow ribbon. Keep the paper visible in at least three spots across the room, otherwise it reads like leftover craft supplies.
Book-Spine Wreaths for the Hallway That Gets No Front Door Light
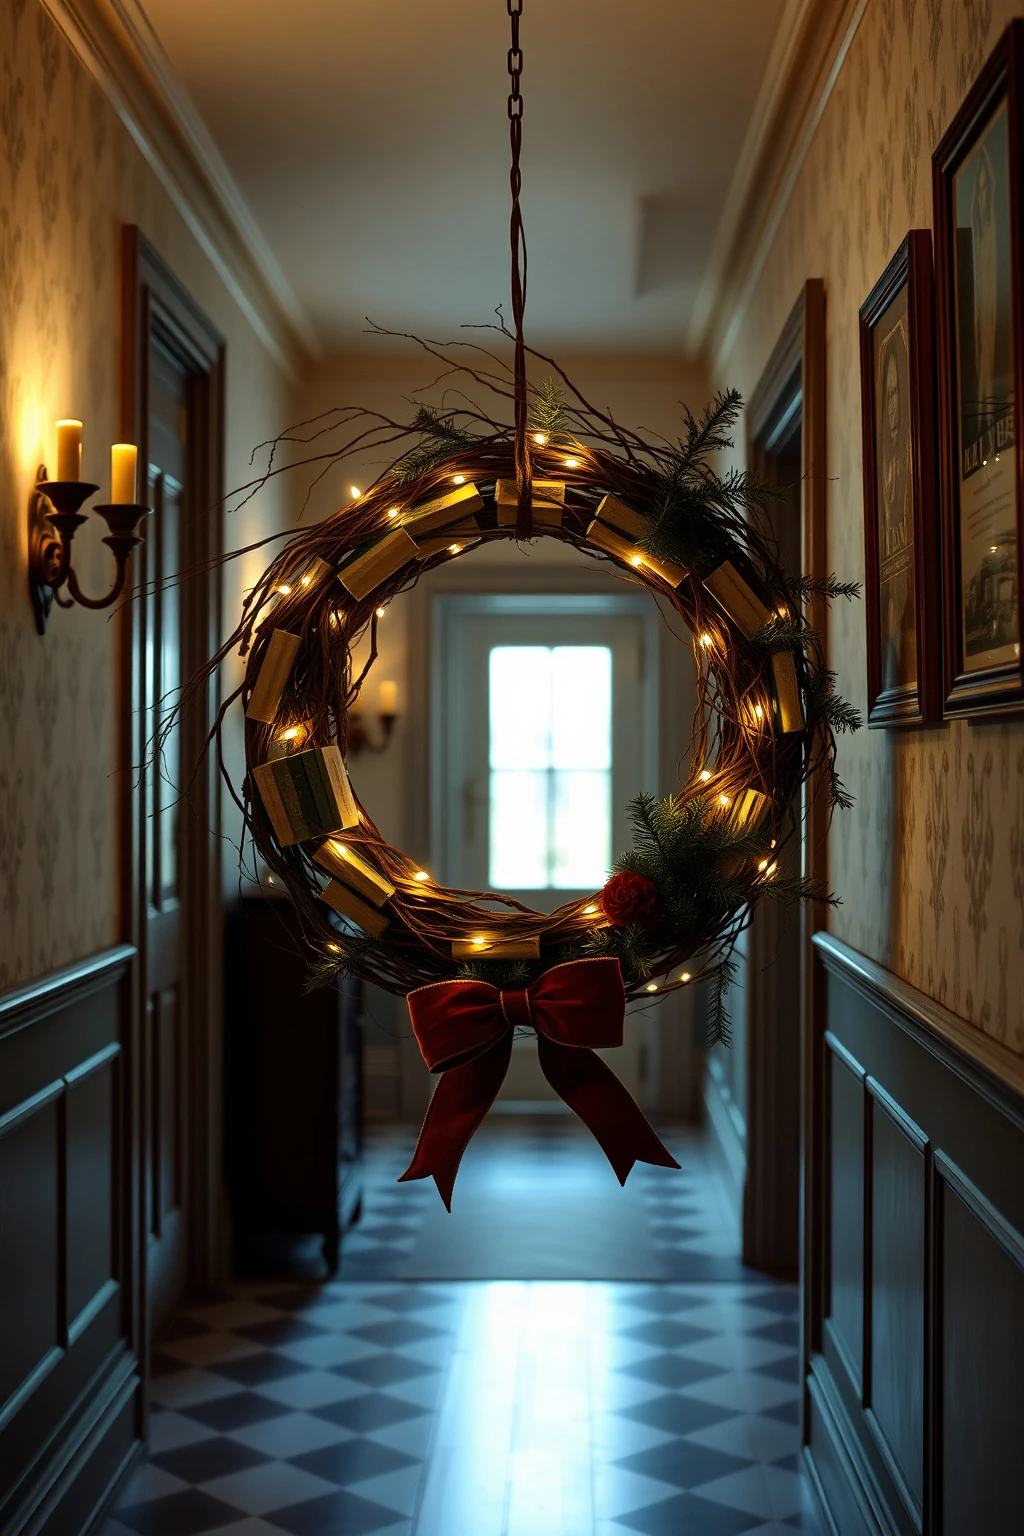
In a north-facing hallway, wreaths can look flat because they’re not getting any direct brightness. If your hallway lighting is limited, build depth with vertical shape and reflective accents.
Choose an old book spine theme (Victorian novels, leather-bound copies, or vintage hymnals) and create a “partial wreath” with a grapevine base. Instead of wrapping the entire circle tightly, leave 1-2 inch gaps so the evergreen and ribbon can catch light. Add a thin line of warm white LED fairy lights inside the wreath ring so you’re illuminating texture, not just outline. Finish with a bow in velvet and hang it so it sits 68-72 inches from the floor, which tends to hit the most flattering height for hallway eye level.
Victorian Table Runner Rule: 14 Inches of Bare Table Is the Secret
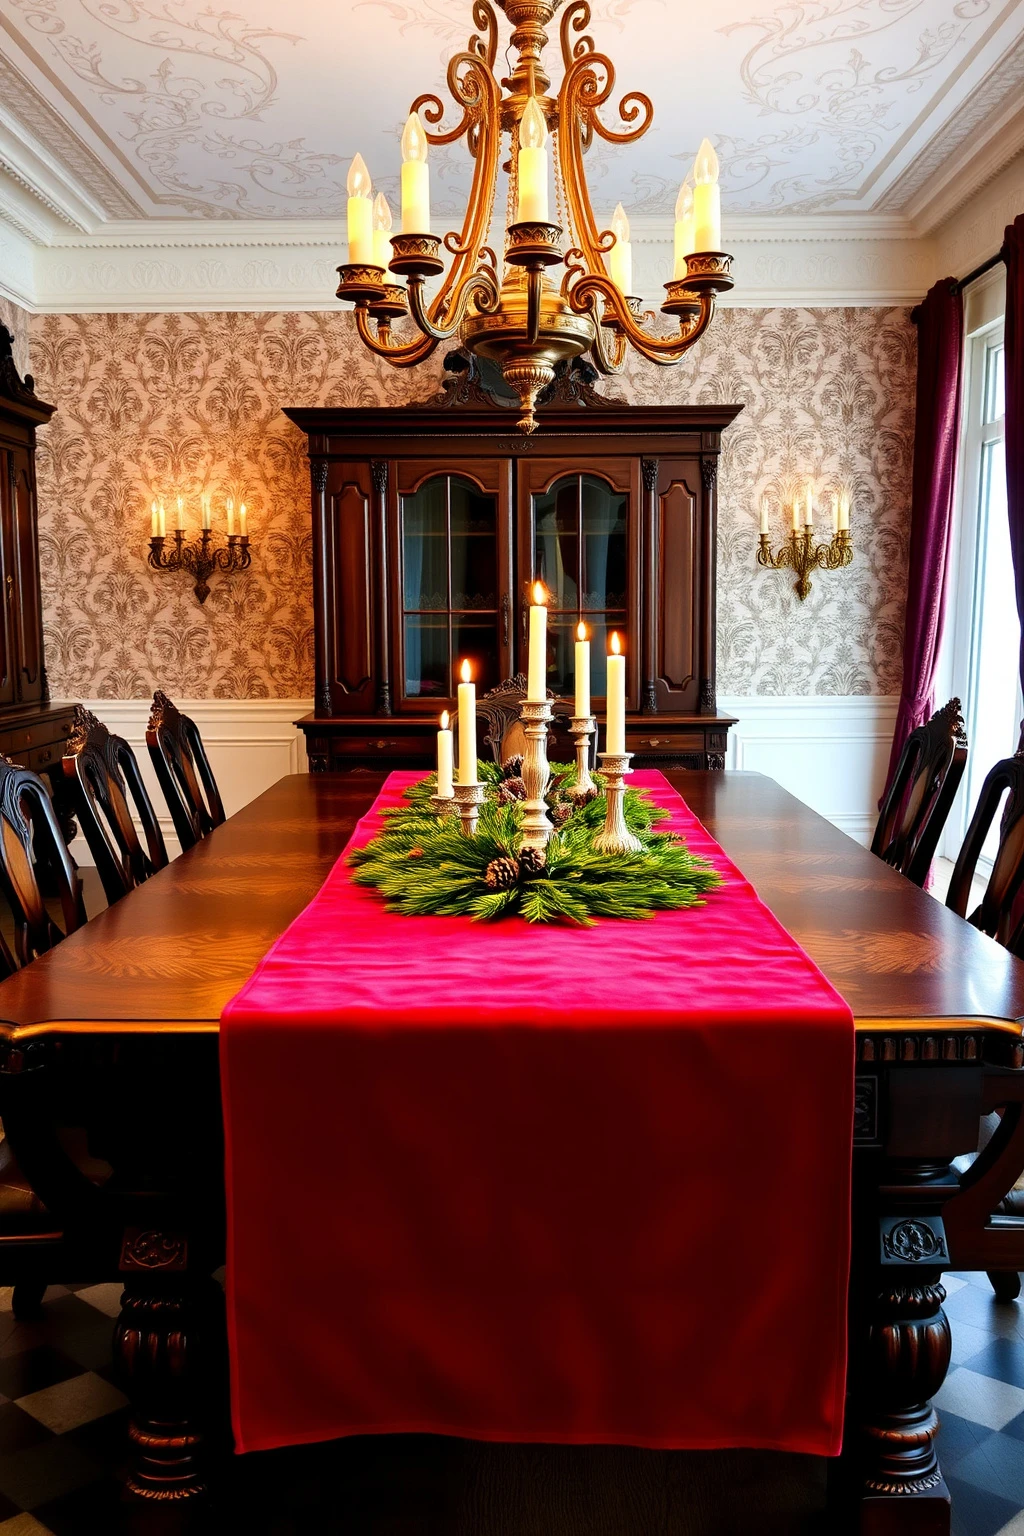
People overfill the dining table and end up with a cluttered centerpiece that blocks conversation. Victorian styling is generous with negative space, so you can see the table surface and make the centerpiece feel special.
Measure your runner so it leaves 14 inches of bare table on each end. For most 60-inch tables, that usually means a runner around 32-36 inches wide and about 14-18 inches shorter than the tabletop length. Layer a narrow velvet runner on top of a plain linen base if you want richness without bulk. Place one long centerpiece down the middle, not three shorter ones, so the arrangement has a single visual rhythm and doesn’t fight the place settings.
Candles That Don’t Feel Unsafe: LED in Glass Hurricanes
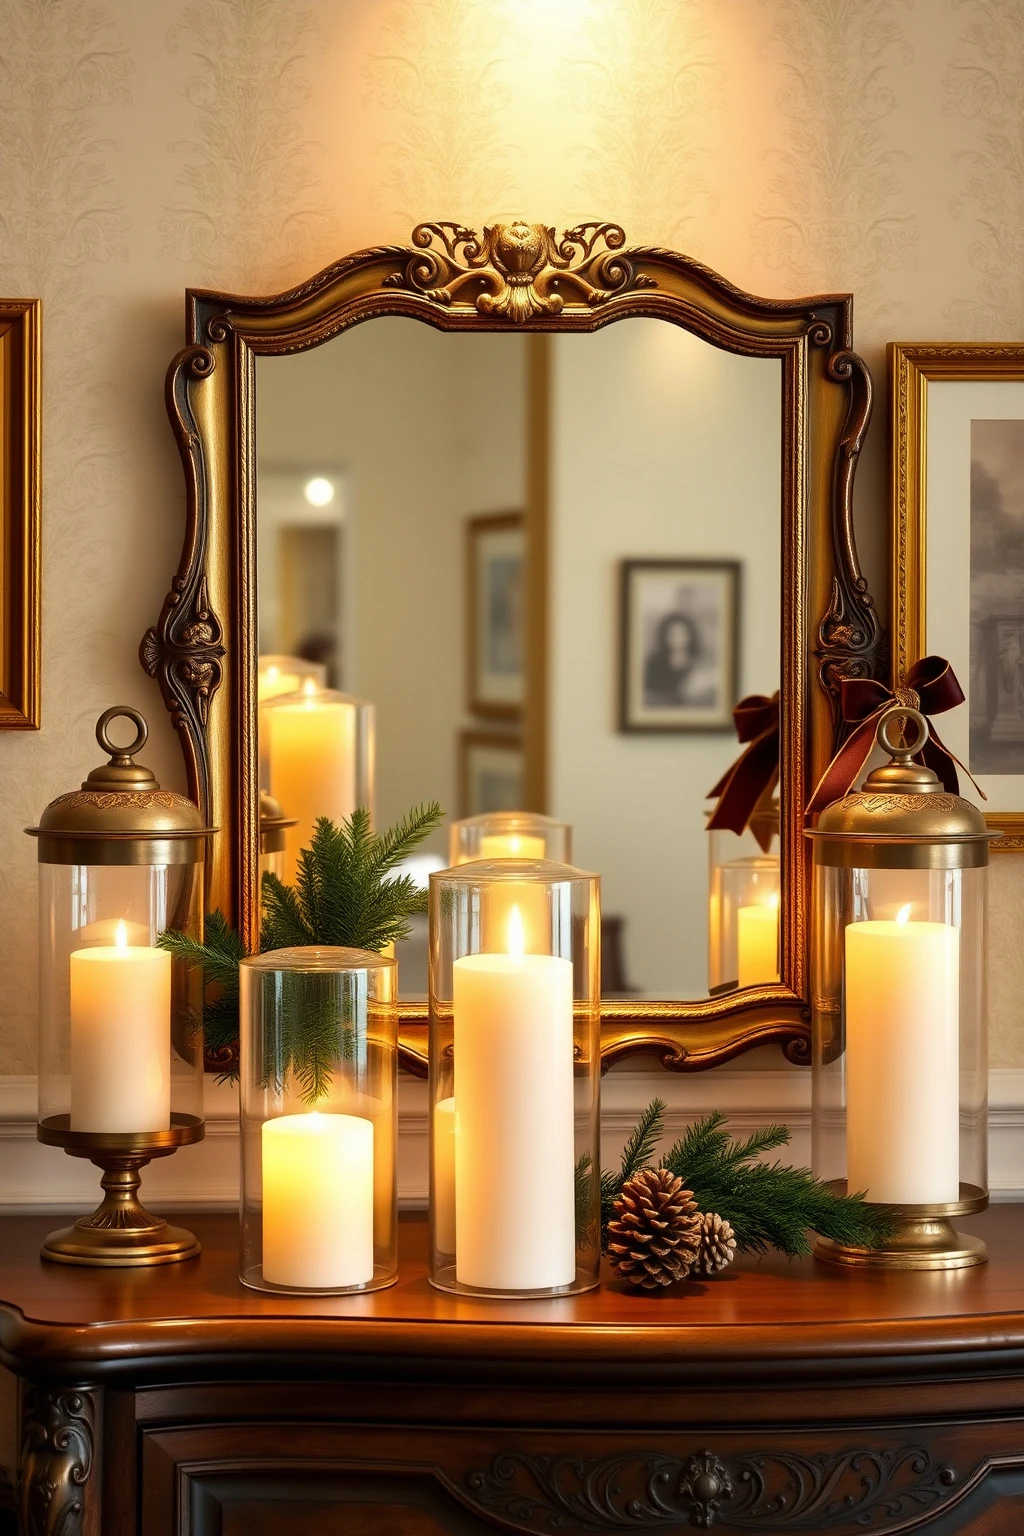
If you love the look of Victorian candlelight but you have kids, pets, or drafty windows, you can still get the romance. Real candles can be a hassle during busy hosting days, and LED options now look genuinely convincing in glass.
Buy or repurpose clear glass hurricanes, then set warm-white LED candles inside with a visible flame flicker. Group three hurricanes in a triangle, with the tallest at the back, and keep the candle height within 2-3 inches of each other so the arrangement feels composed. For extra depth, wrap the candle base in a thin band of twine or ribbon so the bottom doesn’t look “floating.” Place these on mantels or sideboards where people naturally stop and look, instead of on the main dining center where they’ll block sightlines.
Ornament Placement by Weight: Start with 12-14 Heaviest Pieces
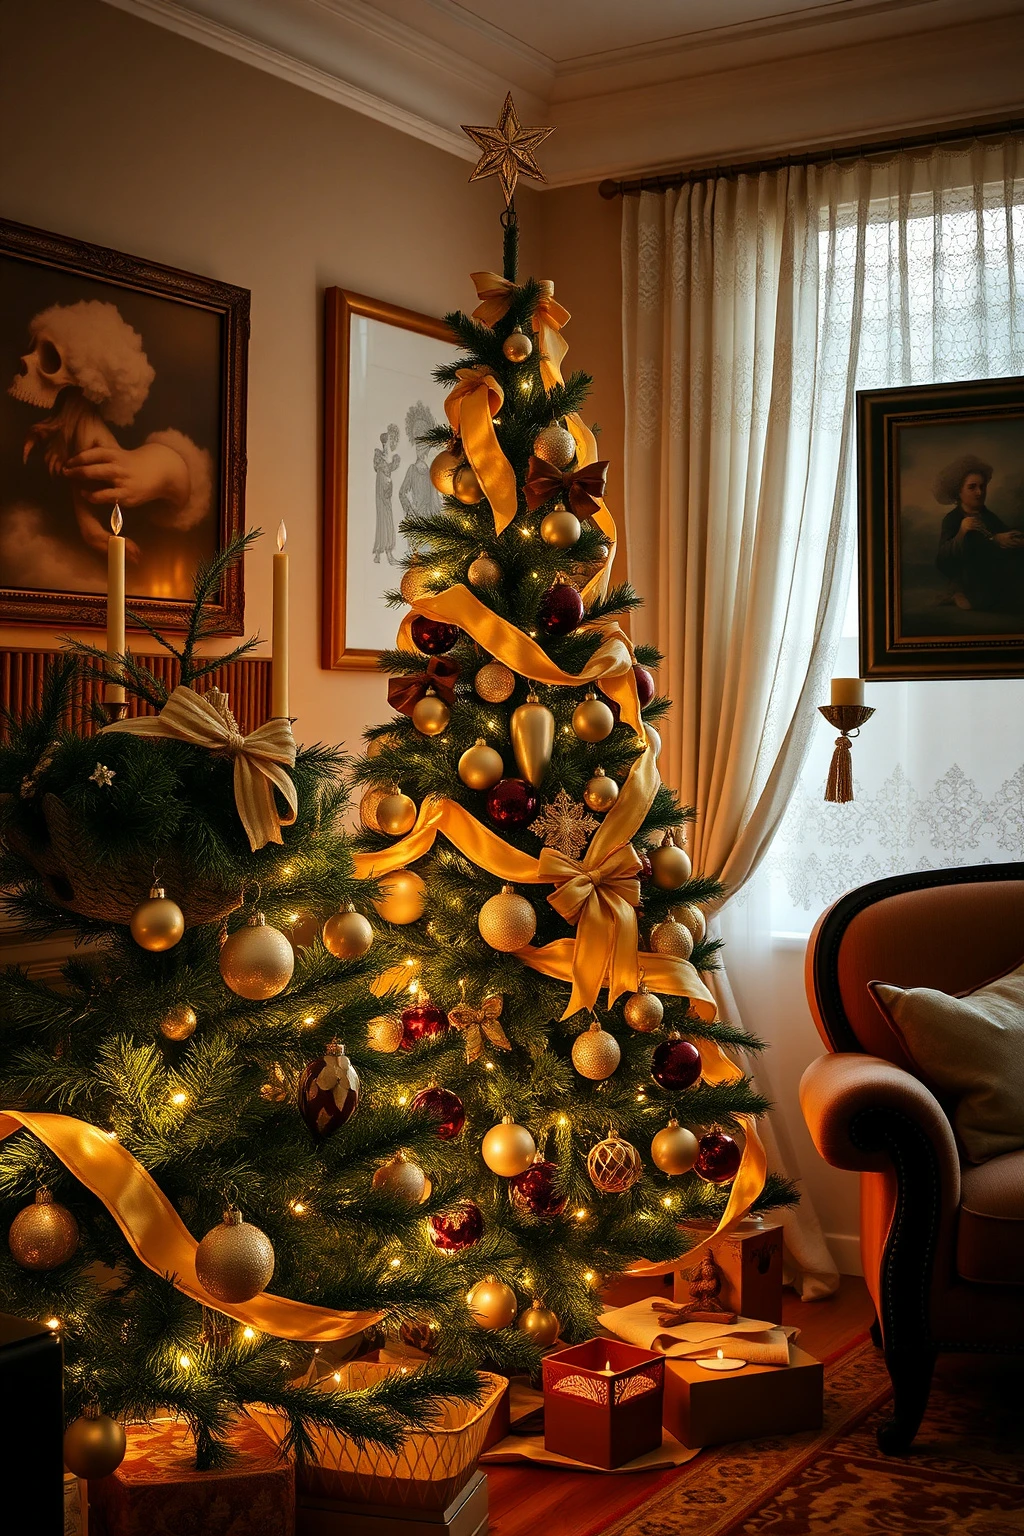
Many people hang ornaments as they go, which leads to a lopsided tree that never quite looks finished. Victorian trees look balanced because the heavy ornaments are placed first and everything else builds around them.
Before you hang anything, divide your tree into three vertical zones and plan where the “anchor” ornaments will go. Place 12-14 heaviest ornaments first, about 6 inches apart from each other within each zone. Add medium ornaments next, then finish with tiny glass picks last so they fill gaps instead of creating clutter. If your tree is in a corner, rotate the placement so the densest section faces the room most often, leaving a lighter “back curtain” behind it for realism.
Stocking Styling: One Velvet, One Knit, One Vintage Handkerchief
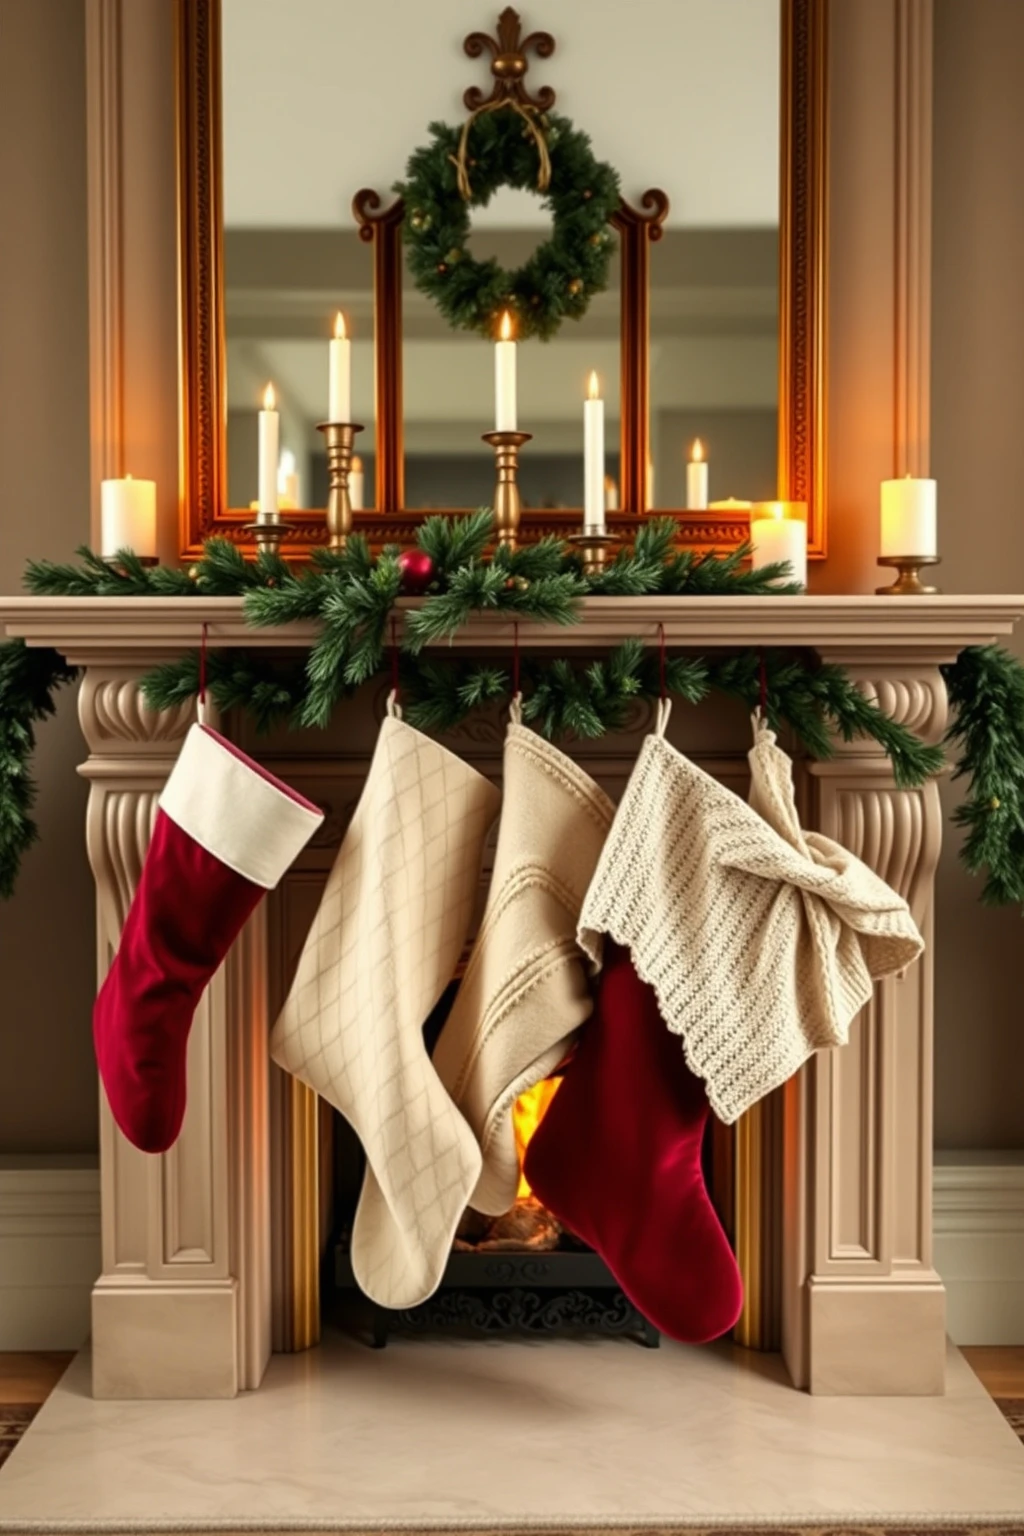
Stockings can tip into theme-party mode if they all match perfectly. Victorian vintage style is about mixing textiles with similar undertones, so the fireplace feels collected.
Choose three stockings with different textures: a velvet stocking in burgundy, a chunky knit in oatmeal, and one “found” piece like a vintage handkerchief tucked into a small stocking shape. For placement, hang them with the centers spaced about 3-5 inches apart, not touching, so each textile reads clearly. If you’re short on space, skip the stocking hooks and use small brass nails to hang them lower, about 6-8 inches above the hearth base. Keep the ornament palette consistent with your tree (antique gold, warm ivory), so everything feels like one story.
Window Garland That Works: Layer One Sheer Panel + One Ribbon Tie
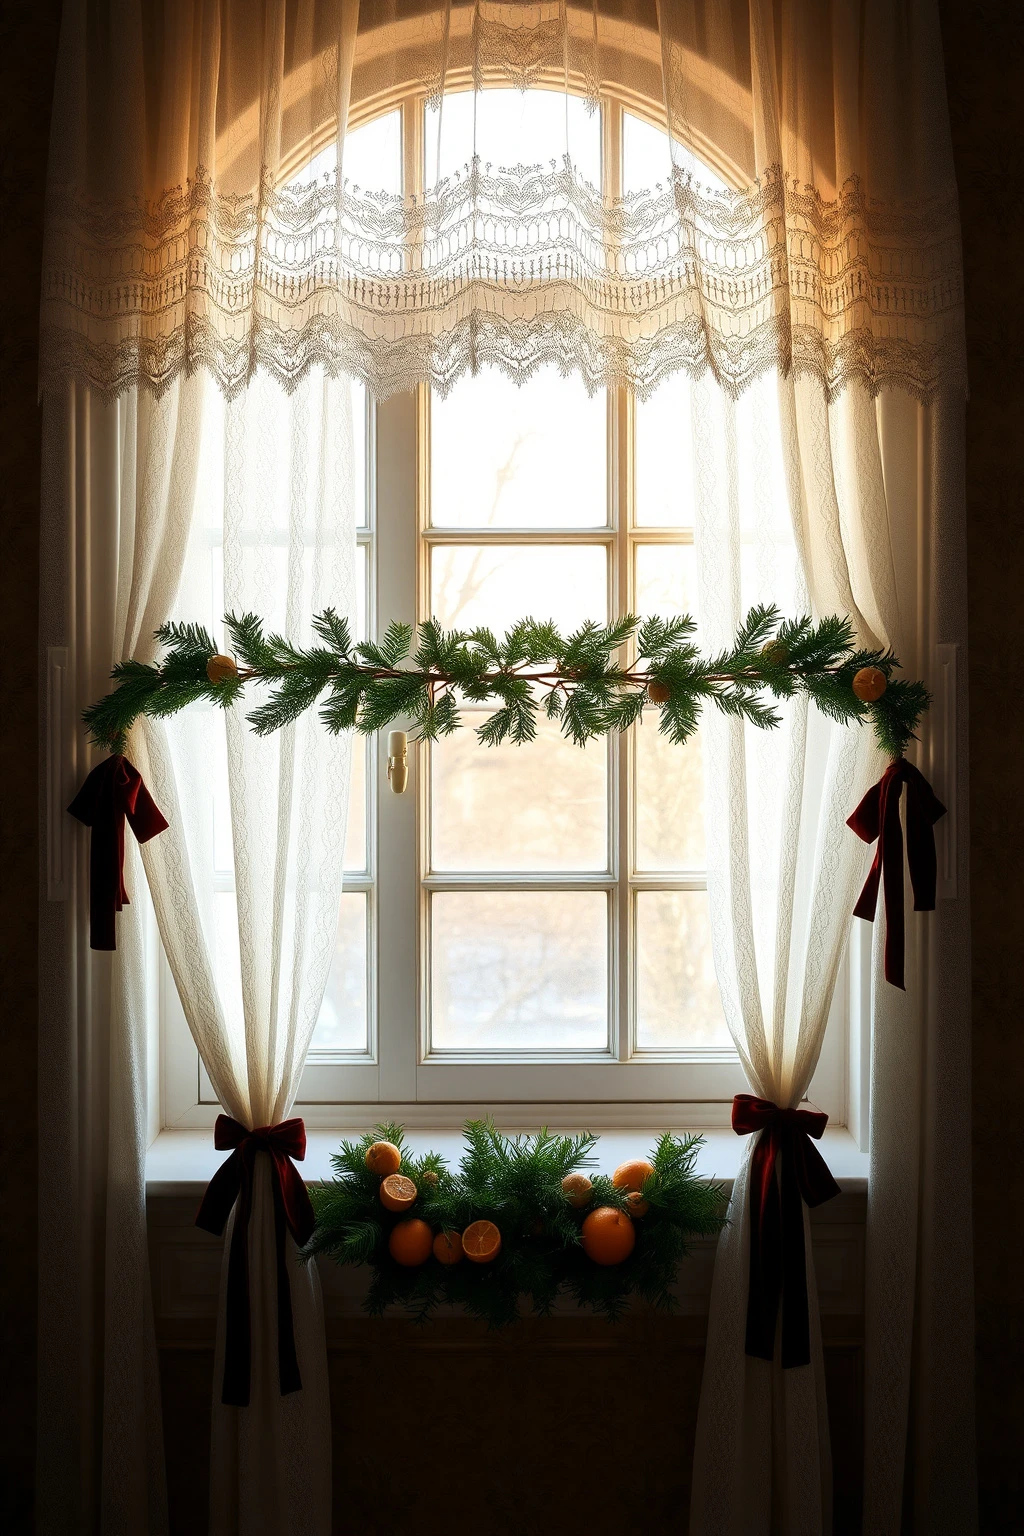
Window garlands often look tangled because people try to cover every inch. A Victorian approach is lighter: let the window dressings do the work, and use garland only as a framing detail.
Drape evergreen lightly across the top rail of the window and add one ribbon tie in velvet at each end. If you have sheer curtains, hang the sheers slightly above the garland so it creates a soft “mist” effect around the greenery. Use a narrow ribbon width, around 1.5-2 inches, so the window doesn’t become visually heavy. For a small apartment window, skip the ribbon and instead use a single strand of dried orange slices at eye level for a concentrated focal point.
Porch or Entryway Planter: Pine Boughs + Brass Ornaments in a Metal Pail
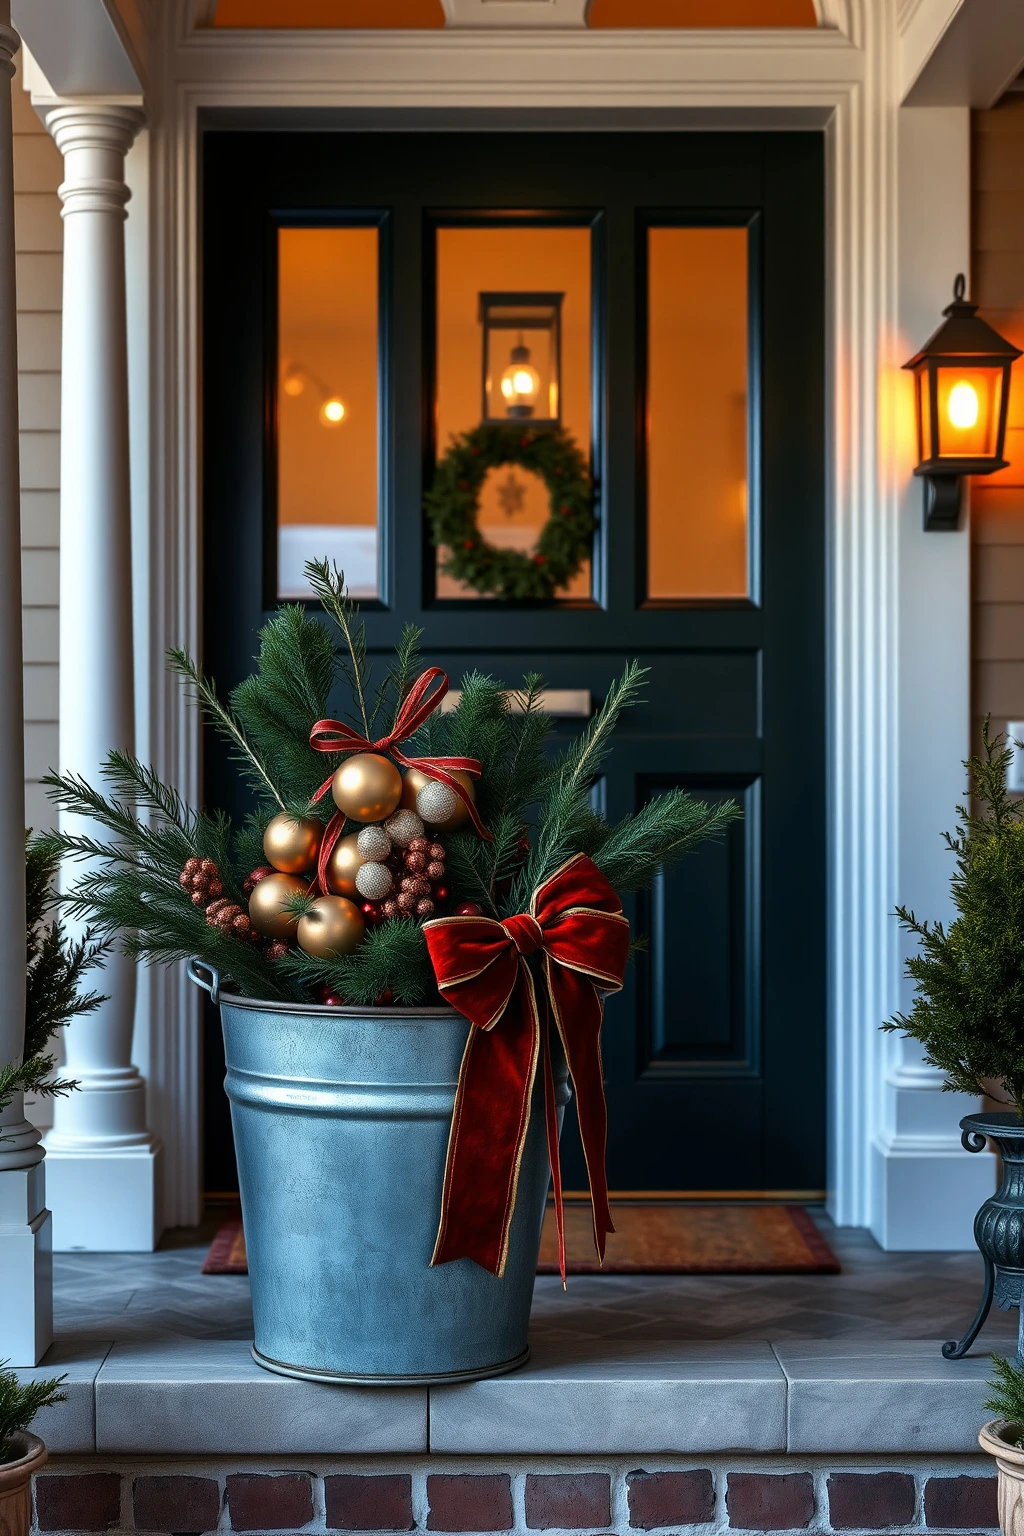
Outdoor Christmas decorating can go wrong fast when it looks like a thrift pile left in the rain. The Victorian vintage fix is to choose weather-friendly containers and keep the materials cohesive.
Line a galvanized metal pail or an antique-style planter with a water-resistant liner, then anchor pine boughs at the rim using floral foam or chicken wire. Add brass ornaments in clusters, but use plastic or shatterproof versions if your wind is rough. Finish with a thick ribbon bow wrapped around the pail handle or rim, keeping tails long enough to flutter but not drag on the ground. Place the pail near a lit fixture if you can, because warm light makes brass look deeper and pine look richer.
Mantel Art: Swap One Photo Frame for a Mini Diorama Shelf
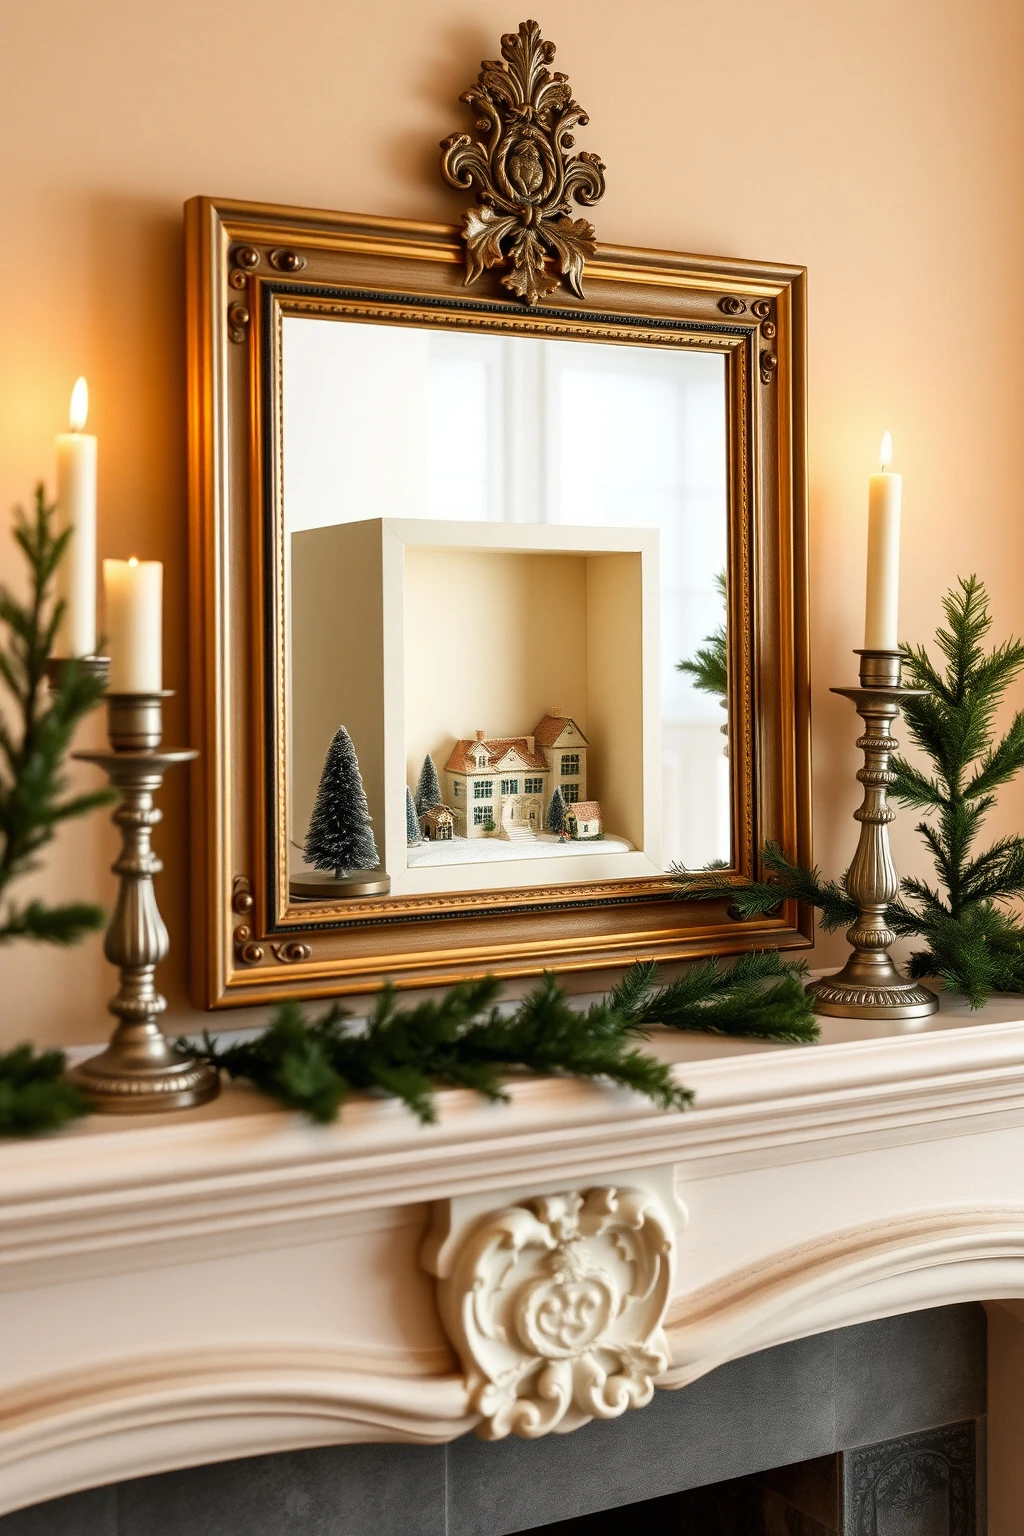
Instead of adding more objects to a mantel that’s already full, create a small “scene” that sits like decor in a gallery. Victorian rooms loved miniature worlds, and a diorama shelf gives you that without clutter.
Choose a vintage shadow box or a mini shelf, then fill it with three layers: a base of faux moss or dried lichen, a mid layer of miniature houses or bottle brush trees, and a top layer of a small garland or star pick. Keep the color palette within one range, like warm ivory, pine green, and antique gold, so it doesn’t look toy-like. Position it on the mantel center, then balance it with two candlesticks at similar heights. Dust the scene lightly before styling so the textures read crisp under lamplight.
Dining Chairs, Not Just Centerpieces: Velvet Sashes in Sets of Four
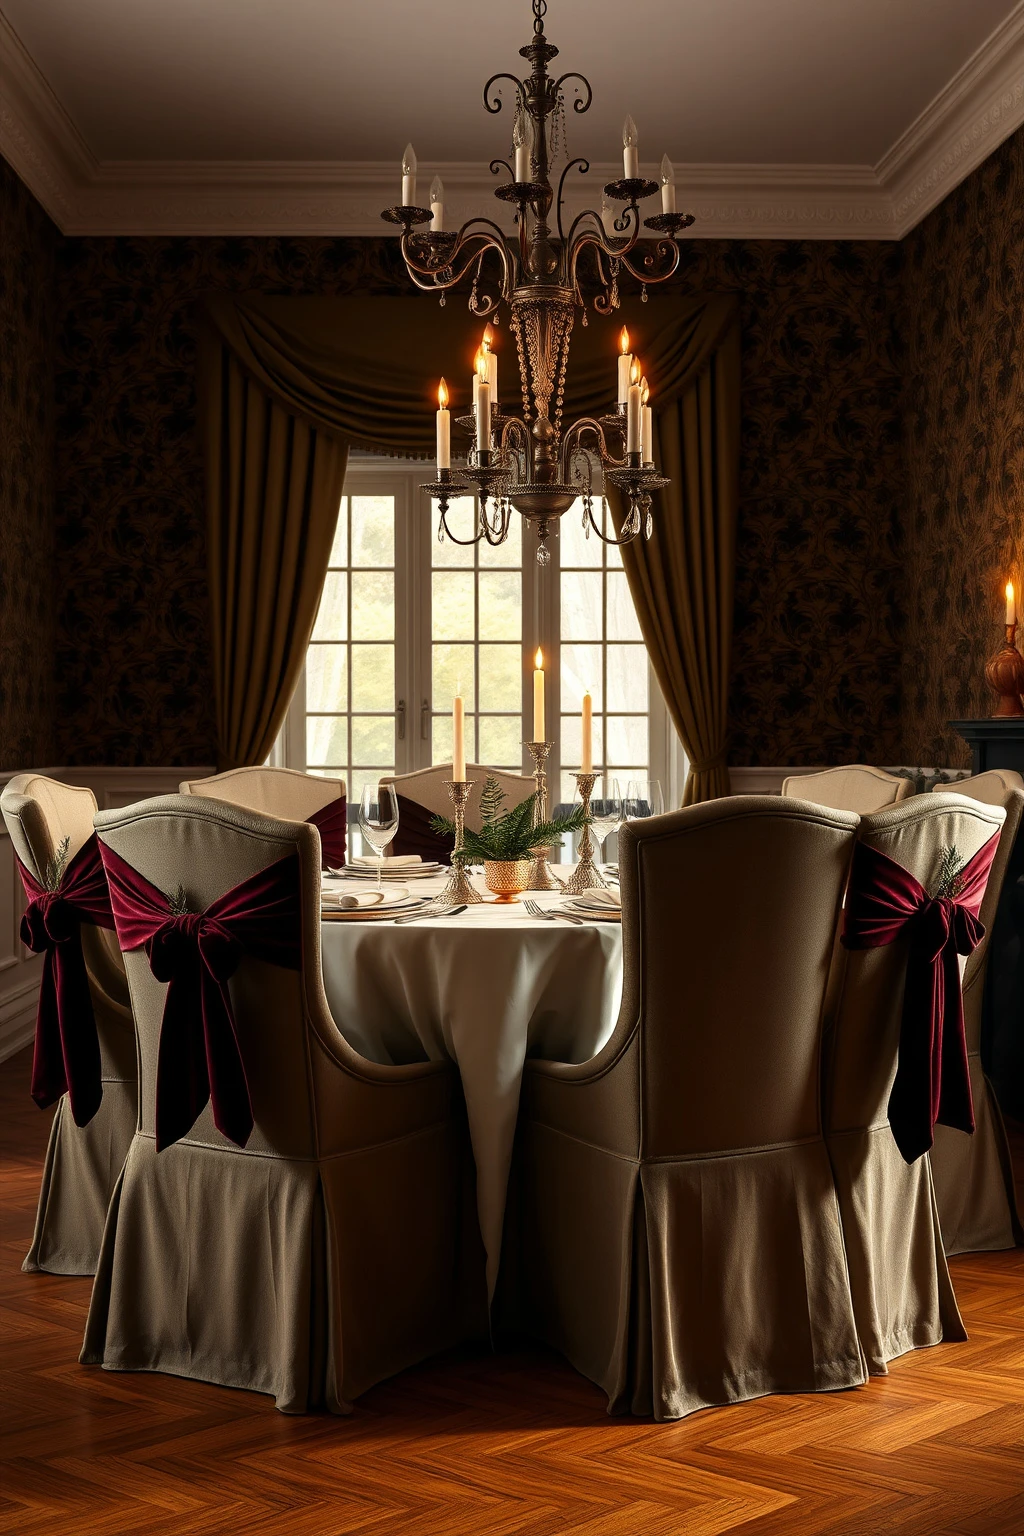
If your guests sit down and the chairs look bare, the whole dining setup feels unfinished. Victorian dinner parties often dressed chairs in coordinated textiles, and it’s surprisingly easy.
Get four chair-back sashes in velvet or velour in deep green, burgundy, or warm wine. Tie each sash so it sits about 2 inches below the top of the chair back, then pin a small sprig of evergreen at the tie knot using floral wire. Keep the ribbon length consistent so your eye reads the set as one line. If your chairs are upholstered and already busy, skip ornaments on the sash and rely on the texture and color contrast only.
Coffee Table Styling for Small Living Rooms: One Tray, Three Heights
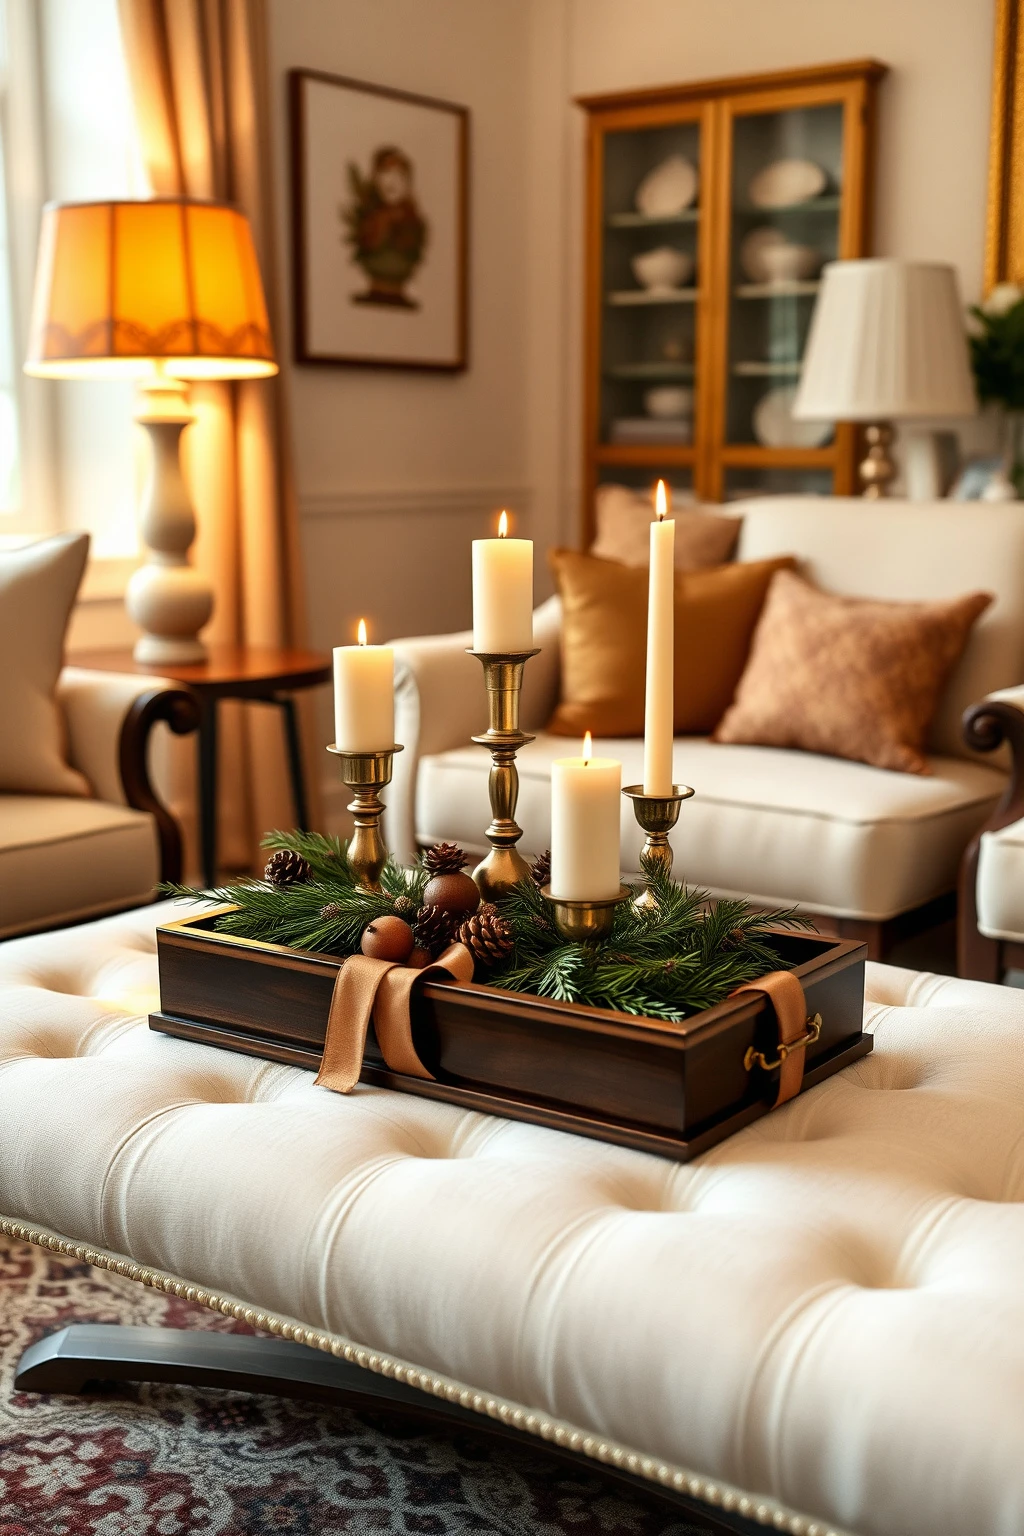
In a small living room, holiday decor needs to be traffic-friendly. If you set scattered items across the table, people bump them, and it always looks messy by week two.
Use one large tray, ideally 16-20 inches wide, and build a three-height arrangement: a low base (candles or pinecones), a medium layer (a bowl or cloche), and a tall pick (a taper candle holder or branch). Keep the widest part of the arrangement within the tray edges so nothing overhangs toward walking paths. Choose materials that feel Victorian: dark walnut trays, brass candle cups, and velvet ribbon around the base. For a practical swap, use battery flameless candles if you have low shelves or awkward reach while carrying drinks.
Staircase Garlands: Hang Branches First, Then Add Ornaments at the End
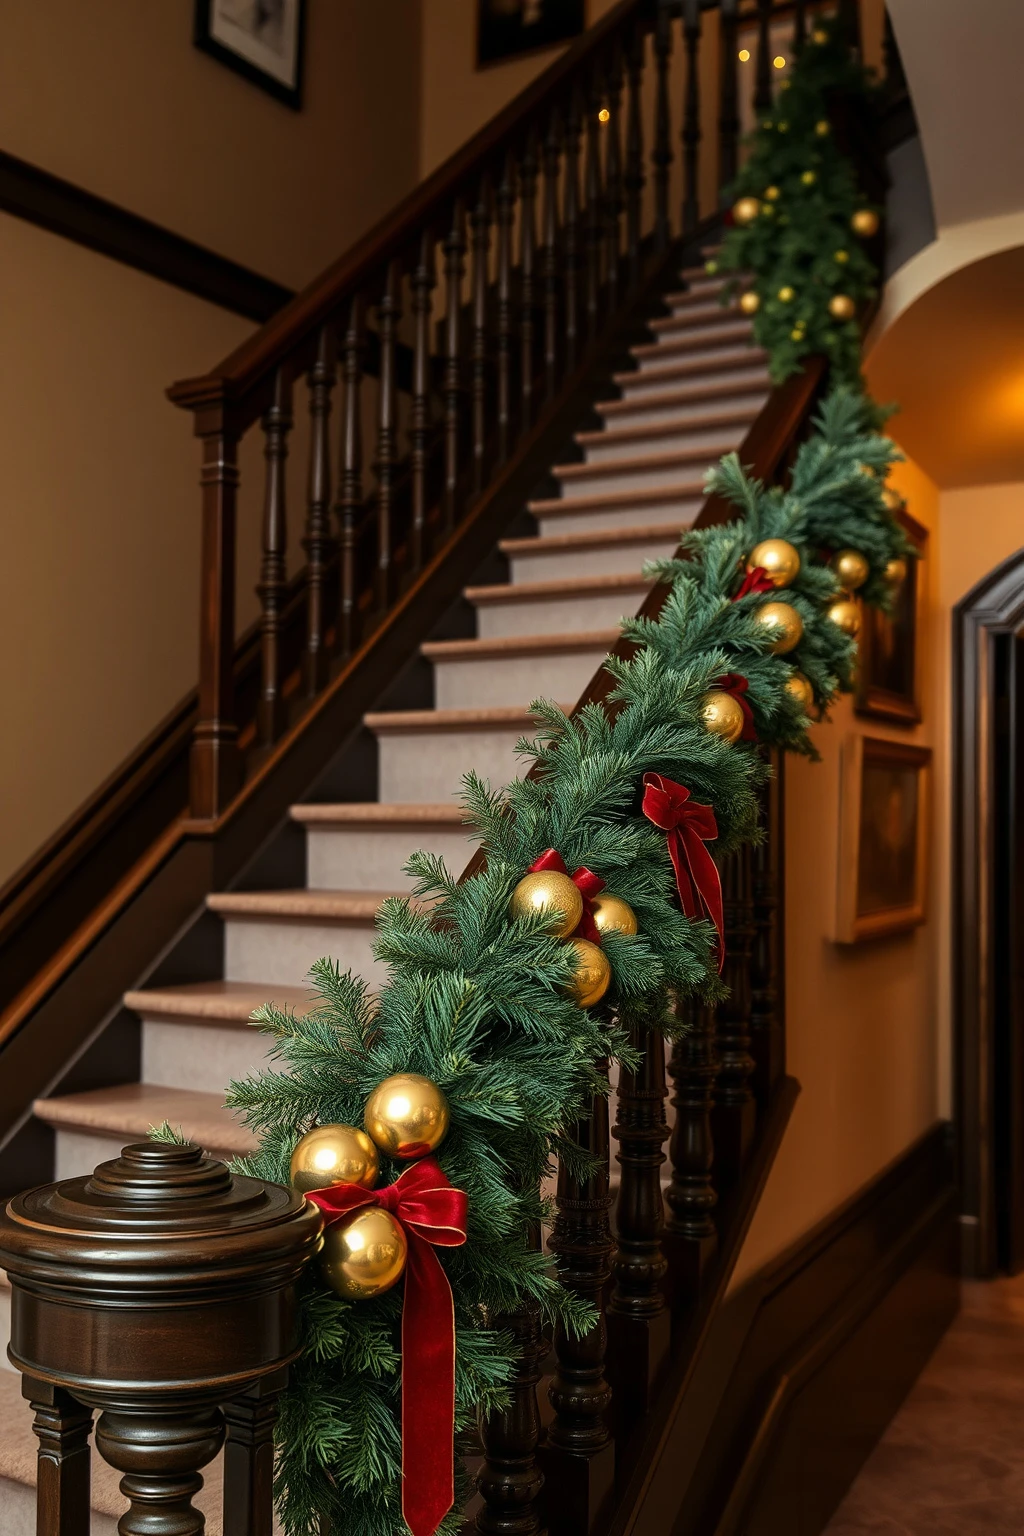
Staircases are high impact, but they’re also easy to ruin by hanging ornaments too early. Branches first gives you a rhythm and scale, then ornaments become punctuation.
Attach evergreen branches along the railing using zip ties or floral wire, spacing them about 6 inches apart so the garland doesn’t look like one long clump. Step back every two feet and adjust so the garland line follows the staircase curve cleanly. Only after it’s secure, add ornaments by clustering five to seven on each landing-facing section. If your staircase is narrow, skip long ribbon lengths and use shorter ties that sit flat, around 10-12 inches long, so you don’t snag sleeves while walking.
Candle Mantel Base Layer: Burlap + Lace, Not One or the Other
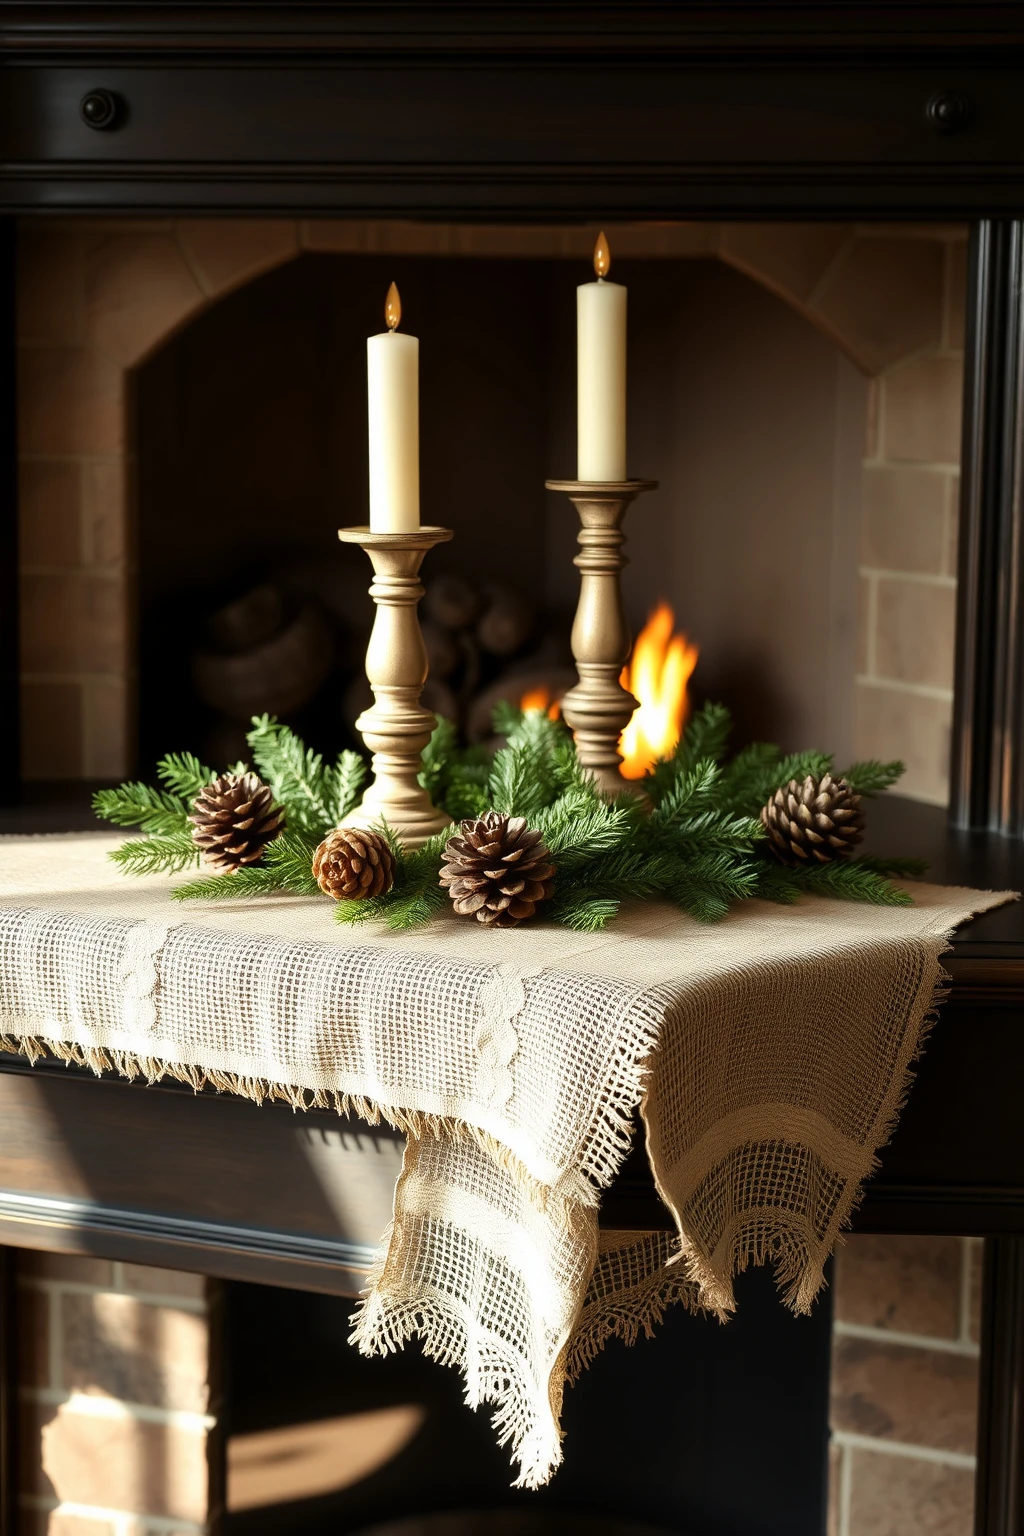
Burlap alone can look rustic, and lace alone can look delicate and fussy. Put them together and you get Victorian contrast: rough against refined, cozy against polished.
Layer a strip of burlap across the mantel base first, then top it with a thinner lace runner so the lace shows at the edges. Keep the burlap neutral, like oat or natural jute, and use lace in cream or ecru. Place candlesticks and pinecones directly on the base layer so it anchors the whole arrangement visually. If you worry about the mantel looking messy, tuck the burlap ends underneath so only the top texture is visible, and don’t let it extend past the longest candlestick by more than 2 inches.
Porcelain and Brass: Build a Two-Color Ornament Ladder on Shelves
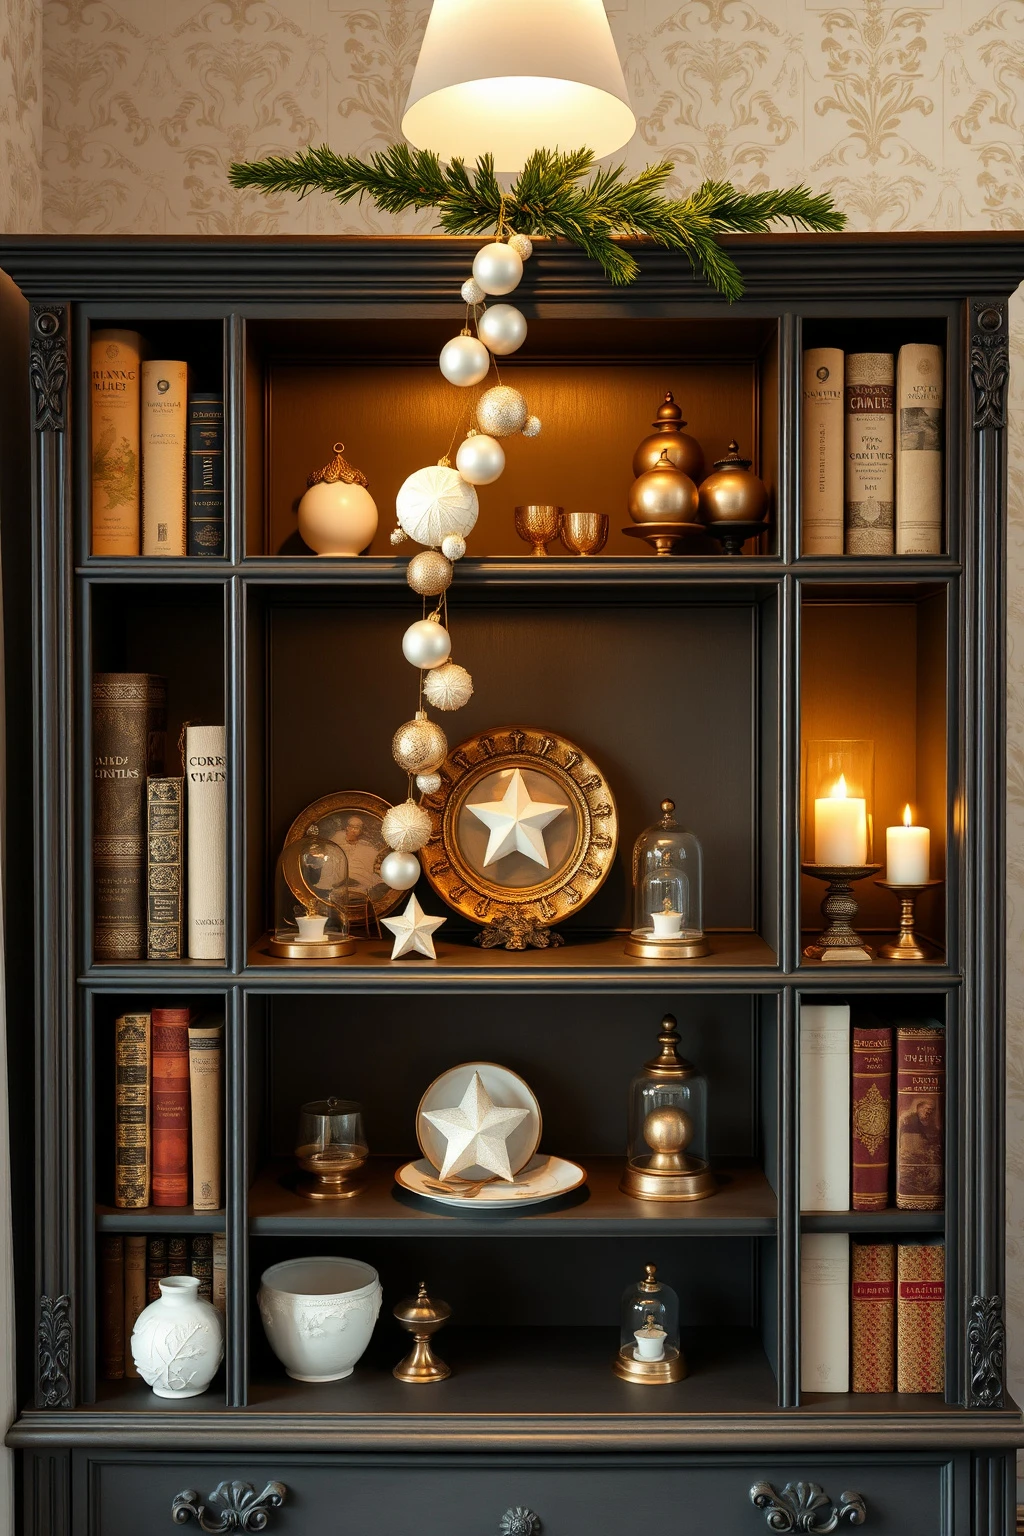
Shelves can look chaotic because ornaments are different sizes but no one controls the color. A Victorian vintage shelf can look calm if you limit color and create vertical rhythm.
Pick two ornament colors only, like antique gold and warm ivory, then choose three shelf heights. Create an ornament “ladder” by stacking similar pieces at each level, for example 2-inch baubles in a row, then a taller cloche, then a single taller decorative branch at the top. Use porcelain elements, like small star dishes or vintage egg-shaped ornaments, to add a soft matte contrast to shiny brass. Avoid mixing too many patterns in one shelf span, especially if your wallpaper is busy, and keep the ribbon ties to one kind of bow style.
Vintage-Style Garlands from Reclaimed Lace Curtains
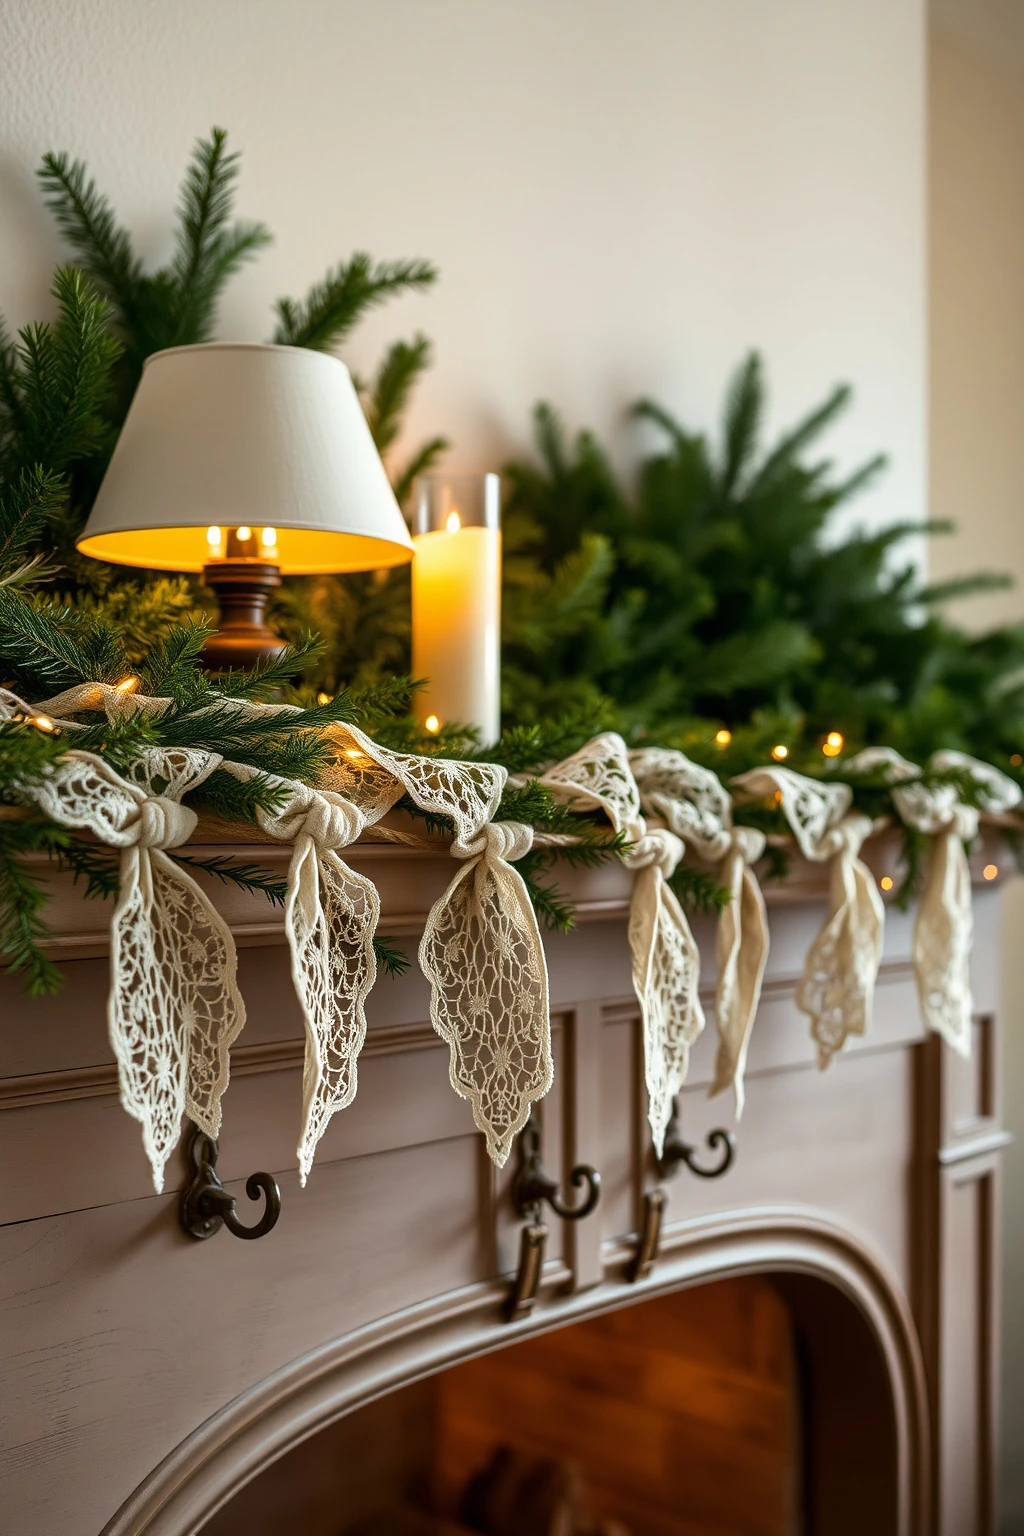
If you have an old lace curtain you can’t donate, don’t let it sit in a drawer. Turning it into garland gives you that Victorian softness without buying anything new.
Cut lace panels into 4-6 inch sections and knot them onto thin jute twine, spacing knots about 2-3 inches apart. Add evergreen sprigs at 12-inch intervals along the garland so it reads as winter, not just craft. Use antiqued gold ornament hooks to drape it over a mantel or along a curtain rod, then secure the ends with small tacks so it doesn’t slide. When lighting is dim, choose slightly thicker lace or back it with a piece of warm fabric so it doesn’t disappear at night.
Christmas Color Pairing for Dark Rooms: Charcoal + Warm Ivory
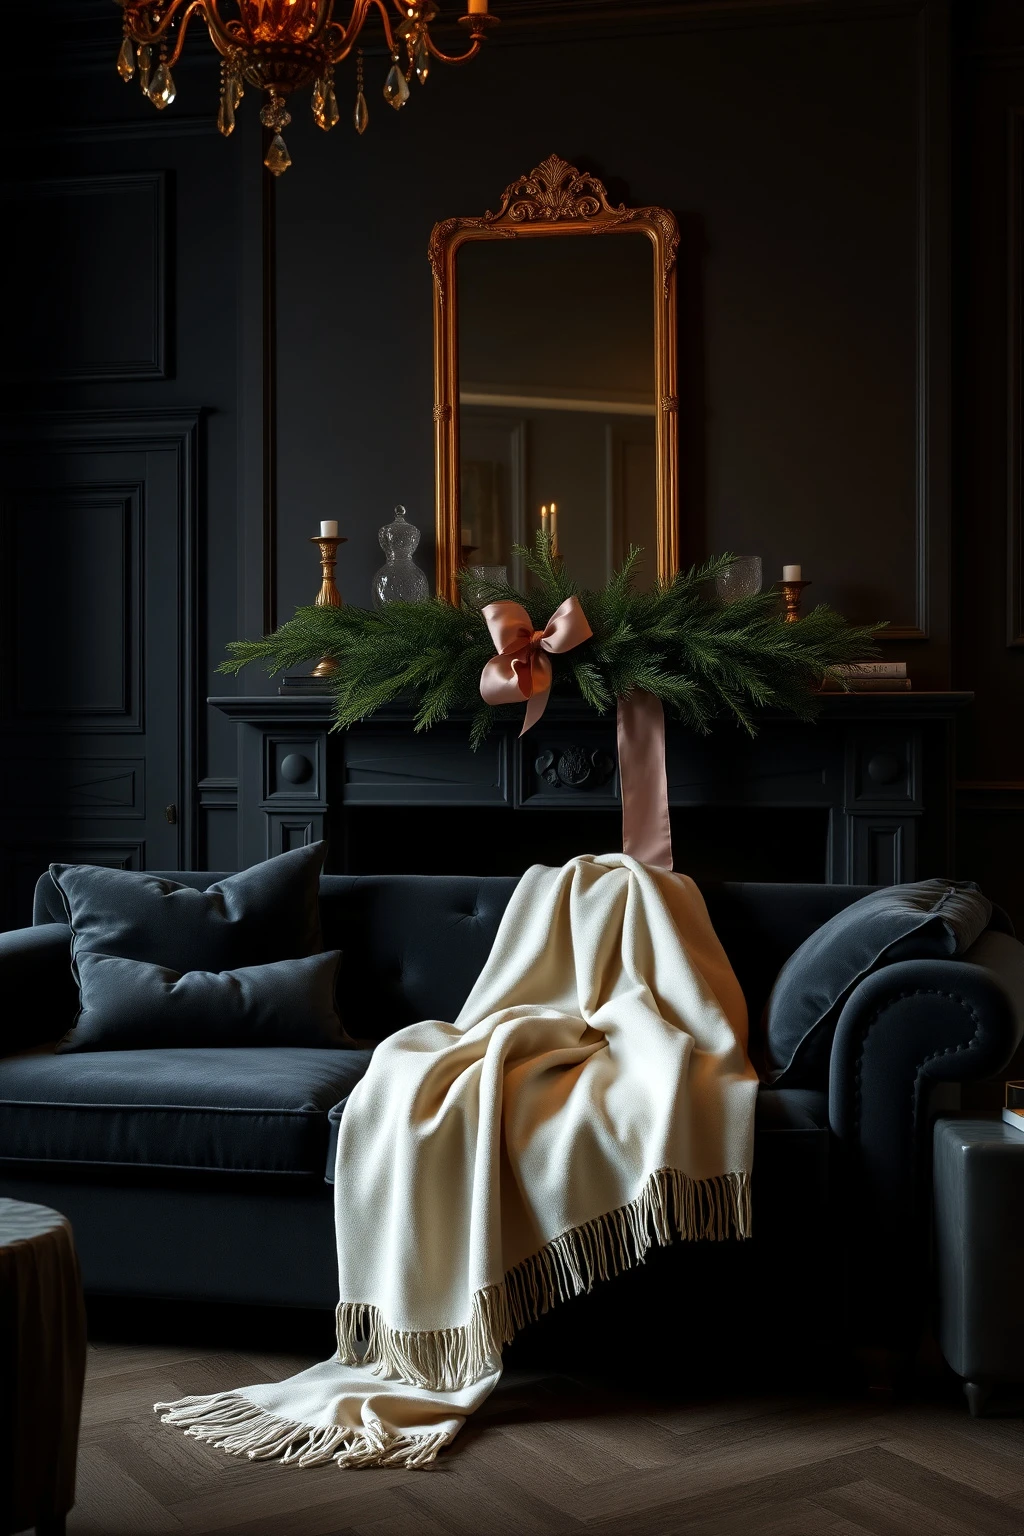
North-facing rooms or homes with dark walls need a brighter contrast plan, not just more decor. Charcoal plus warm ivory is a Victorian trick because it mimics old stone and candlelit paper.
On a charcoal sofa or dark paneled wall, add warm ivory throw blankets and then bring in one accent color, like dusty rose or antique gold. For the mantel, limit ornaments to warm ivory glass, tarnished brass, and a touch of deep green, so the palette stays coherent. Instead of a bulky wreath, use a slimmer evergreen arrangement with mercury glass and one velvet ribbon. This pairing helps your decor show up even when daylight is scarce because warm ivory reflects light more than cool whites.
Banister to Base: Keep the Christmas Tree in a “Viewing Triangle”
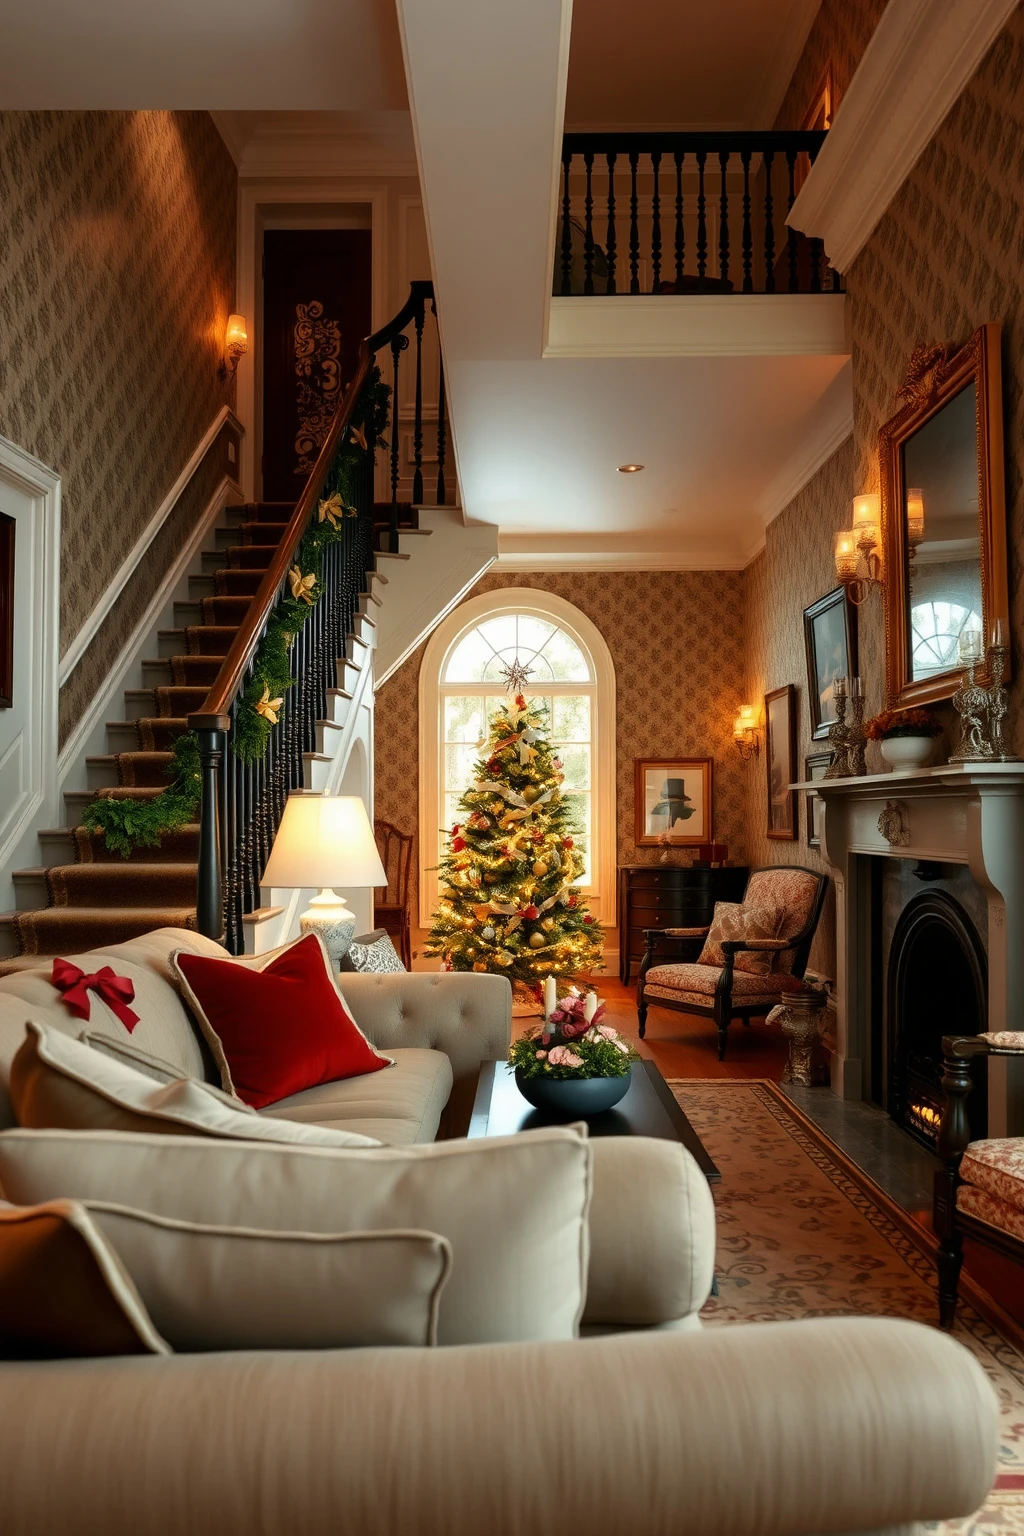
In an open-plan home, your decor can’t live everywhere at once. Victorian style often uses a viewing triangle, where the tree, mantel, and another focal point are connected visually.
Pick the three places you want to see from most often, like the living area seating, the staircase landing, and the dining table. Place the tree so it can be seen in line with the mantel and one seating corner, then pull the palette from one place to the next using repeating materials. For example, use the same velvet ribbon color in both the mantel garland and the tree topper. If you have a tight studio, substitute a slim floor tree with a tall tabletop version, and place it near the “triangle” focal point rather than in the far corner where it becomes invisible.
Entryway Table Hack: Use a Runner and a Single Bowl of Ornaments
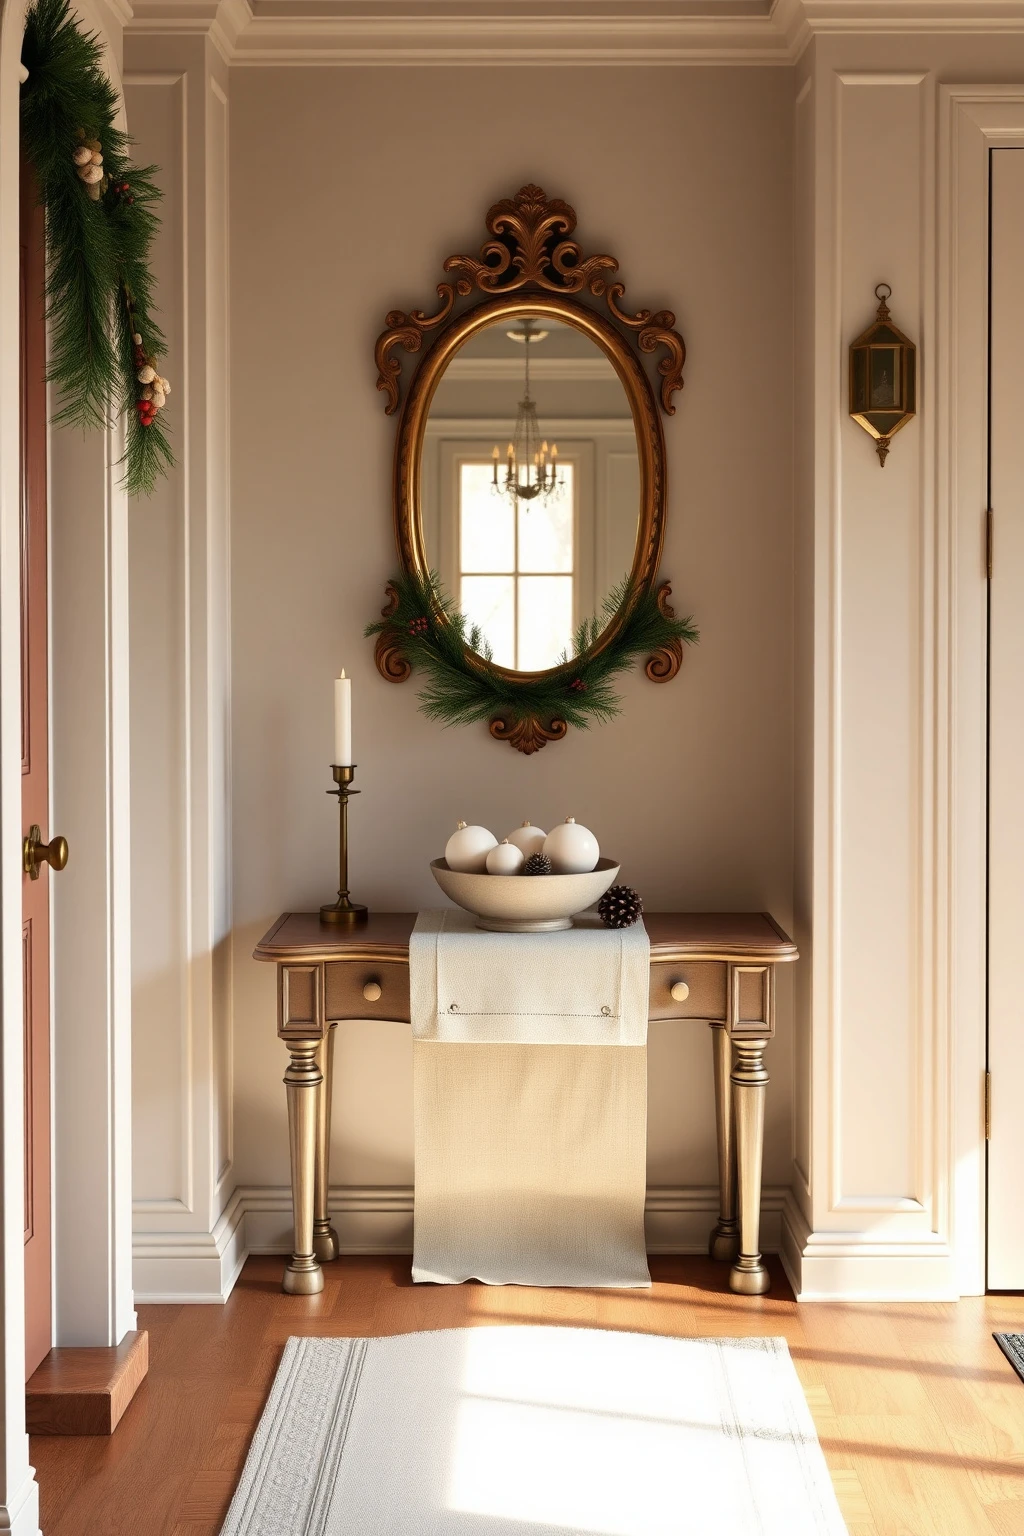
If your entryway table is too small for a full centerpiece, you don’t need to give up. Victorian vintage style works with one controlled focal bowl, because it reads as art rather than craft leftovers.
Drape a runner that hangs 4-6 inches on each side of the table, then place a large ceramic or brass bowl in the center. Fill it with ornaments only in a single shade family, like warm ivory with antique gold caps, plus a few pinecones. Add one long element, such as a thin branch garland or a strand of ribbon, tucked lightly behind the bowl so it creates height. Avoid sprinkling loose ornaments everywhere around the runner, because they end up looking like you spilled the stash.
Hanging Window Stars from Twine, Not Plastic Hooks
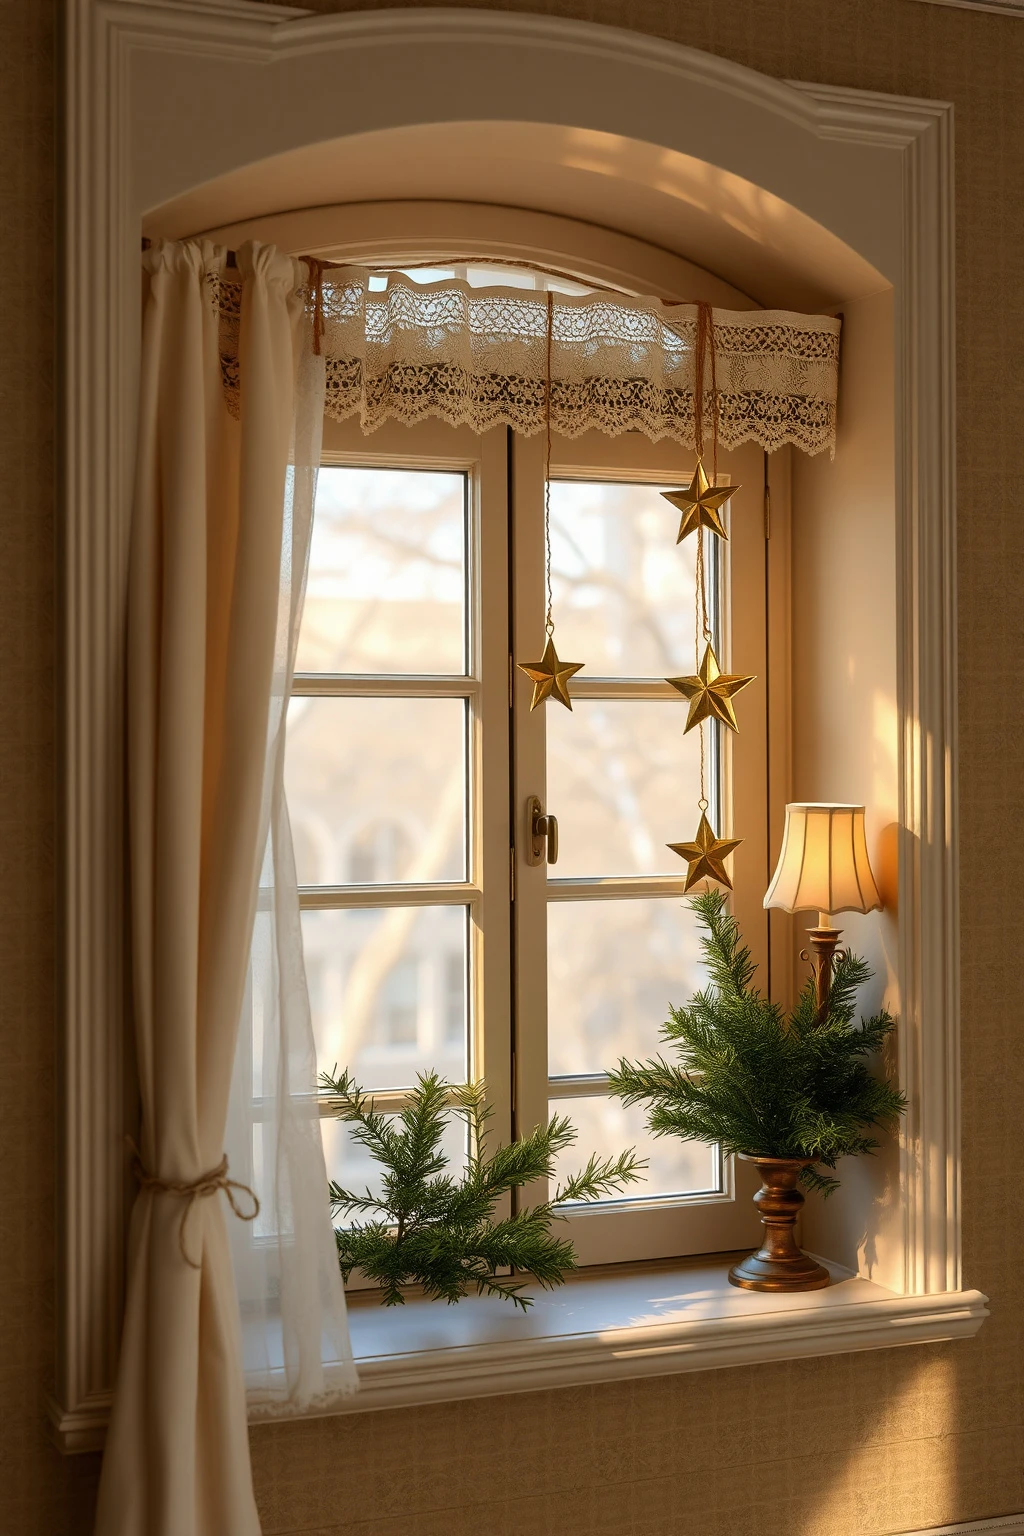
Plastic hooks and shiny novelty stars can feel too modern for a Victorian vintage palette. If you hang stars from twine or thin satin cord, they read softer and more period-correct.
Choose paper or tin stars in warm metallics (antique gold or brass) and attach them with 3-5 feet of twine. Tie the cord to a ceiling hook or a curtain rod using a temporary loop so you can adjust height. A good starting point is hanging stars so their bottom edge sits about 6-10 inches below the window sill, then step back to check scale from your couch. For a practical twist, if you’re in a rented apartment and can’t hook ceilings, use a tension curtain rod and hang the stars from it with removable knots.
Vintage Florals with Evergreen: Use Dried Hydrangeas as a Center Accent
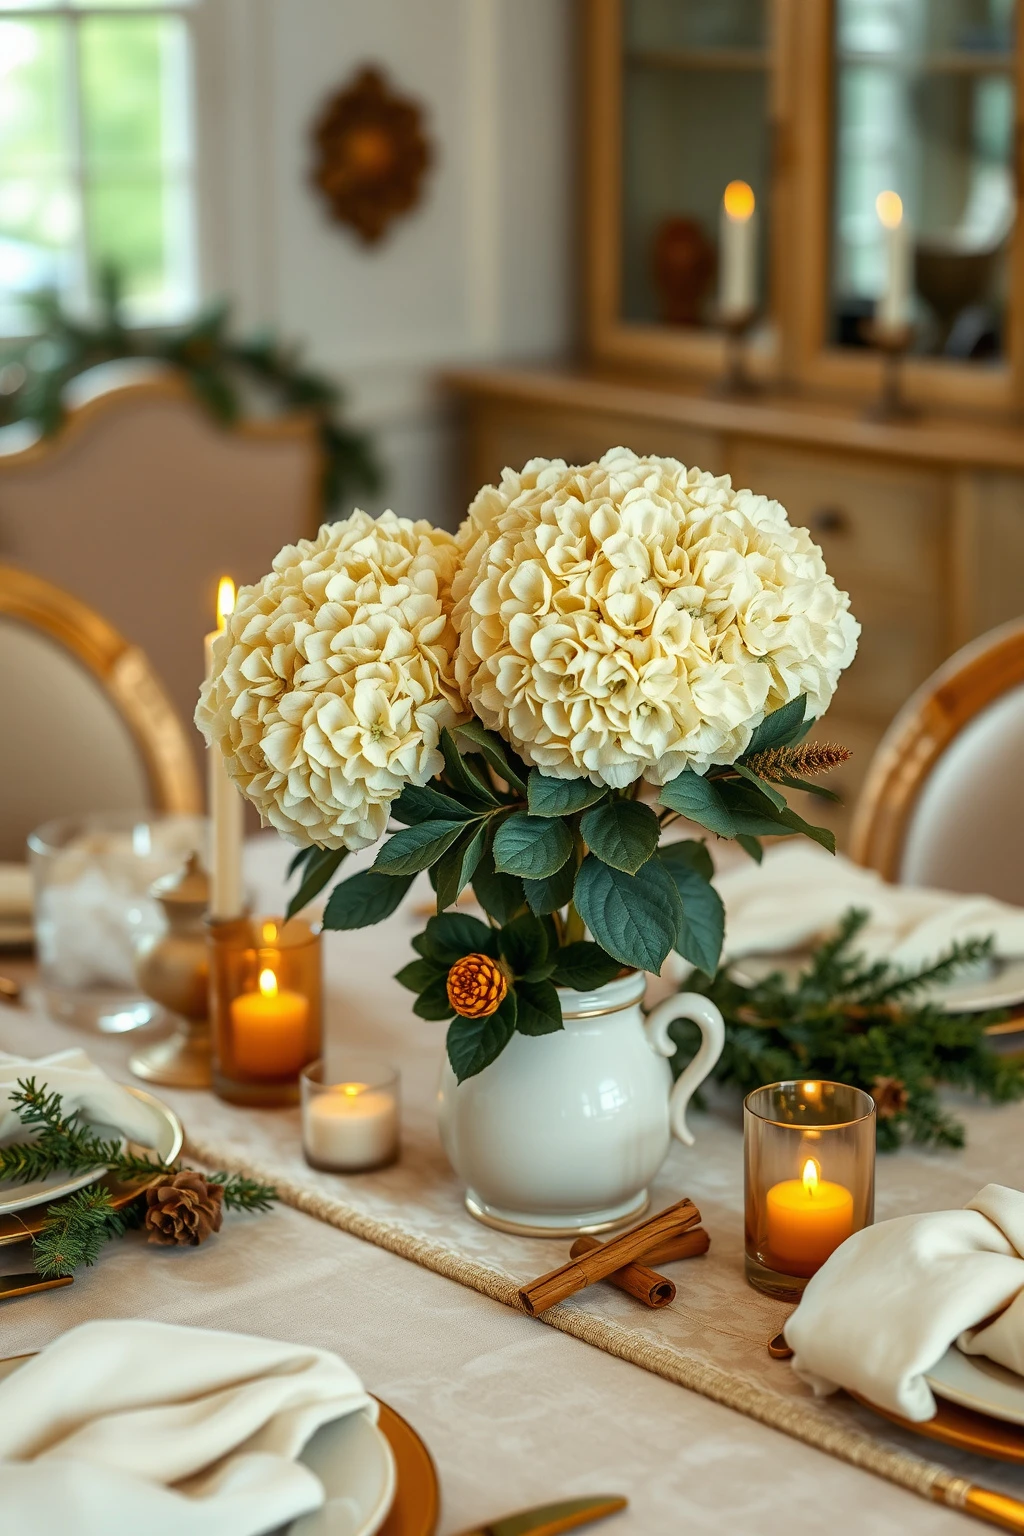
Evergreen garlands are classic, but they can look one-note if you don’t add something dry and textural. Dried hydrangeas bring a Victorian-era feel because they age beautifully and add dimension without needing fresh flowers.
In a cream ceramic vase, place dried hydrangea blooms as the “anchor” and nestle evergreen sprigs and cinnamon sticks around them. Keep the height around 10-14 inches so it doesn’t compete with plates across the table. Color-match the dried blooms to the rest of the palette, aiming for dusty rose or antique mauve hydrangeas paired with warm ivory ornaments. If you’re trying to stretch budget, use the same dried hydrangeas in two spots, like the dining table and the mantel, but change only the ribbon color so it still feels intentional.
Stair Landing Table: One Cloche, One Bowl, One Pinecone Spray
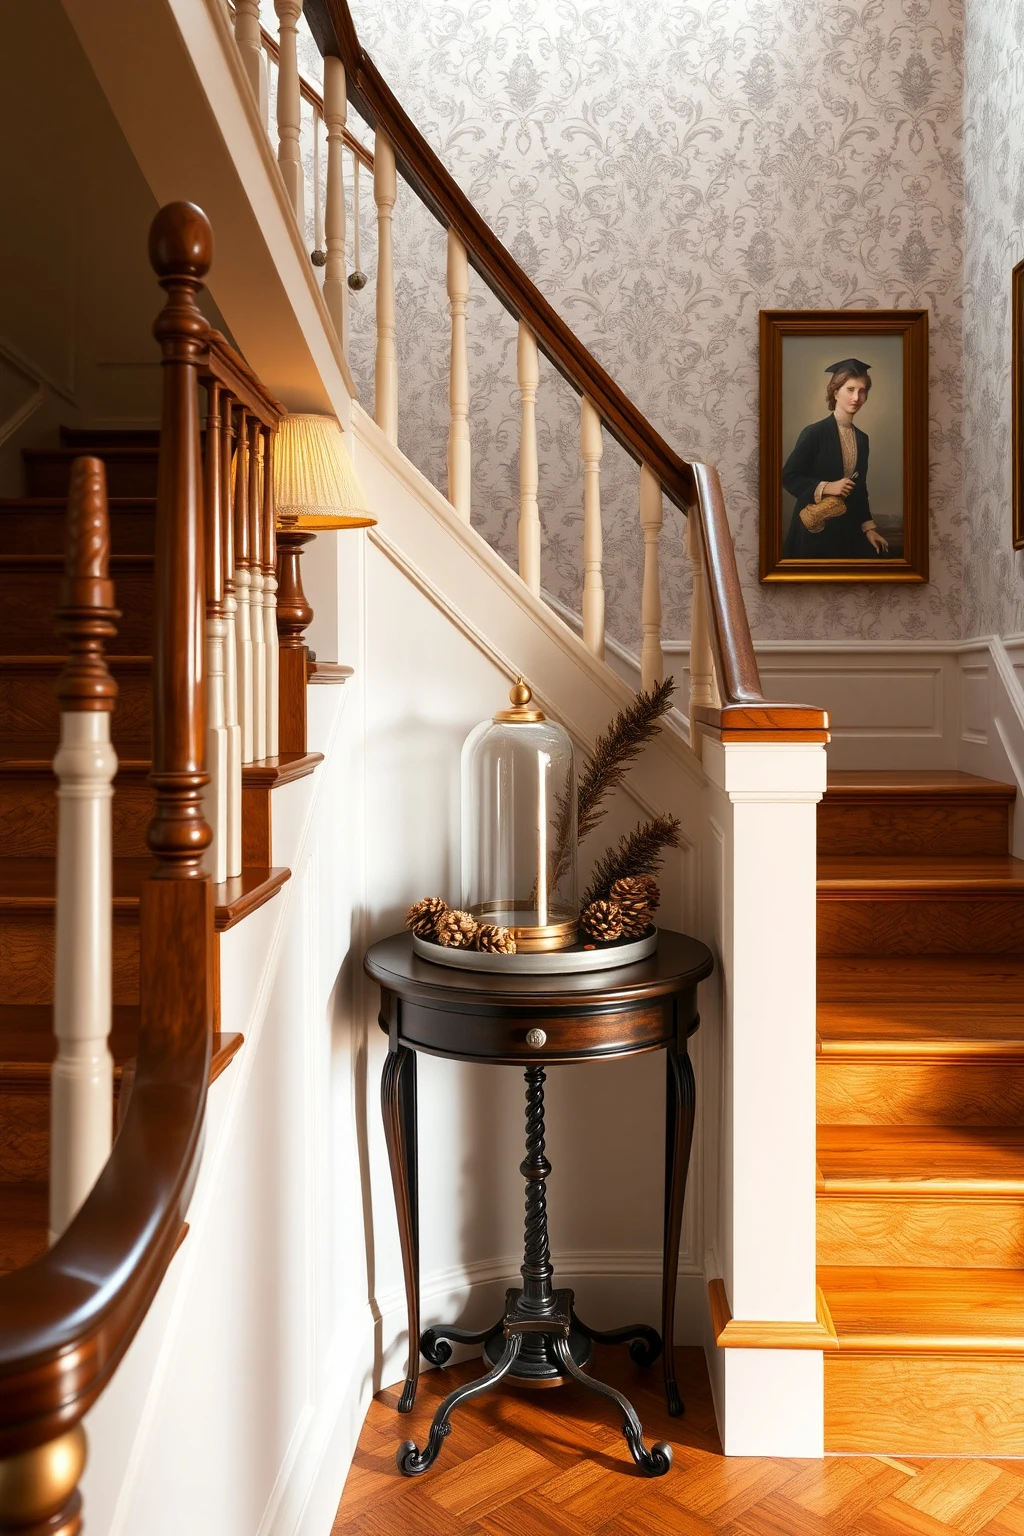
A stair landing is like a hallway extension, so clutter shows instantly. The Victorian vintage way is to keep it simple and repeat materials, so your decor feels like it belongs to the architecture.
Choose a small table or narrow console, then place one cloche centered on a base tray. Under and around the cloche, add one bowl filled with pinecones and one pinecone spray tucked diagonally so there’s a clear diagonal line. Keep metals consistent, like antique brass for the cloche base and candlestick cups, and use one ribbon color across everything. Avoid more than three object types on this landing because the traffic flow makes extras look messy by the end of the day.
Conclusion
The common thread in all of these ideas is restraint with intention. When you repeat a material (mercury glass, brass, velvet, lace) and control scale with measurements, your home starts to look like it has a holiday history, not a holiday accident.
Pick one area to start, build it with three heights and a limited palette, then let everything else borrow from that foundation. You’ll be amazed how quickly the whole house starts feeling quietly, beautifully Victorian.

Mush Decor
Writes about accessible, timeless interior styling for readers worldwide.
More about Mush DecorRelated articles
 Christmas Ideas
23 Fresh Greenery Front Door Christmas Ideas
Fresh greenery front door Christmas decor ideas: wreaths, garlands, bows, lights, and styling tips with real materials and measurements.
Read More Christmas Ideas
23 Classy Outdoor Christmas Lights (No Inflatables)
From warm-wreath porch lighting to architectural uplights, here are 23 classy outdoor Christmas light ideas that skip inflatables and stay elegant.
Read More Christmas Ideas
23 Whimsical Christmas Decor Ideas for the Whole House
Get playful Christmas styling across your whole home: whimsical wreaths, garlands, table ideas, mantel details, and lighting tips.
Read More