
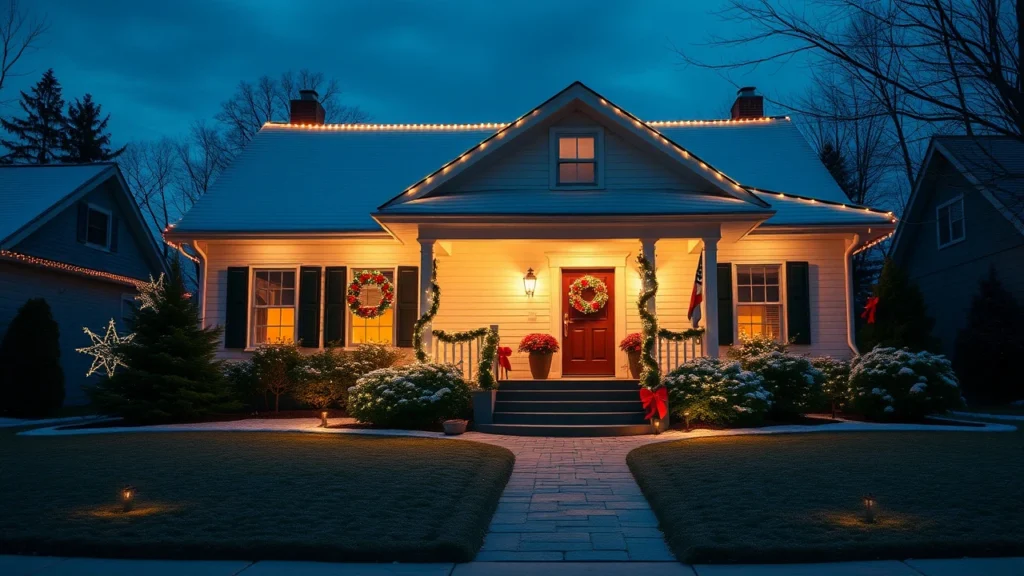
Last winter, I watched a neighbor’s lights go up the week before Christmas. They weren’t the brightest on the block, but the display made the whole house feel intentional, like it had a point of view.
The difference is usually not the number of bulbs. It is placement, pacing, and how the light interacts with your entry steps, shrubs, and windows. In this guide, you will find 24 outdoor Christmas light displays you can copy, including small-budget swaps and pro-level details that keep everything looking neat instead of tangled.
Cozy Porch Columns with Wrapped Warm-White Rope Light
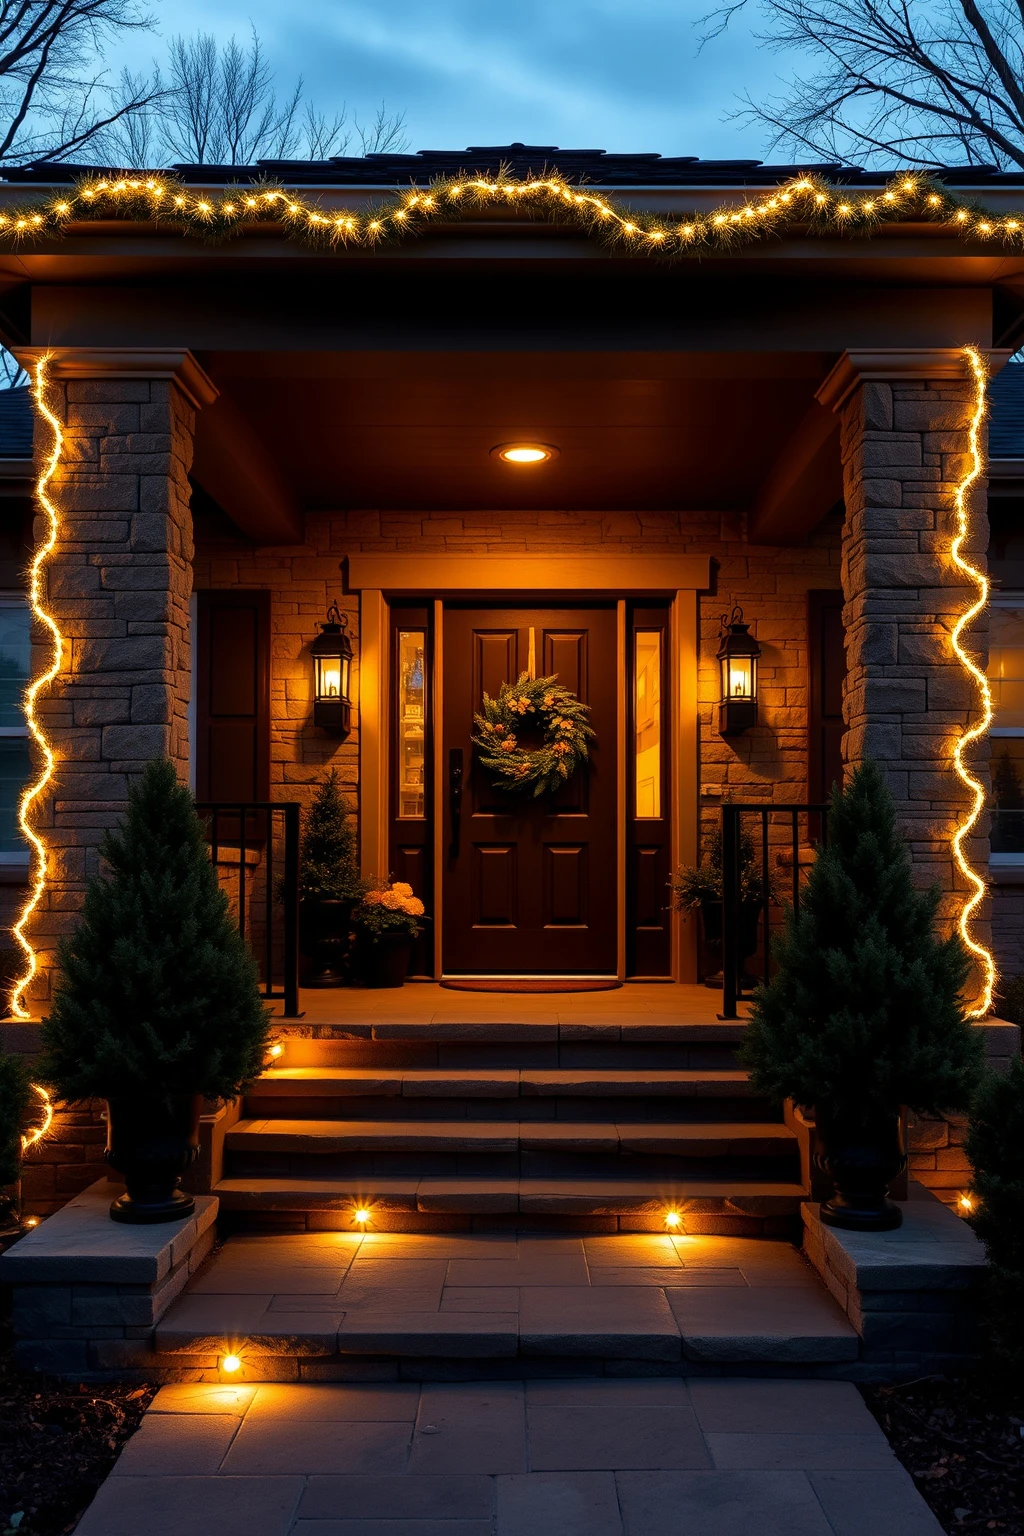
If your porch feels a little flat at night, column lighting is the quickest fix. Wrapped warm-white rope light creates vertical rhythm, which helps your entry read clearly from the street without turning your house into a billboard.
Measure each column’s height and circumference, then buy rope light with an outdoor rating and a matching controller. Start at the base, wrap in tight, even spacing with minimal overlap, and secure every 12 inches using outdoor clips (not random zip ties). Keep the color temperature consistent, ideally 2700K, so the columns look like they belong to the architecture. Finally, add two small lights on the entry steps, aimed low to avoid glare and to guide foot traffic.
Roofline Tracing Using Pixel-Spacing Instead of Random Chords
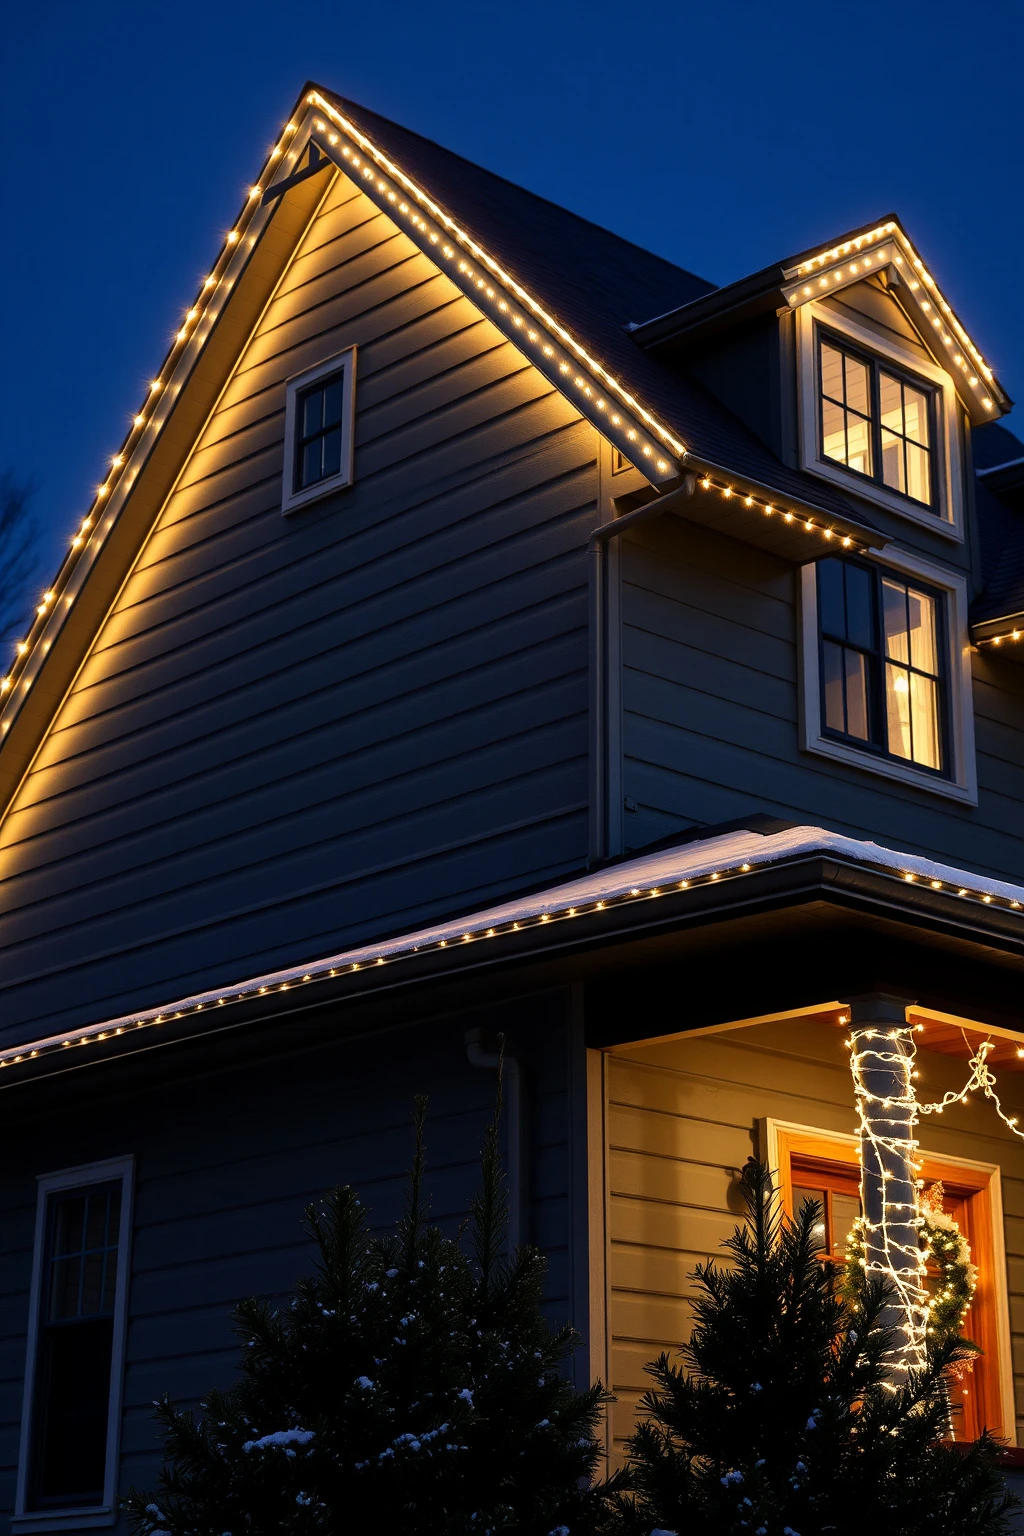
A clean roofline is the easiest place to look “high-end,” because your eyes naturally follow edges. The common mistake is using long, continuous strands that sag or bunch, which turns a crisp outline into a wavy line.
Use clips and keep spacing consistent: mark your ruler distance on the ground first, then attach lights at that measurement along the fascia. A practical starting point is 8 to 12 inches between attachment points so the line stays taut over longer runs. If you have peaks or dormers, add shorter segments and overlap the coverage by about 2 inches at corners for a seamless join. Finish by stepping back every few minutes, because rooflines can look crooked when you only judge up close.
Candy-Cane Window Frames with Vertical Contrast Panels
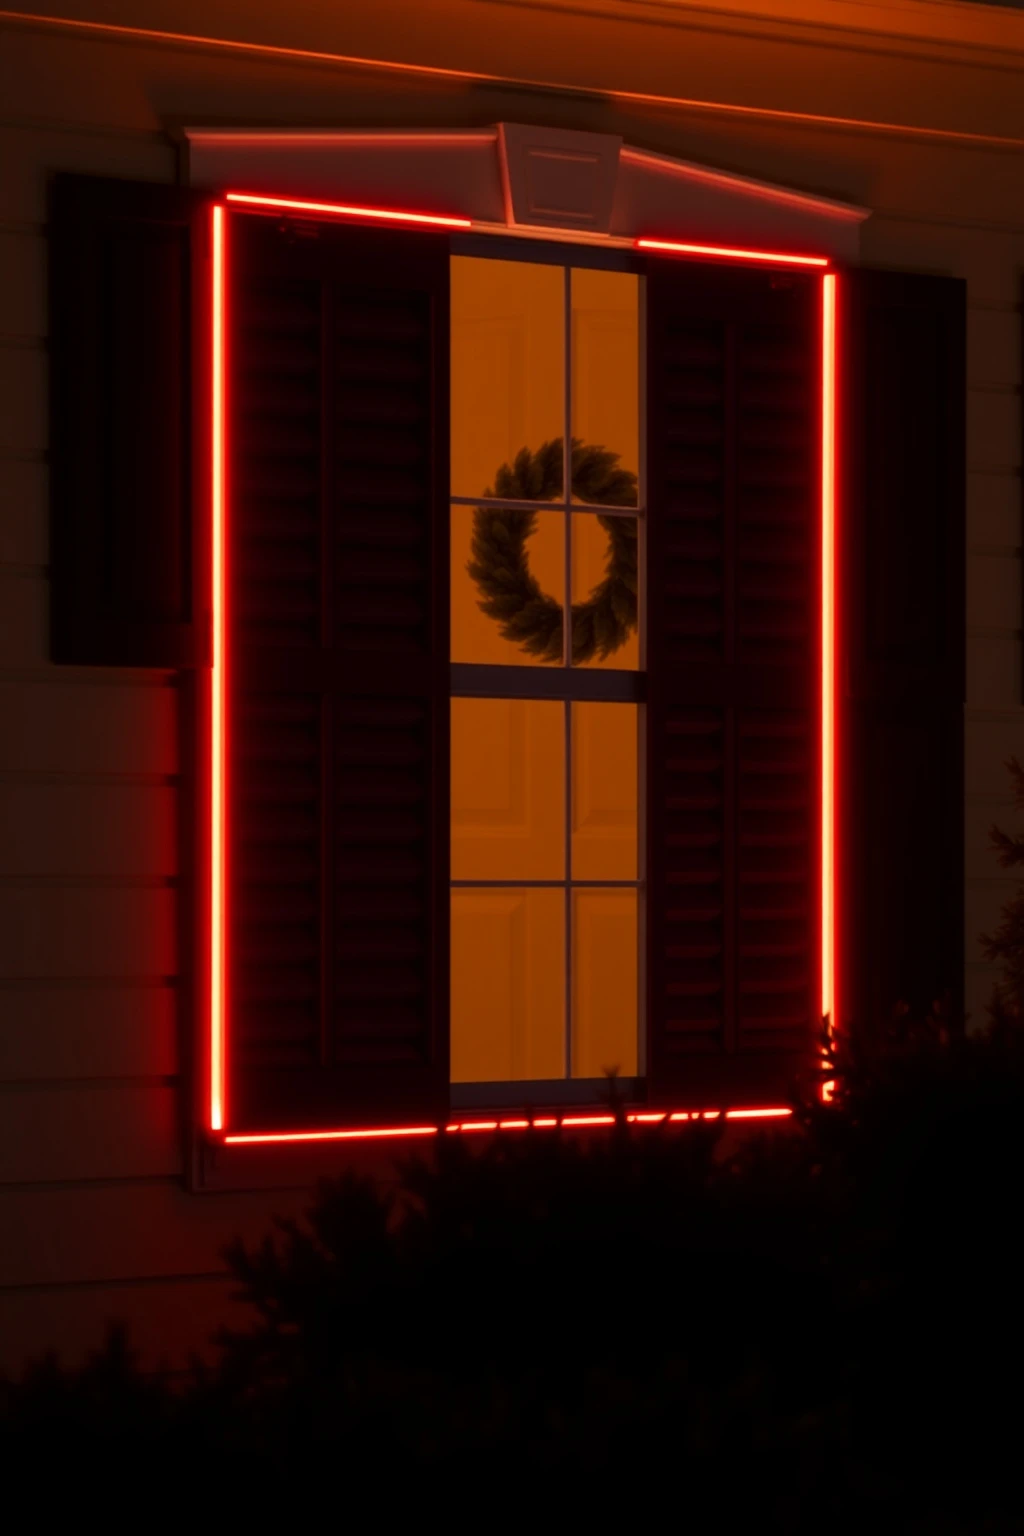
If you love the holiday look but do not want everything to be multicolored, go for a bold, disciplined pattern. Vertical candy-cane lighting on windows creates contrast against your trim, and the stripes give your façade structure.
Choose two shades that work together: classic red (or cranberry) and warm white. Add vertical strips to each window frame using LED mini-lights, keeping the stripe width consistent, about 6 to 8 inches per “rail,” depending on your window size. Avoid the rookie move of wrapping lights around the glass edge where they will reflect, instead mount on the outer trim so the stripes read cleanly from the sidewalk. Tie it together with one small red accent light at each corner of the door nearby for visual continuity.
Projector Snowfall with a Layered “Ground Fog” Effect
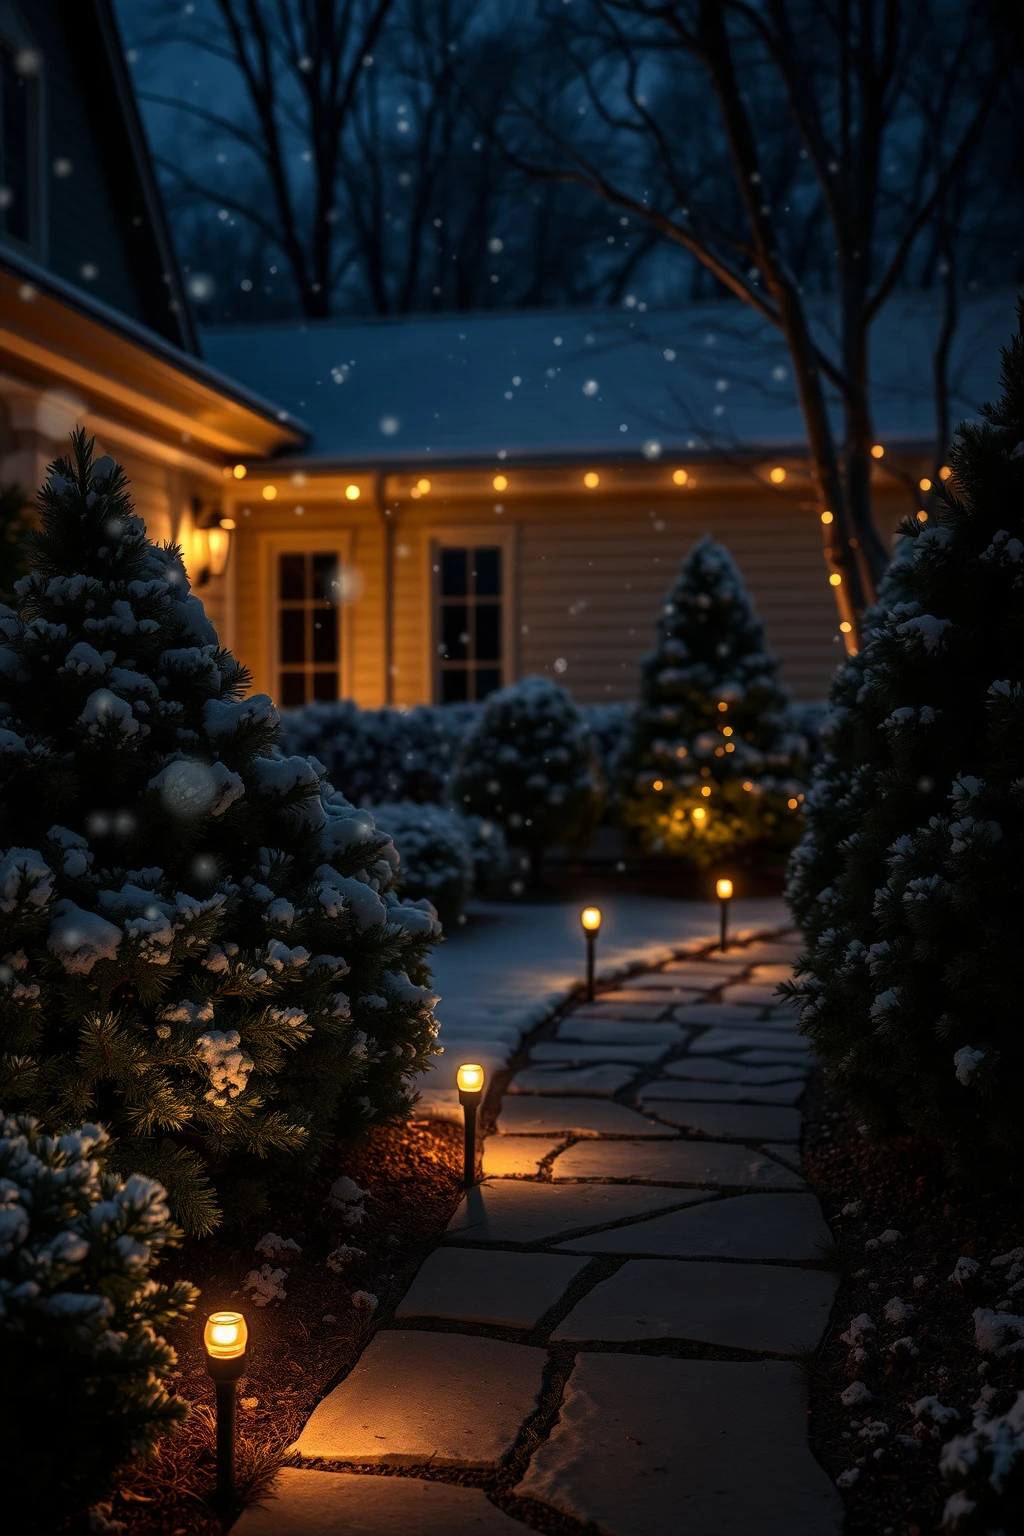
Projectors are where you can cheat in the best way. One projector can fill a yard with snowfall, but the pro trick is adding a second layer so it feels dimensional instead of flat.
Place the projector 8 to 15 feet from where you want the snowfall to “land,” aiming slightly upward to catch branches. Then add a low line of warm-white path lighting (bistro-style or small stake lights) so the flakes “catch” light near the ground. If you only do snowfall, it can look like a screen with no depth, especially in a flat yard. Test for 20 minutes at night before final placement, adjusting angle until flakes swirl in front of shrubs rather than behind them.
Garland + LED “Puck” Lights for Porch Rail Shine
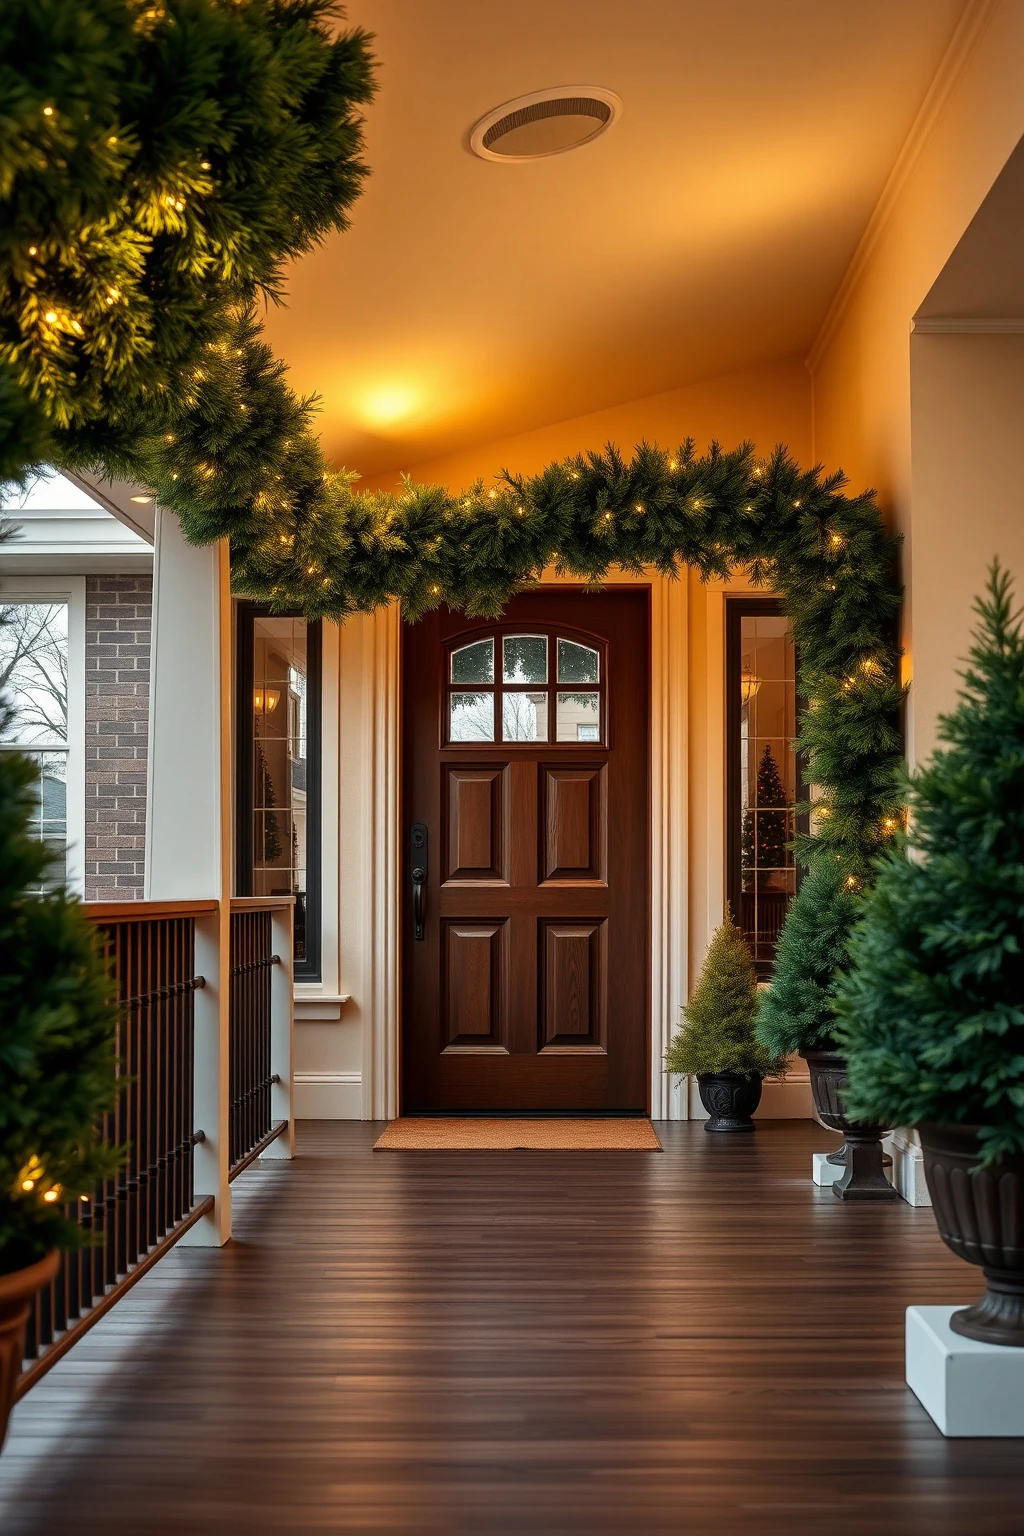
Garlands look expensive when the light source is controlled. Instead of wrapping a whole strand into the garland (which often creates shadowy gaps), use small LED puck lights tucked at even intervals.
Hang a thick evergreen garland along the porch railing, then add puck lights every 18 to 24 inches hidden inside the garland so the light reads as soft pools on the wood. Use neutral warm white LEDs to match any existing entry bulbs. A common mistake is overstuffing garland with wiring, which makes sections sag and stretches look lumpy. Secure with green zip ties and keep cables behind the railing so only the light shows.
Net Lights on Shrubs That Don’t Look Like a Costume
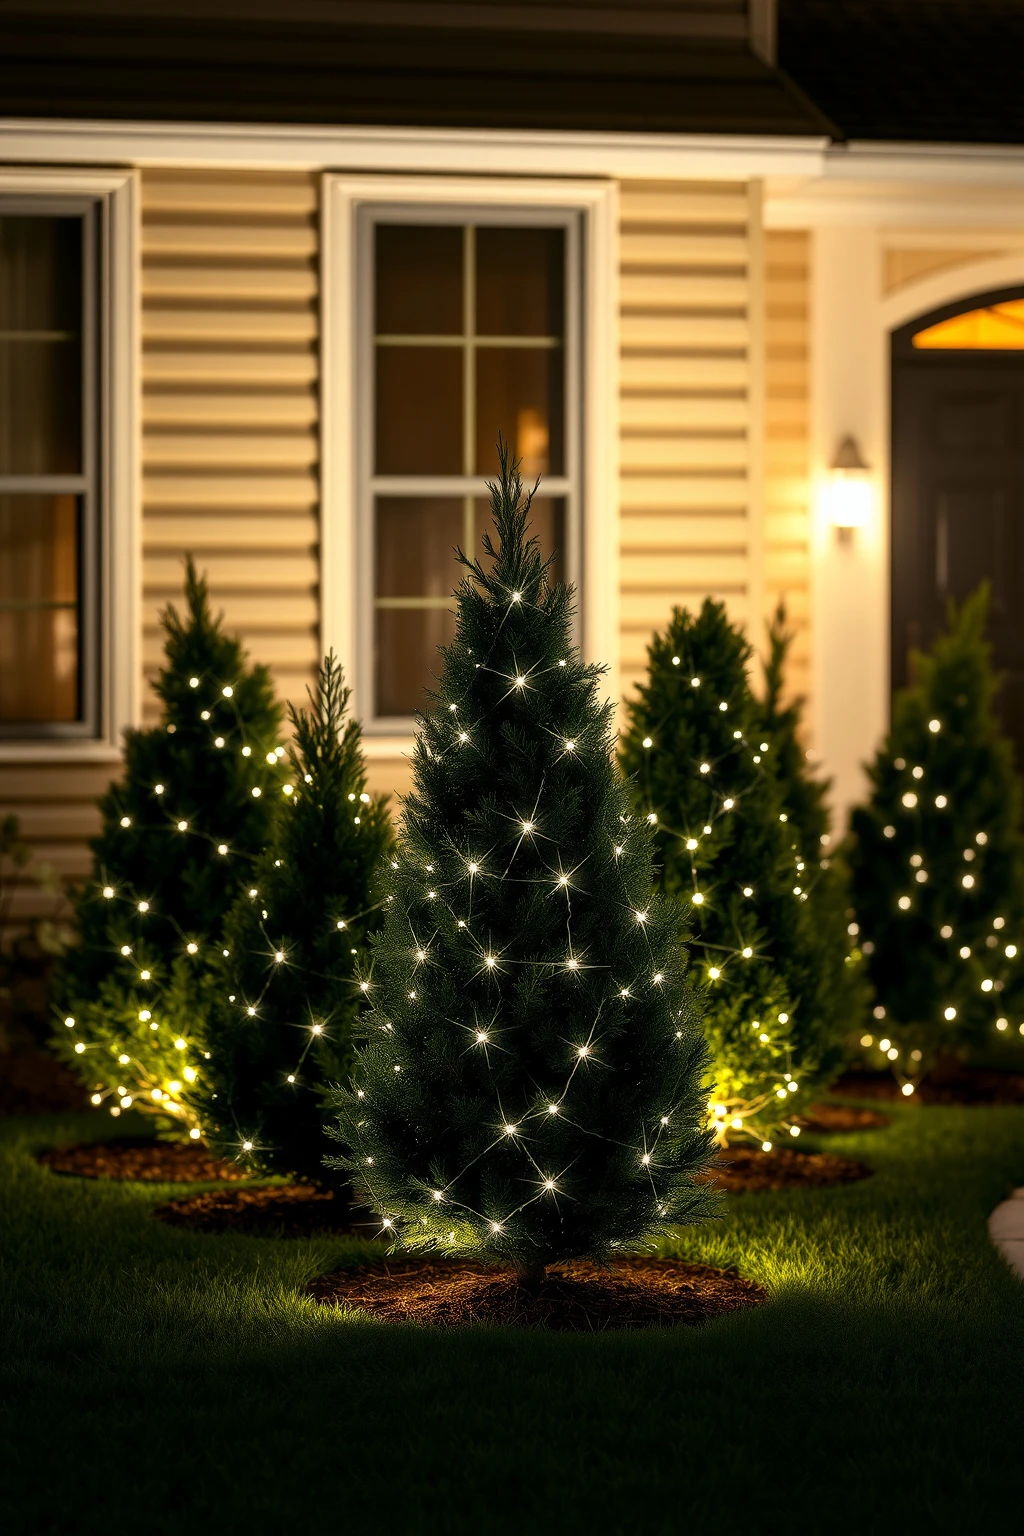
Net lights can look messy fast, especially on layered shrubs. The secret is choosing nets that fit the plant shape and spacing them so each shrub becomes a “panel” of light rather than a blob.
Measure the widest part of each shrub, then buy nets that cover that footprint without stretching tight. Drape the net over the outer branches, and tuck the corners underneath so the backing disappears from sight. Avoid the mistake of placing nets too close to reflective windows, which can bounce glare into the house. Finish by adding two small warm-white uplights aimed at the trunk or lower stems for depth and shadow contrast.
Uplight Evergreen Trees with Color Gels for Depth
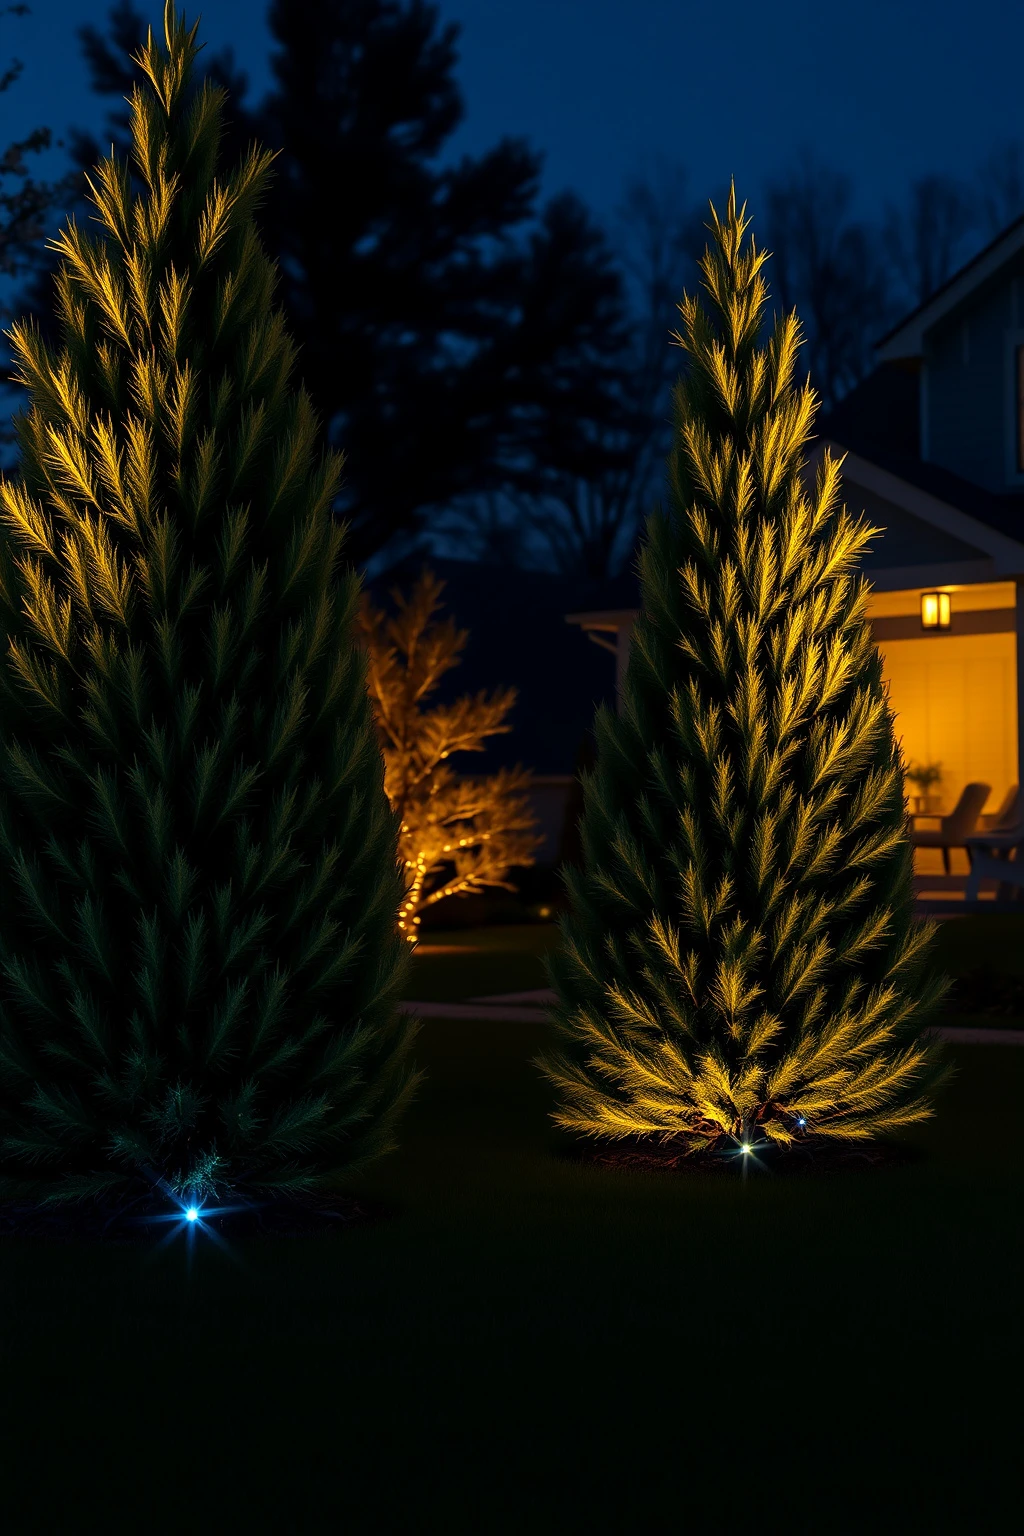
Instead of lighting every twig, concentrate on creating layers. Uplighting a few trees with colored gels makes the yard feel like a designed landscape, and your lights will read better from across the street.
Use two to four outdoor uplights per medium tree and aim from the base upward at a 30 to 45 degree angle, then adjust the beam so it hits trunk and branches without washing the ground. Try one gel color scheme: warm white plus a touch of evergreen blue or soft red. The common mistake is using all one color everywhere, which flattens the scene and can make your home look like it is inside a Christmas snow globe. When possible, keep main lighting warm white and reserve color for accents on one or two focal trees.
Mason Jar Lantern Luminaires Along the Driveway
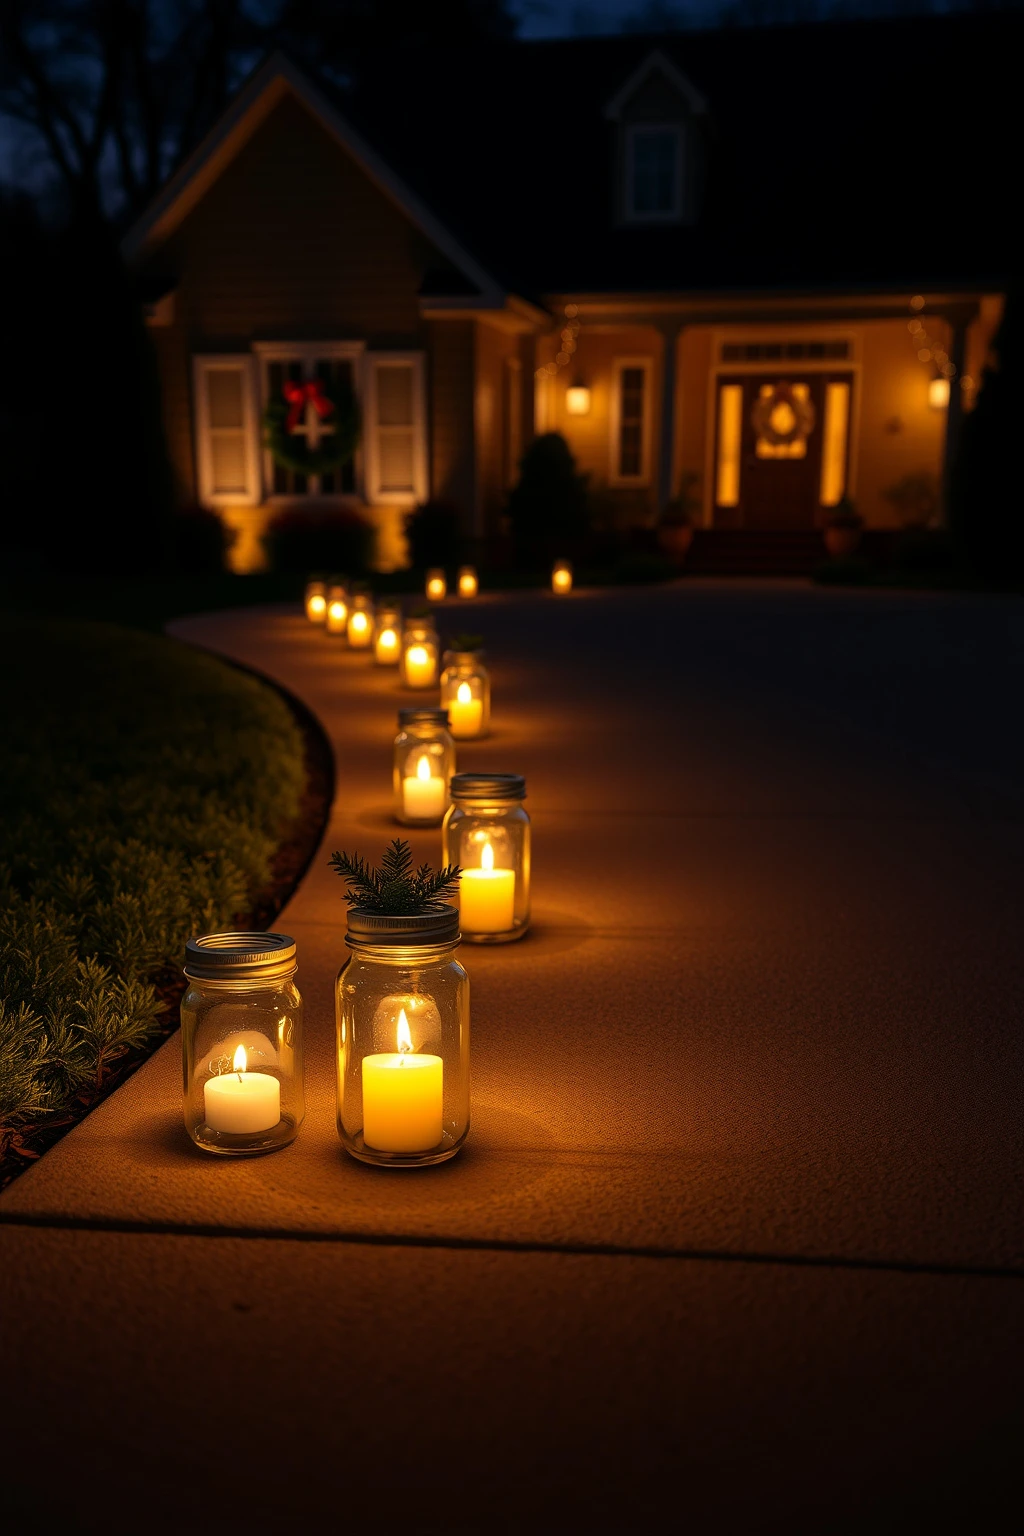
If you want “storybook” without chasing tangled strings, lantern luminaires are your friend. Mason jars filled with LED candles create a warm rhythm along your driveway and look intentional even after the lights go out.
Use battery LED candles inside clear or lightly frosted mason jars and set them in a row at 4 to 6 foot intervals along the driveway edge. Place each jar on a stable base like a stone paver, and cluster three jars at driveway turns for better wayfinding. Avoid the mistake of spacing everything evenly in a straight line if your driveway curves, because the curve will look flat from the road. Finish with a sprig of eucalyptus or pine in each lid so the lanterns feel styled, not like leftovers.
Staircase Banister Spiral with Low-Glare Clips
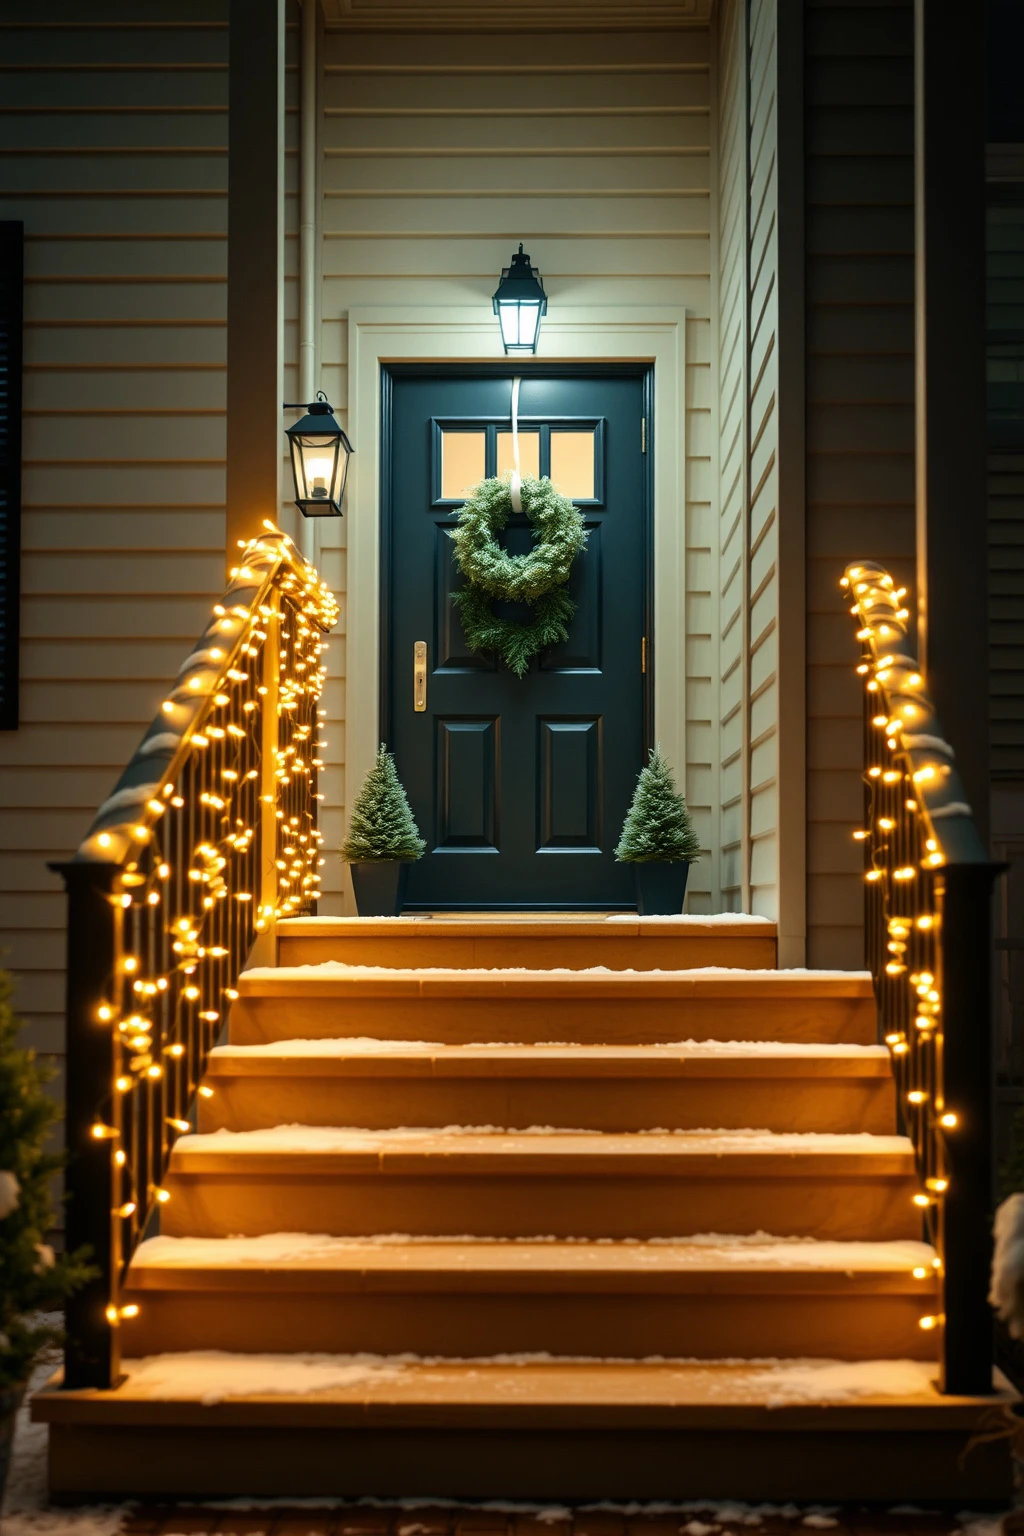
Stairs are where people gather, pause, and walk. A banister spiral creates a clear visual path, and it feels charming without covering every inch of your façade.
Starting at the base, wrap LED mini-lights in a consistent spiral up the banister, using low-glare clips every 6 to 10 inches to control the curve. Keep the spiral tight, roughly 2 to 3 inches between the “turns,” so it does not look loose in motion. Avoid the common problem of bright bulbs aimed directly outward, which blinds guests stepping onto the porch. Instead, aim the bulbs slightly inward toward the railing so the light washes the steps and railing rather than the eyes.
Driveway “Light Arch” Made from PVC and Strips
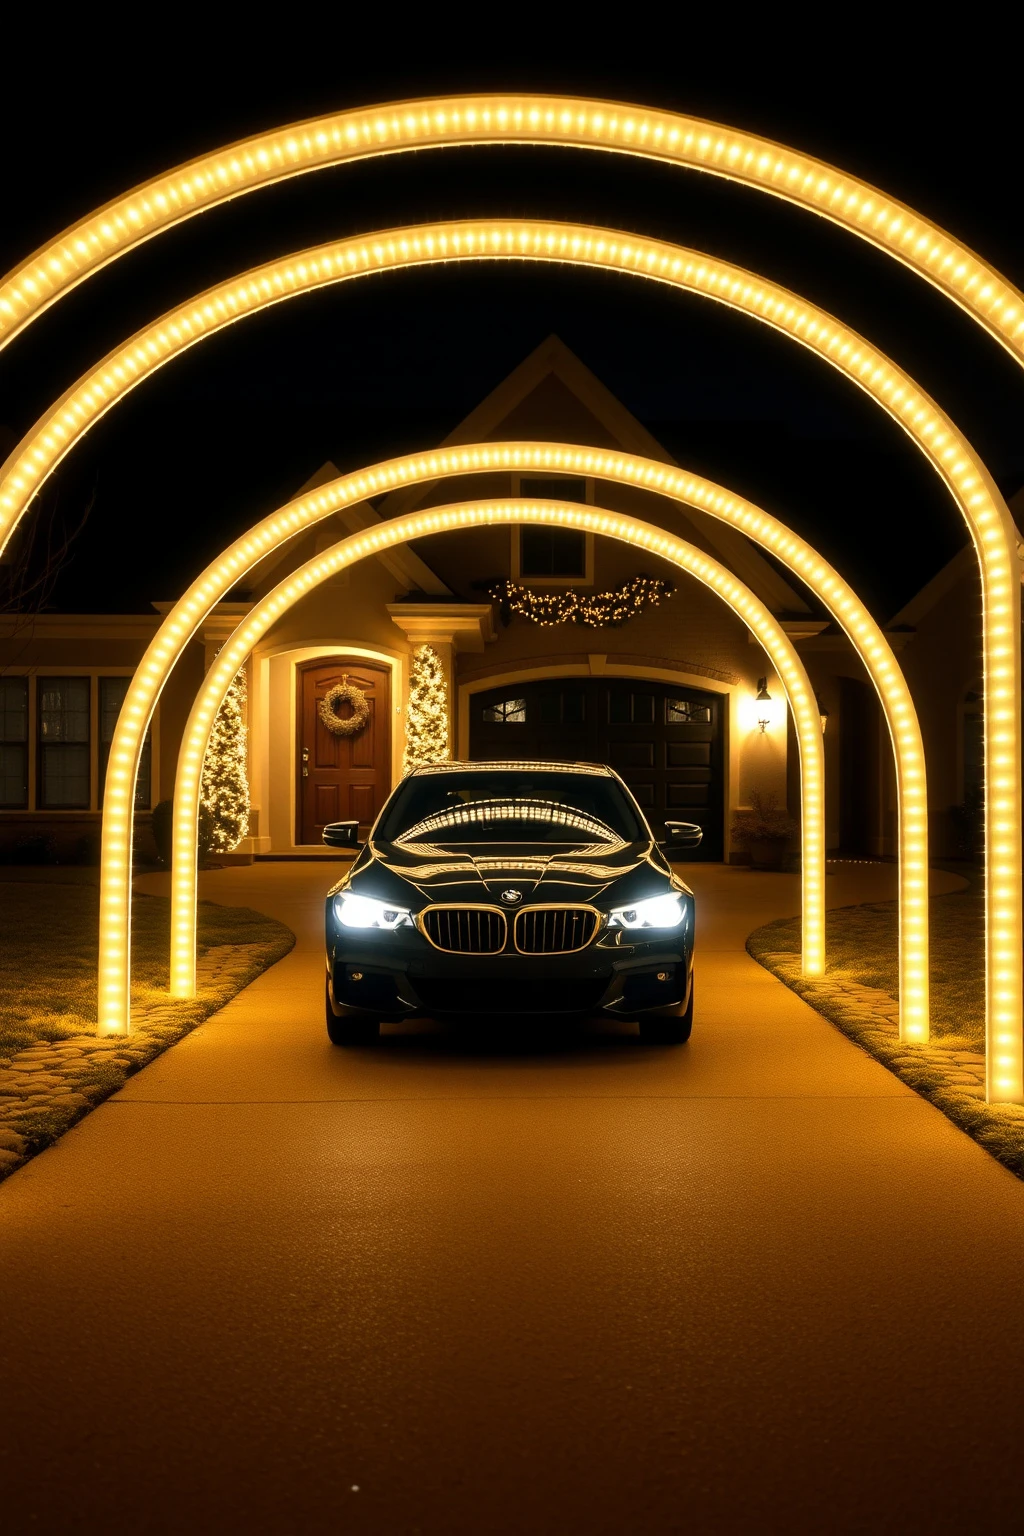
When guests arrive, an arch gives you a moment of wow, but you do not need store-bought metal frames to get it. A DIY arch using PVC and flexible light strips creates that parade-entry feeling and looks architectural.
Build a simple half-arch frame from 1-inch PVC, anchored securely with outdoor stakes or weighted bases so it does not wobble. Wrap flexible LED strips along the inside curve, then add a second, fainter warm-white layer along the bottom edge so the arch reads from both angles. Use a timer and dimmer if you can, because high brightness can make the driveway feel harsh. The main mistake is skipping stability, so do a dry test walk-under before you turn the lights on for the full evening effect.
Balcony Rail “Mini Tree” Line with Small Pre-Lit Cones
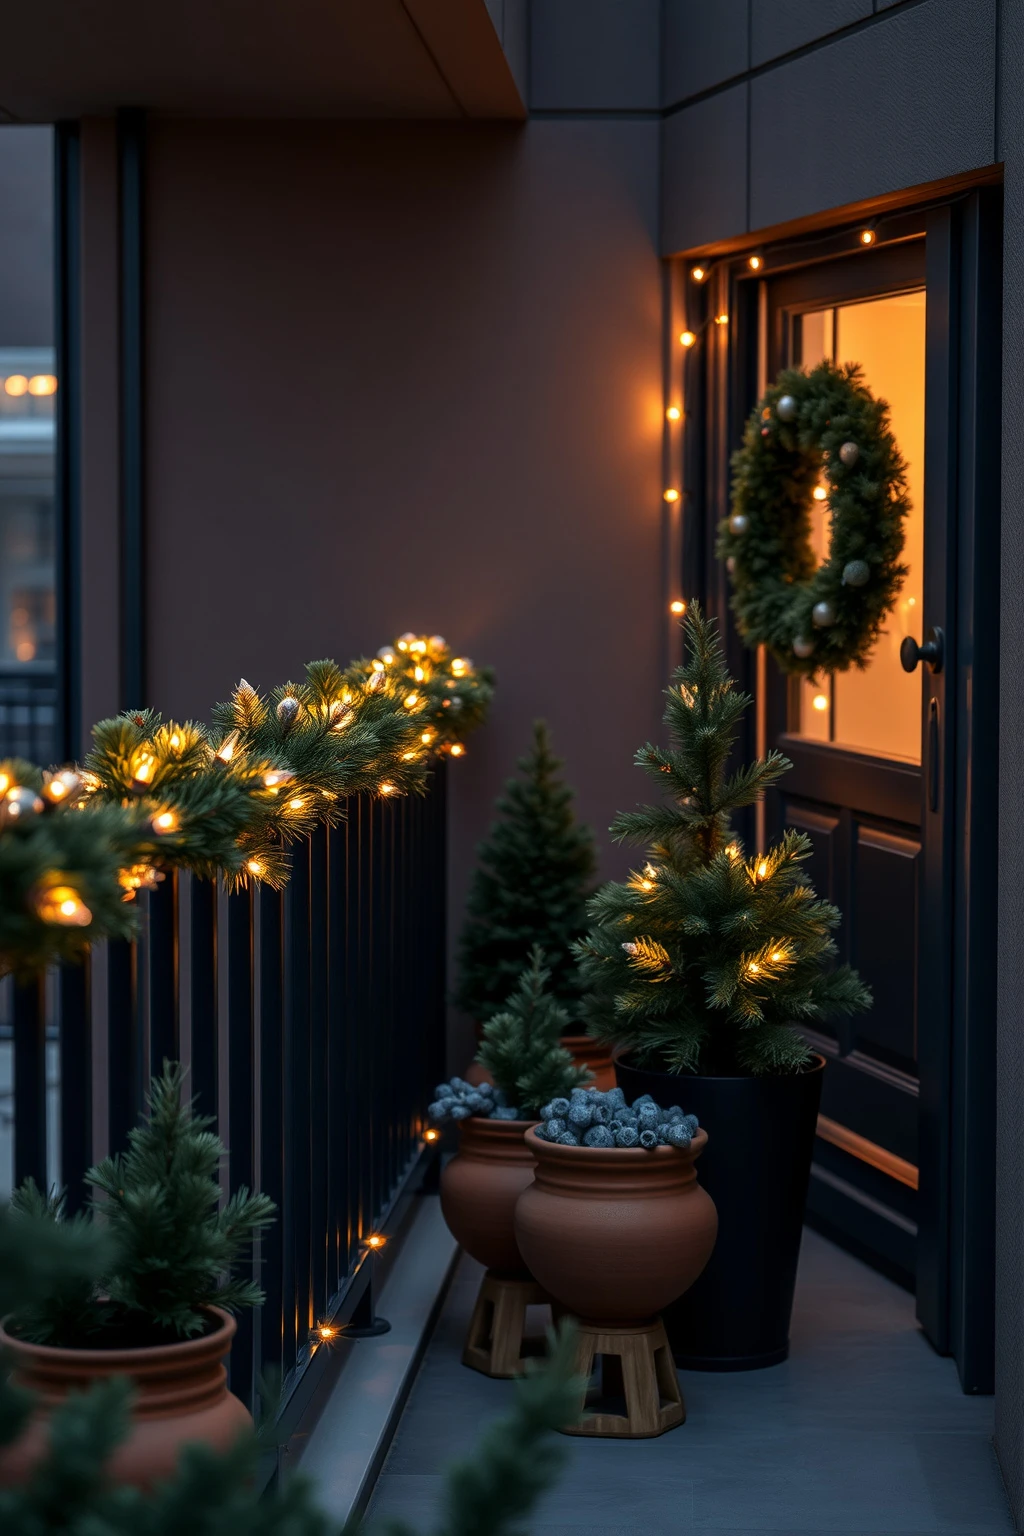
Small spaces can still look layered. If you have a condo balcony, a line of pre-lit mini trees along the railing gives height without demanding yard space.
Place three to five mini pre-lit trees, spaced about 3 feet apart, starting at the corner nearest the door so your eye reads the line. Keep colors consistent: warm white only looks chic, while multicolor can feel noisy on a balcony. Add one larger wreath behind or near the door opening so the lights have a backdrop, otherwise the balcony can look like it is floating. The common mistake is using tall trees that block views, so check sightlines from inside at eye level before you commit.
Window Shutter “Candle” Bulbs for a Vintage-Lantern Look
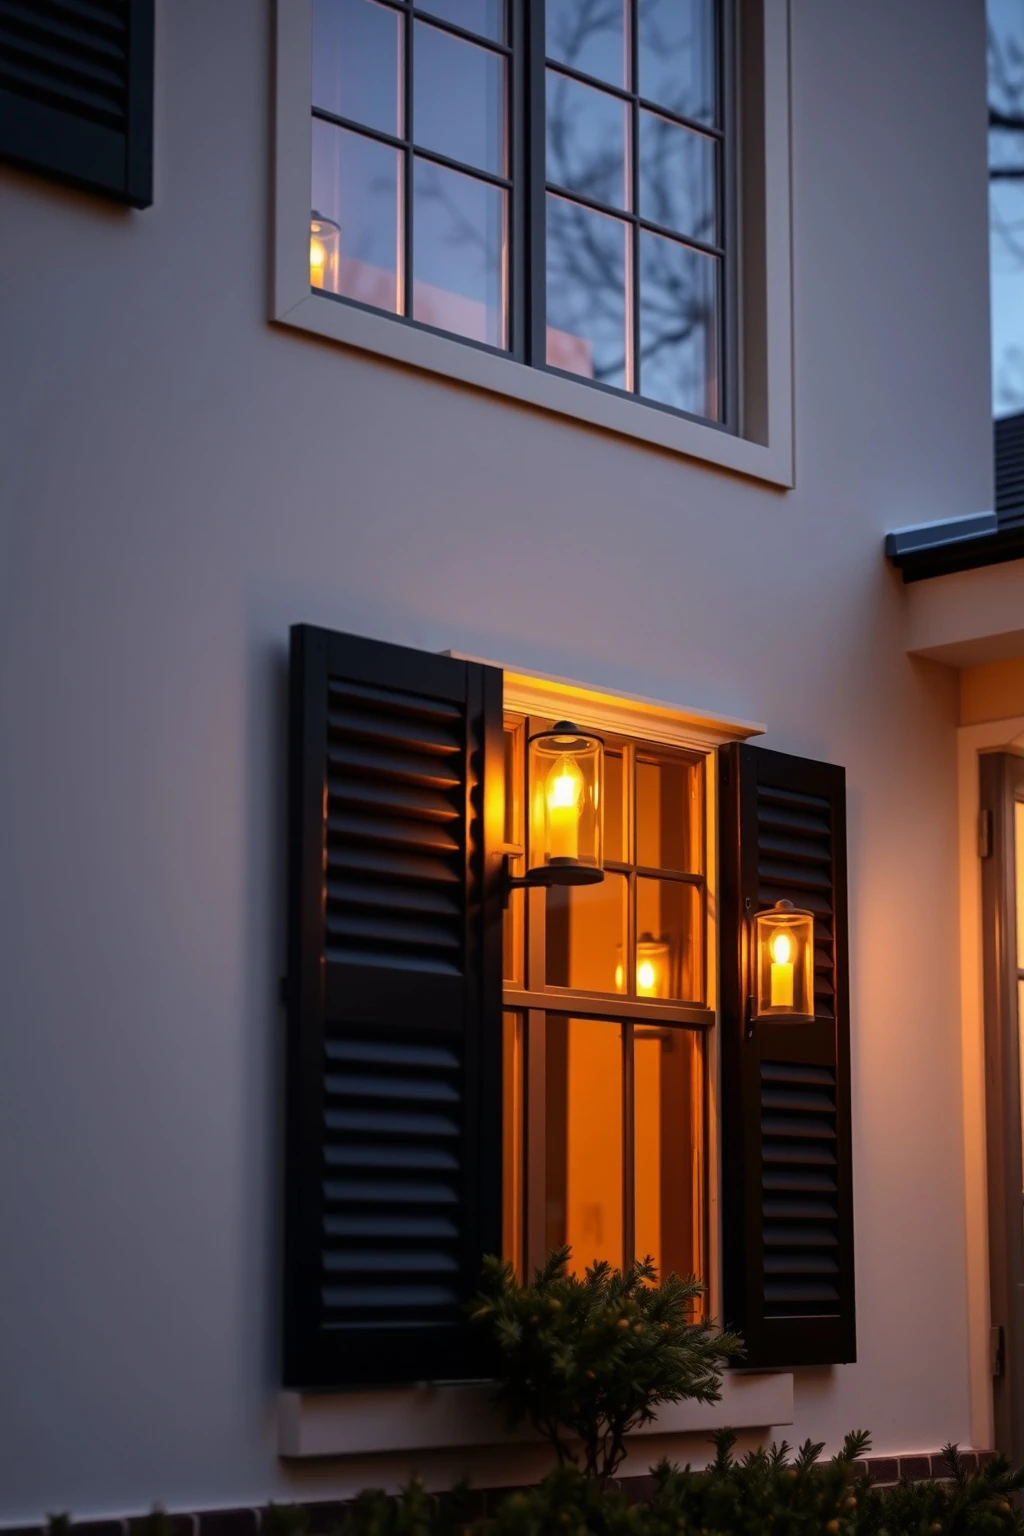
Modern LEDs are perfect for vintage styling if you place them like candles. Using battery or plug-in candle-style bulbs inside shutter mounts gives you that old-world glow without complicated wiring through trim.
Attach small candle bulbs to the inside edge of each shutter or mount them on exterior hooks 6 to 10 inches from the window glass, depending on your shutter depth. Choose warm bulbs around 2200K to 2700K so the color feels like flame rather than stage lighting. Avoid mounting bulbs too close to the window because condensation and reflections can turn the candles into bright dots. Add a horizontal line of very small lights across the top of the shutter for symmetry, then keep the rest of the façade understated.
Recessed Porch Ceiling Lights with a Perimeter Line
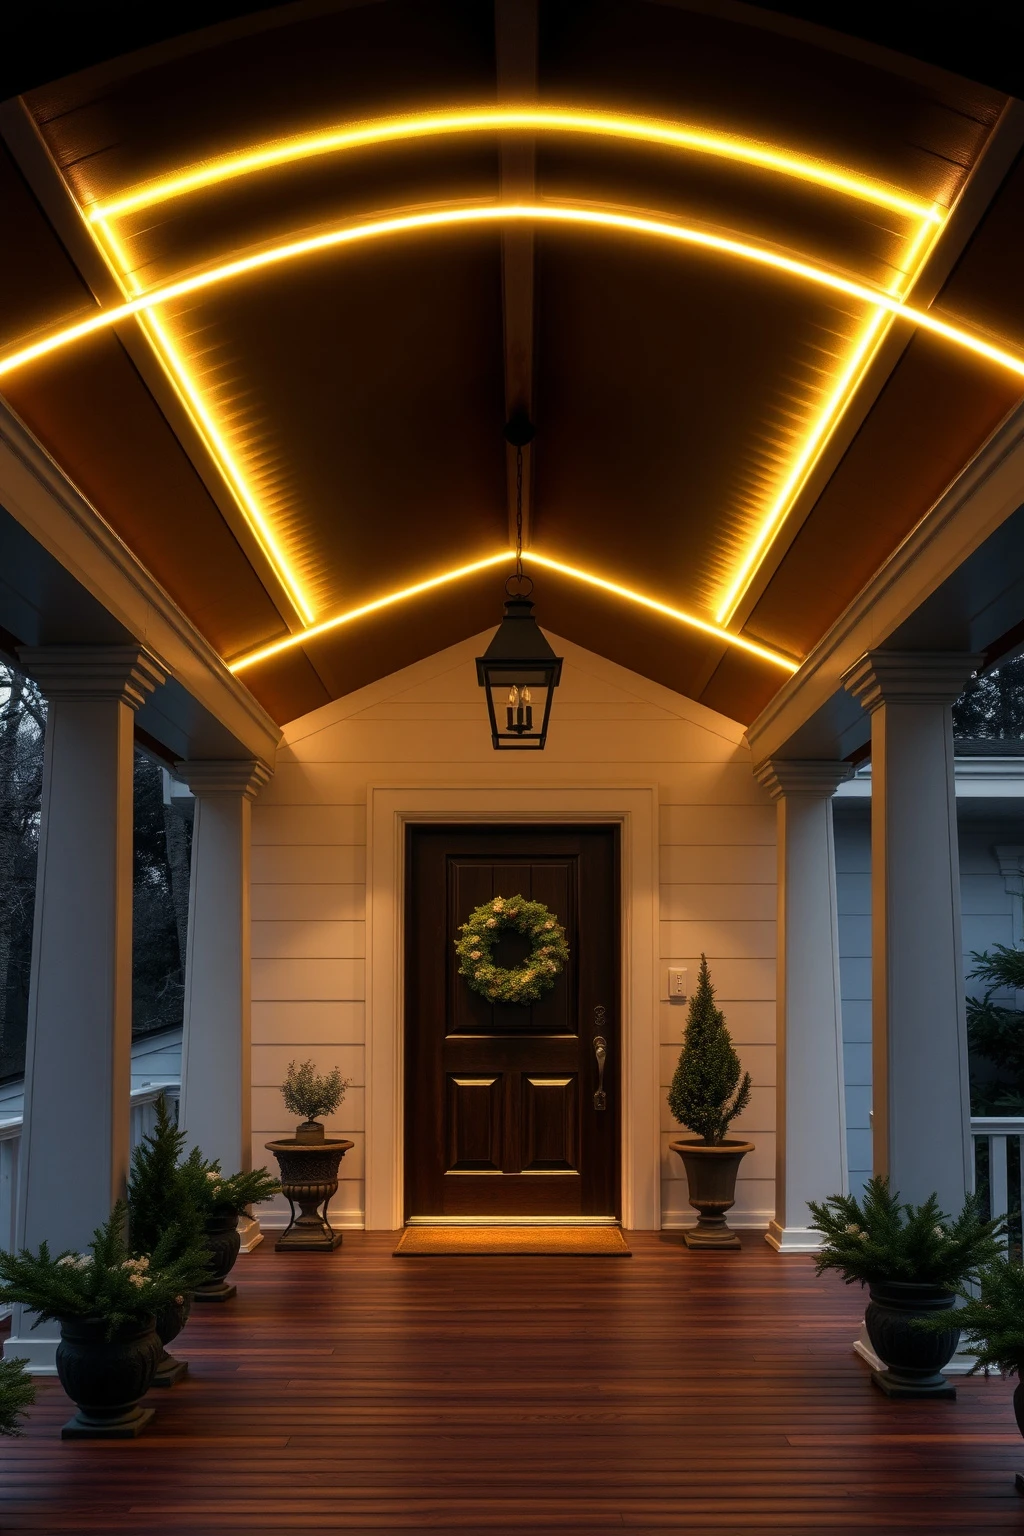
Porch ceilings are often ignored, but they are perfect for a professional glow. A perimeter line under the ceiling keeps the light low and prevents the glare that comes from hanging cords and random strands.
If your porch has a recessed ceiling, run a continuous line of warm white LEDs around the border about 6 inches back from the edge. Use aluminum or rigid clips every foot to keep the line straight and neat. The practical mistake to avoid is connecting too many sections without checking voltage drop, which can dull the far end of the run. Plan the power source location, then use a controller or rated extension so the brightness looks even across the whole ceiling perimeter.
Ivy and Wall Texture Lighting with Subtle Rope-Lights
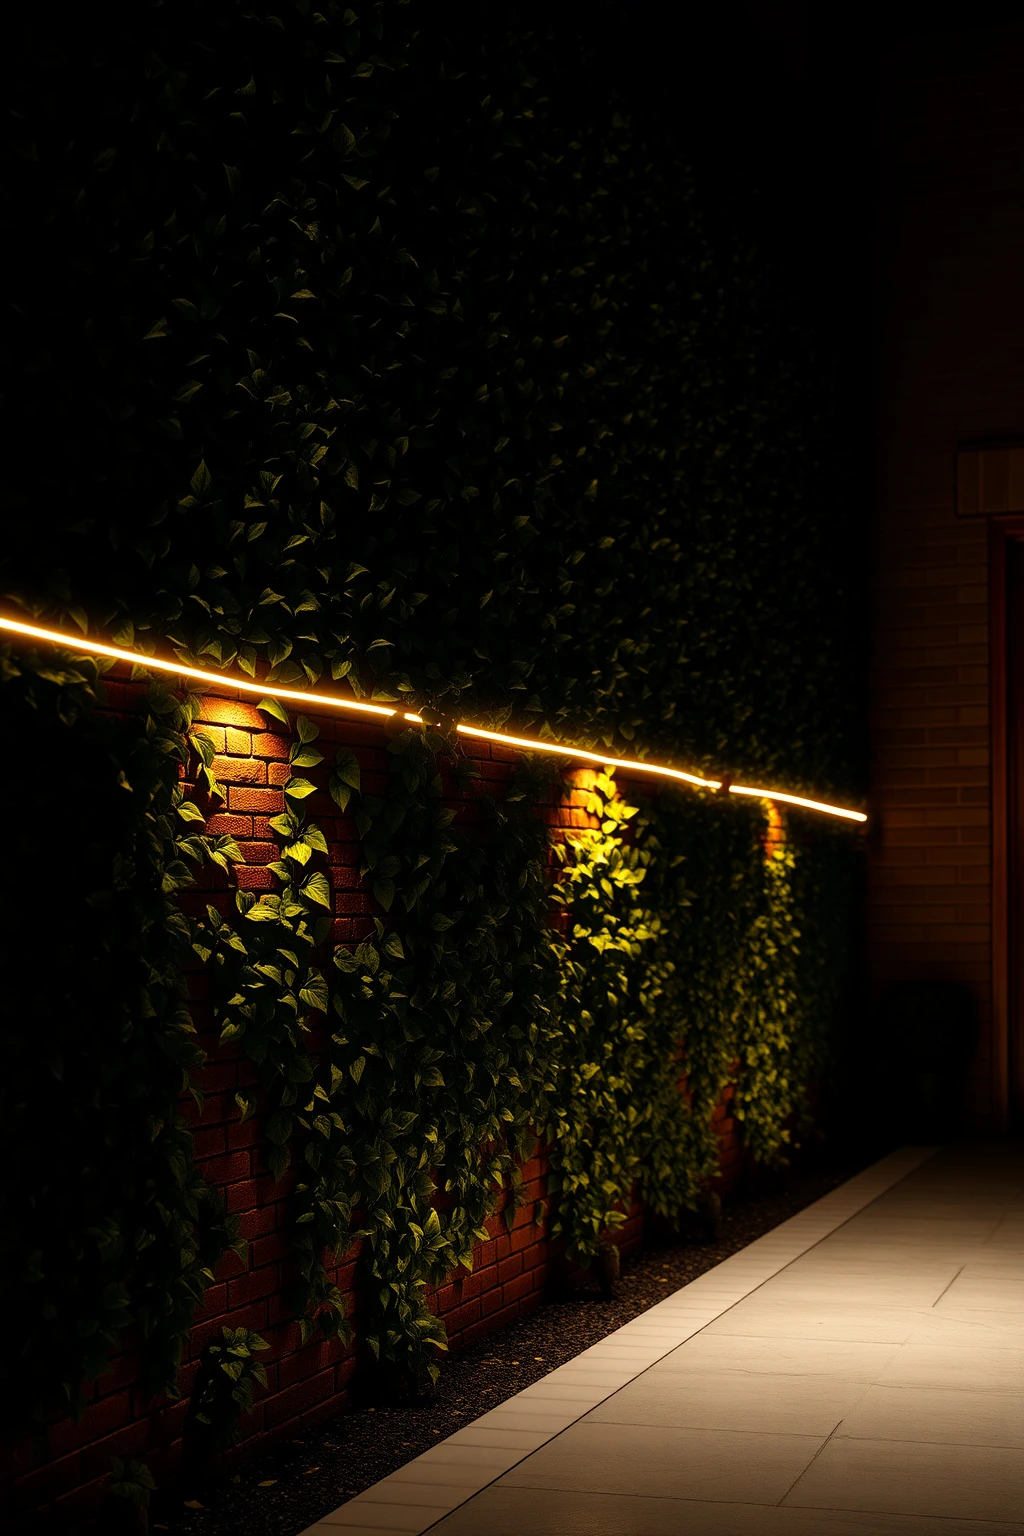
If you have textured brick or climbing ivy, the goal is to make the surface feel alive, not to cover it completely. Rope lights placed horizontally at “reading height” can reveal the wall texture beautifully.
Wrap or secure rope lights along the wall in shallow lines at two heights, like one at about 30 inches and another at 60 inches from the ground. Aim for 2 to 3 inches away from the wall so light grazes the texture instead of washing it flat. Avoid the mistake of running lights directly against brick with no air gap, which often looks dim and uneven when it rains or when the bricks absorb light. Finish with one small uplight aimed at the base of a prominent ivy section for depth.
Modern Monochrome: Black-Outlined Tree Lines with Cool Whites
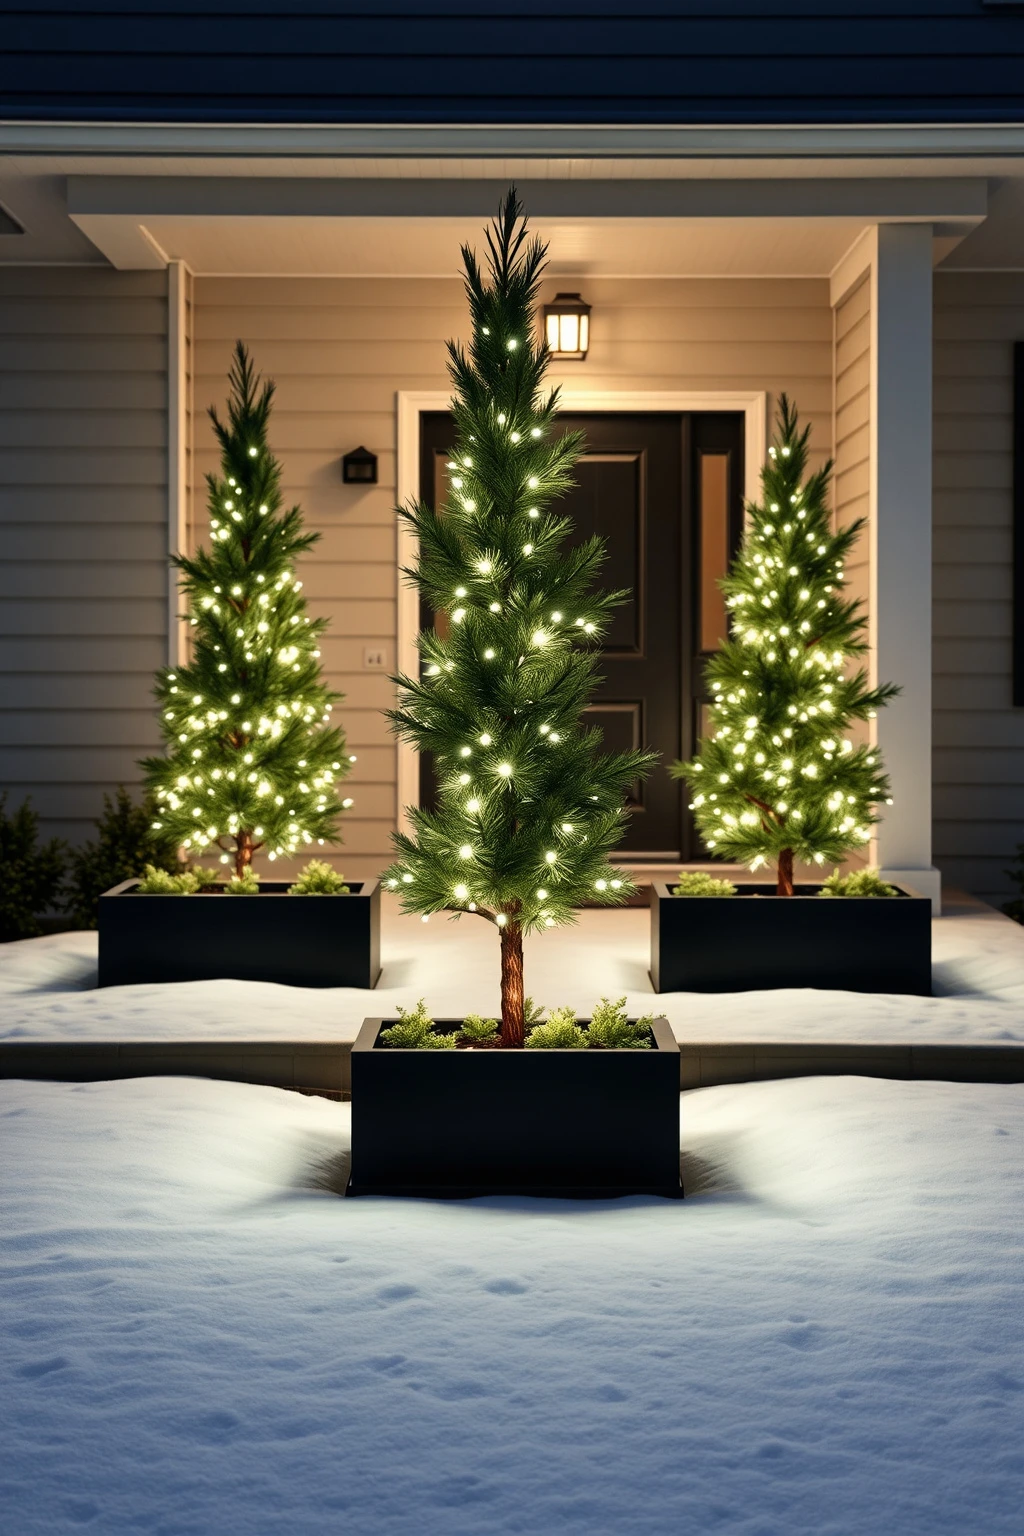
If your style is clean and modern, go monochrome instead of mixing reds, greens, and multicolor. A cool white outline against dark landscaping can look surprisingly luxe because it feels graphic.
Pick one cool white color temperature, around 4000K, and use it consistently on every edge line you install. Create a “tree line” effect by stringing mini lights along the outer perimeter of three or four evergreens at the same height, about 24 to 36 inches from the ground. The mistake to avoid is randomly placing lights on inner branches, which makes the silhouette look messy from the street. Add one grounded accent by lighting a single small pathway segment with the same cool white so the whole yard feels like a designed system.
Pine Log Mantel Glow in the Yard
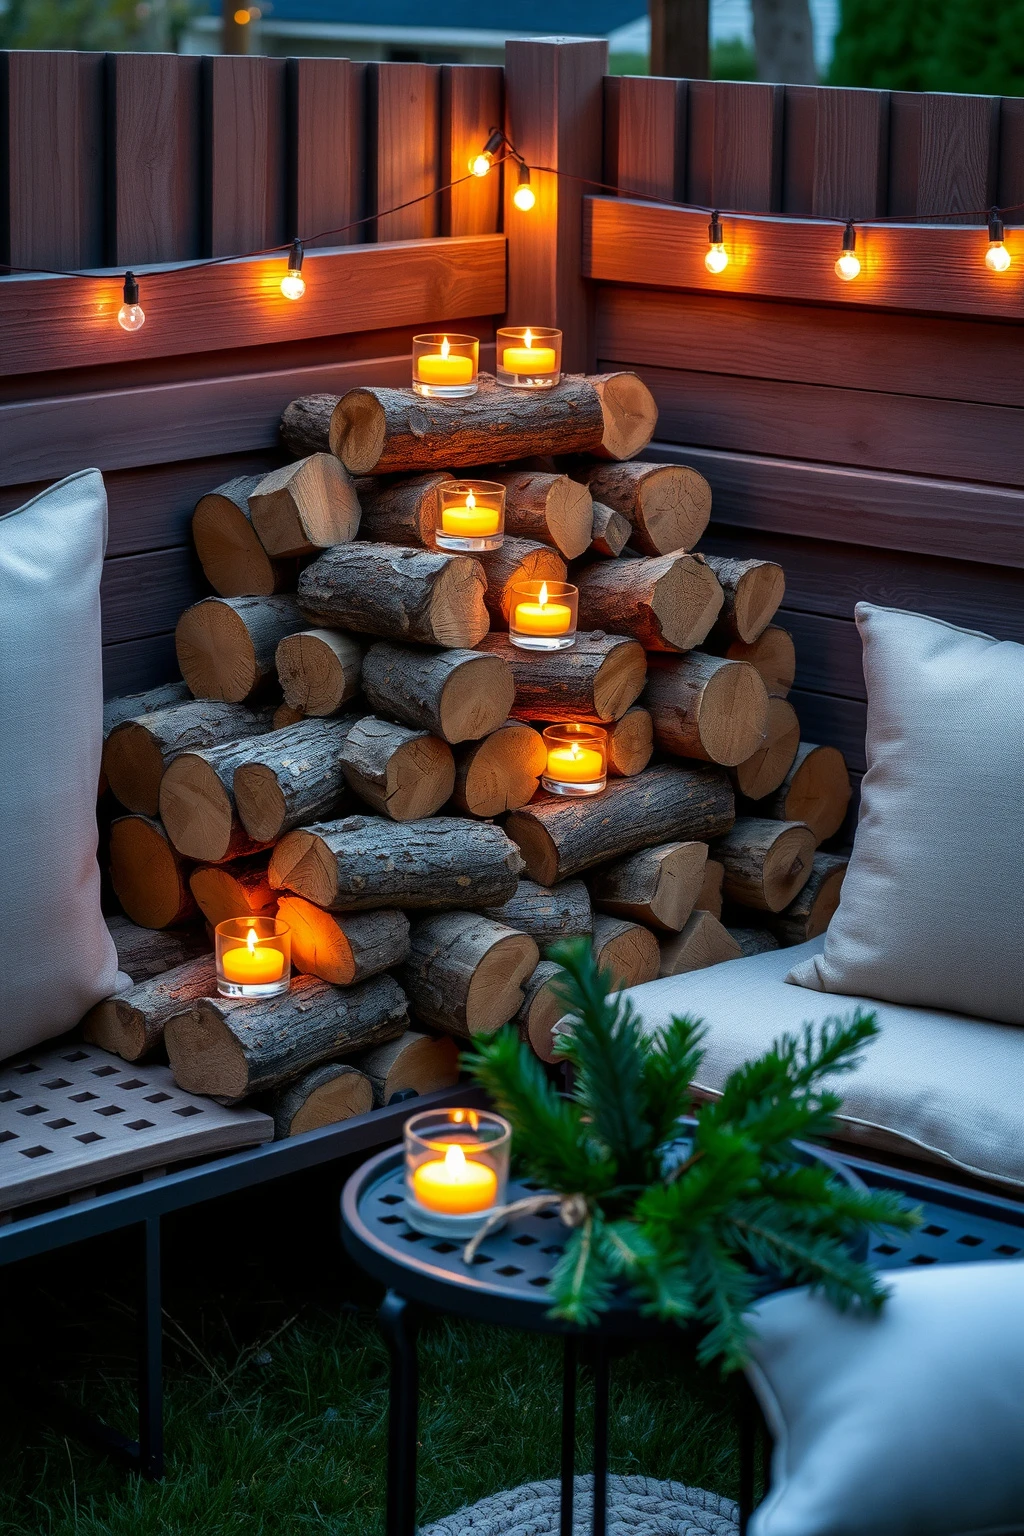
Your backyard can have a “fireside” moment even without an actual fire. Stacking pine logs and lighting them with LED tea lights gives guests a cozy focal point that looks styled, not DIY-chaotic.
Stack three to five logs in a low, stable pile, then fill gaps with LED tea lights in glass holders. Choose warm white or soft amber so the flame effect reads natural. Keep the lights inside the logs’ shadows, not on top of open surfaces, so the glow spreads rather than beaming straight out. A common mistake is using too many tiny lights all at once, which can look sparkly and scattered instead of warm and grounded.
Faux “Icicles” with C7 Bulb Drops for a Dramatic Entry
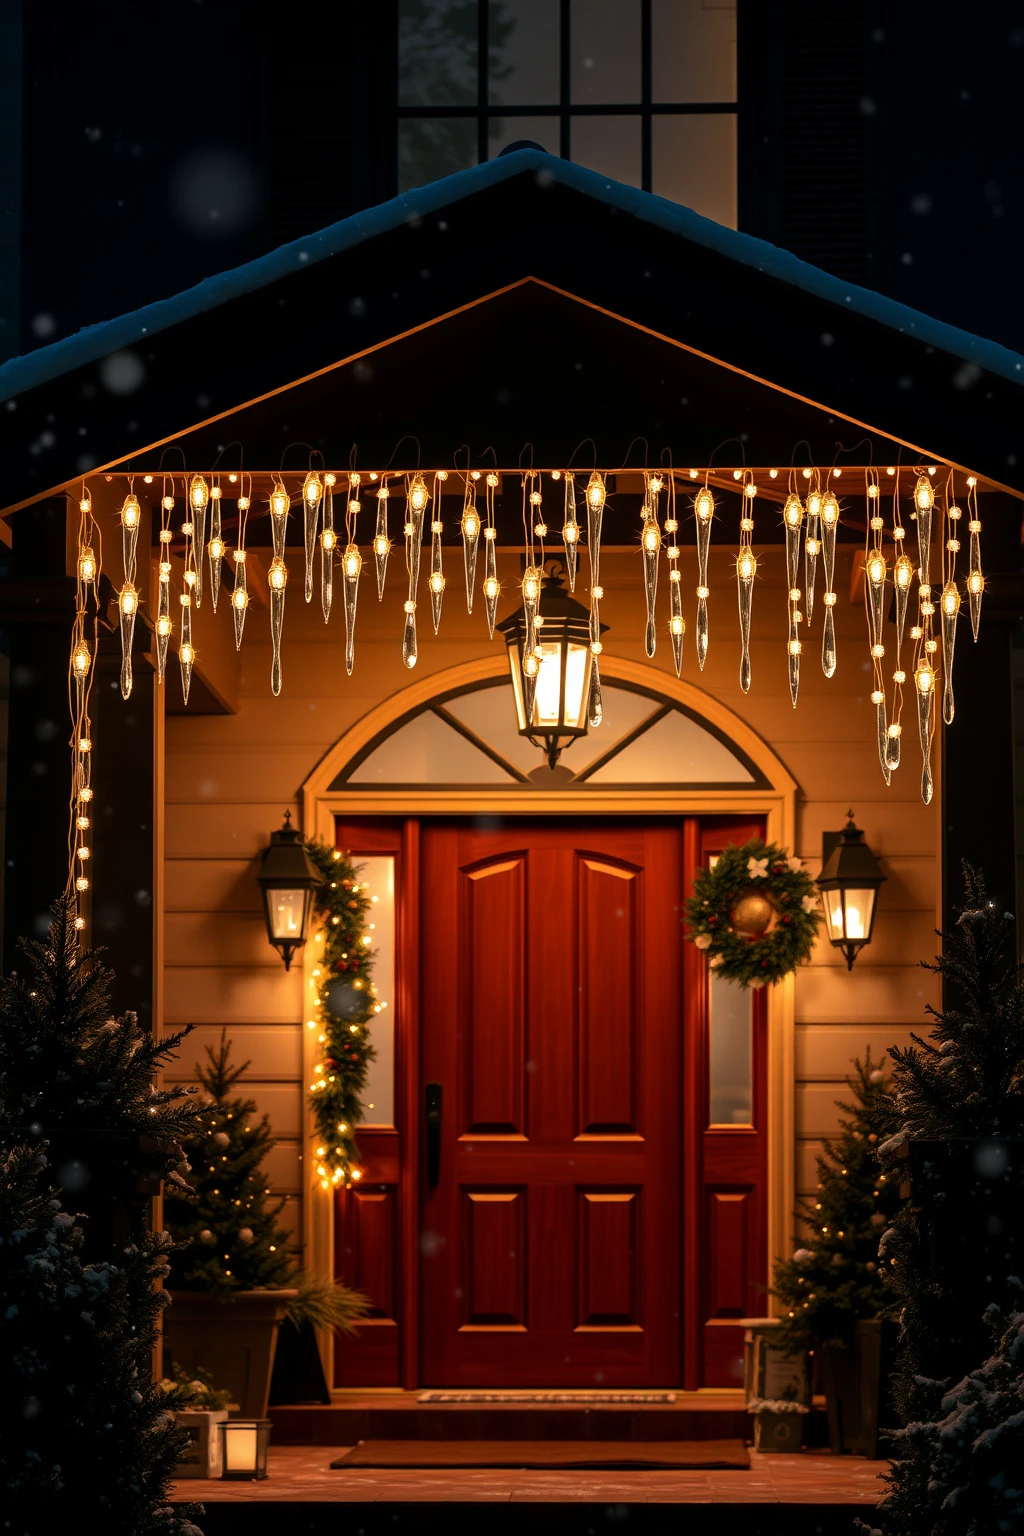
You can get the look of real icicles without the maintenance by hanging C7 bulb drops strategically. The trick is to keep them consistent in length and spacing so they look intentional.
Hang C7 bulb drops from the eave or porch overhang, aiming for 18 to 24 inches of drop length depending on your ceiling height. Space them about 6 to 9 inches apart, then add thicker clusters around corners or doorways for hierarchy. Avoid the common mistake of letting strands tangle and vary in length, which makes icicles look like spilled wiring. Finish by turning them on in stages with a timer so you can confirm coverage from both the sidewalk and the driveway.
Entry Door “Wreath Frame” Using Two Light Rings
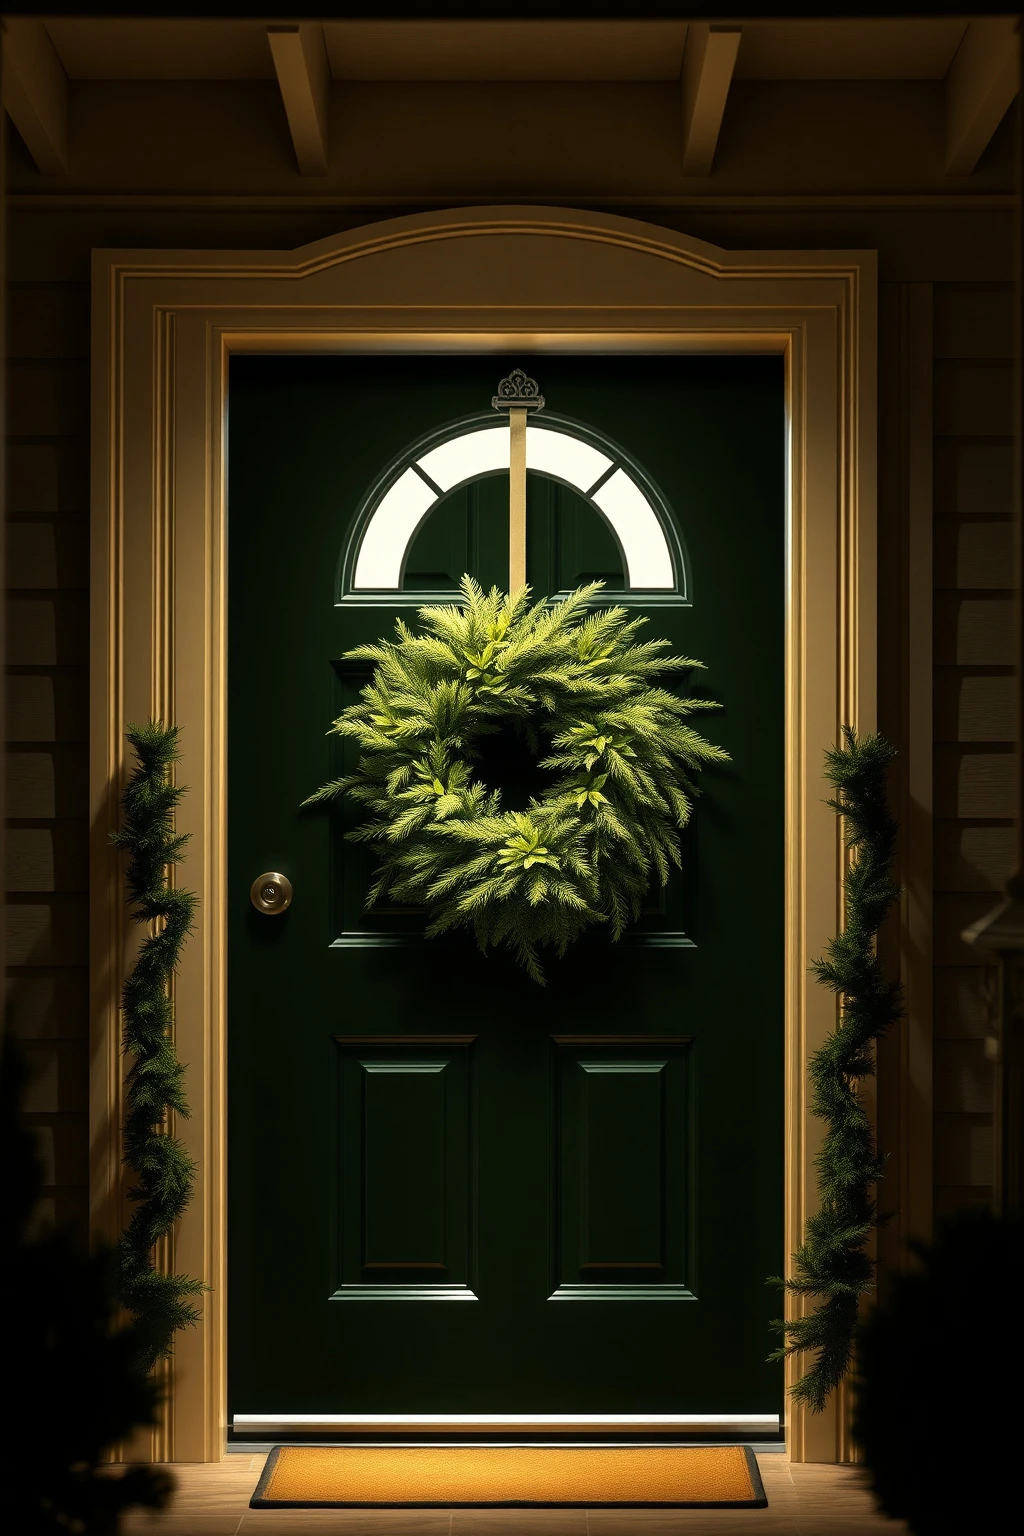
Instead of one wreath that everyone crowds with lights, frame it with a shape. Two light rings, one larger and one tighter around the wreath, create a gallery-style spotlight that feels upscale.
Choose a wreath style first, like a 24 to 30 inch boxwood or evergreen wreath, then attach two circular loops of LED lights using a thin mounting wire. Place the larger ring about 4 to 6 inches outside the wreath and the smaller ring inside, keeping spacing even so both circles read cleanly. Avoid the mistake of using blinking modes, which can make the rings feel restless in the dark. Use steady warm white and pair with a single warm spotlight above the door if you want that museum glow.
Small Yard Path Markers with the 12-Inch Rule
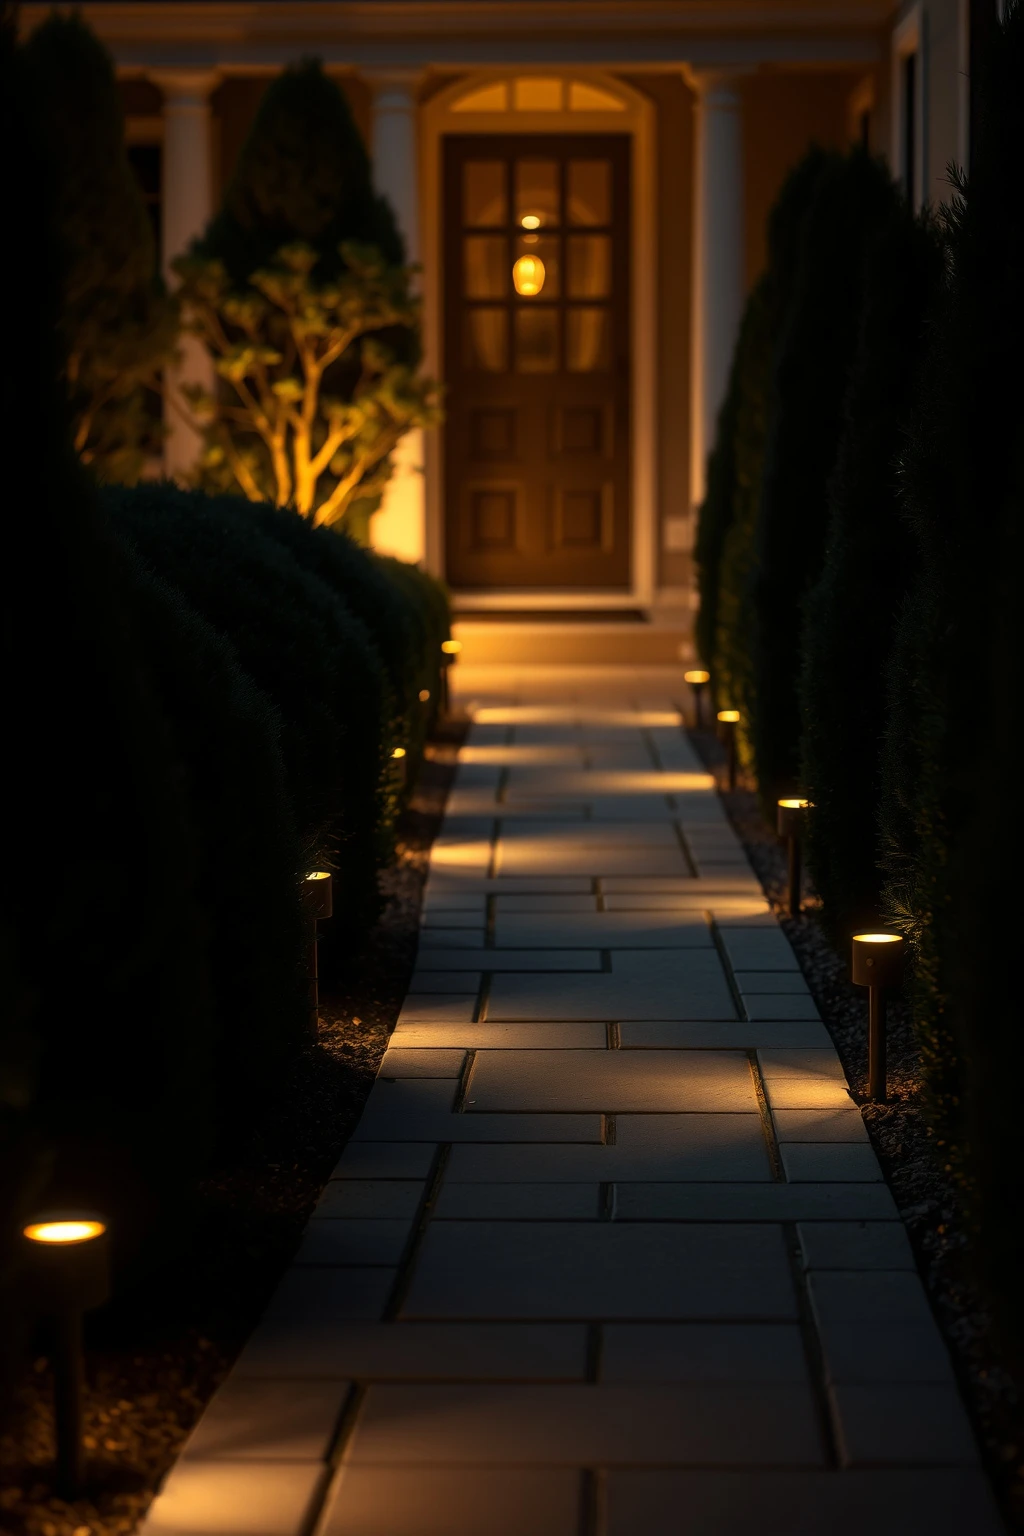
Path lights look best when they are placed at a consistent, thoughtful height. If they are too tall, they become distracting dots, but if they are too low, guests miss the edges.
Use low stake lights and set them so the glow center is about 12 inches above the ground. Space them 3 to 4 feet apart, then add an extra marker at any step up or down to improve wayfinding. Avoid lining the entire path with lights if you have low-visibility trees, because the brightness can flatten the landscape. Instead, light the outer edges of the path and let the shrubs remain darker so your display has contrast.
Outdoor Curtains of Light for a Covered Patio Divider
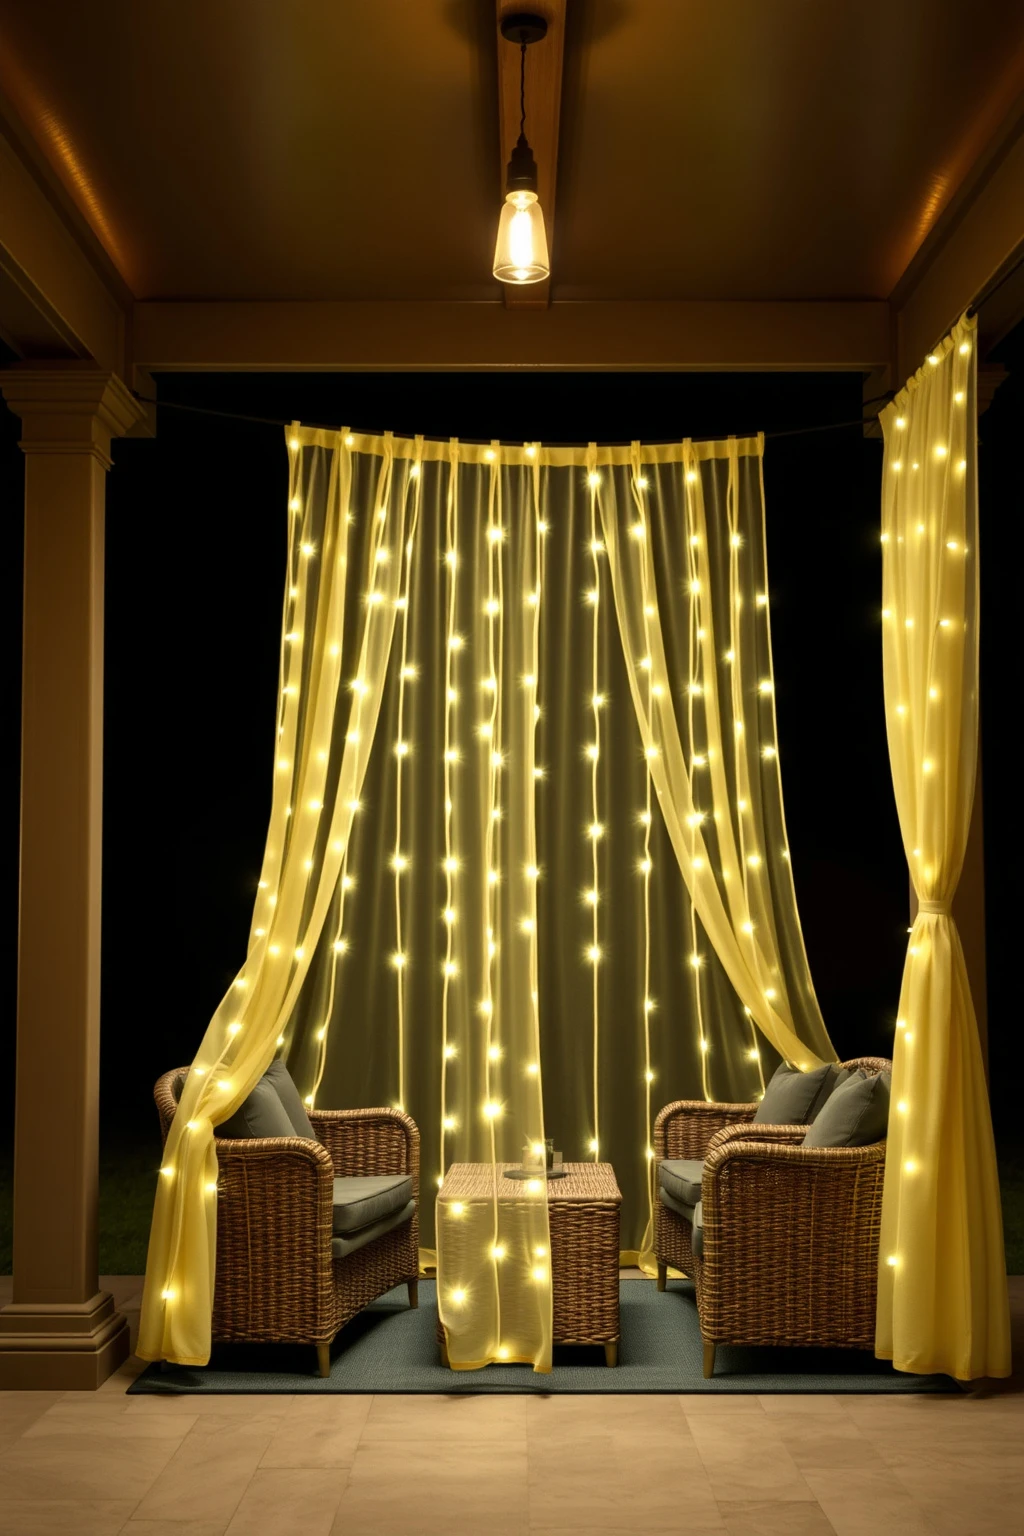
If you have a covered patio or pergola, light curtains give you softness. They work especially well when your seating area feels exposed to wind, because you can create privacy without bulky screens.
Hang outdoor string curtain lights from two points, making sure they reach just above seating backs by about 2 to 4 inches. Choose warm white so the room feels calm and lounge-ready, not carnival-bright. Avoid the mistake of letting curtains go too long, which tangles in wind and creates uneven waves. Secure the bottom edge with clips so it stays level, then add one focused porch light so the curtain’s glow is visible even when clouds roll in.
Shimmering Pine Wreaths with Hidden Light Behind Layers
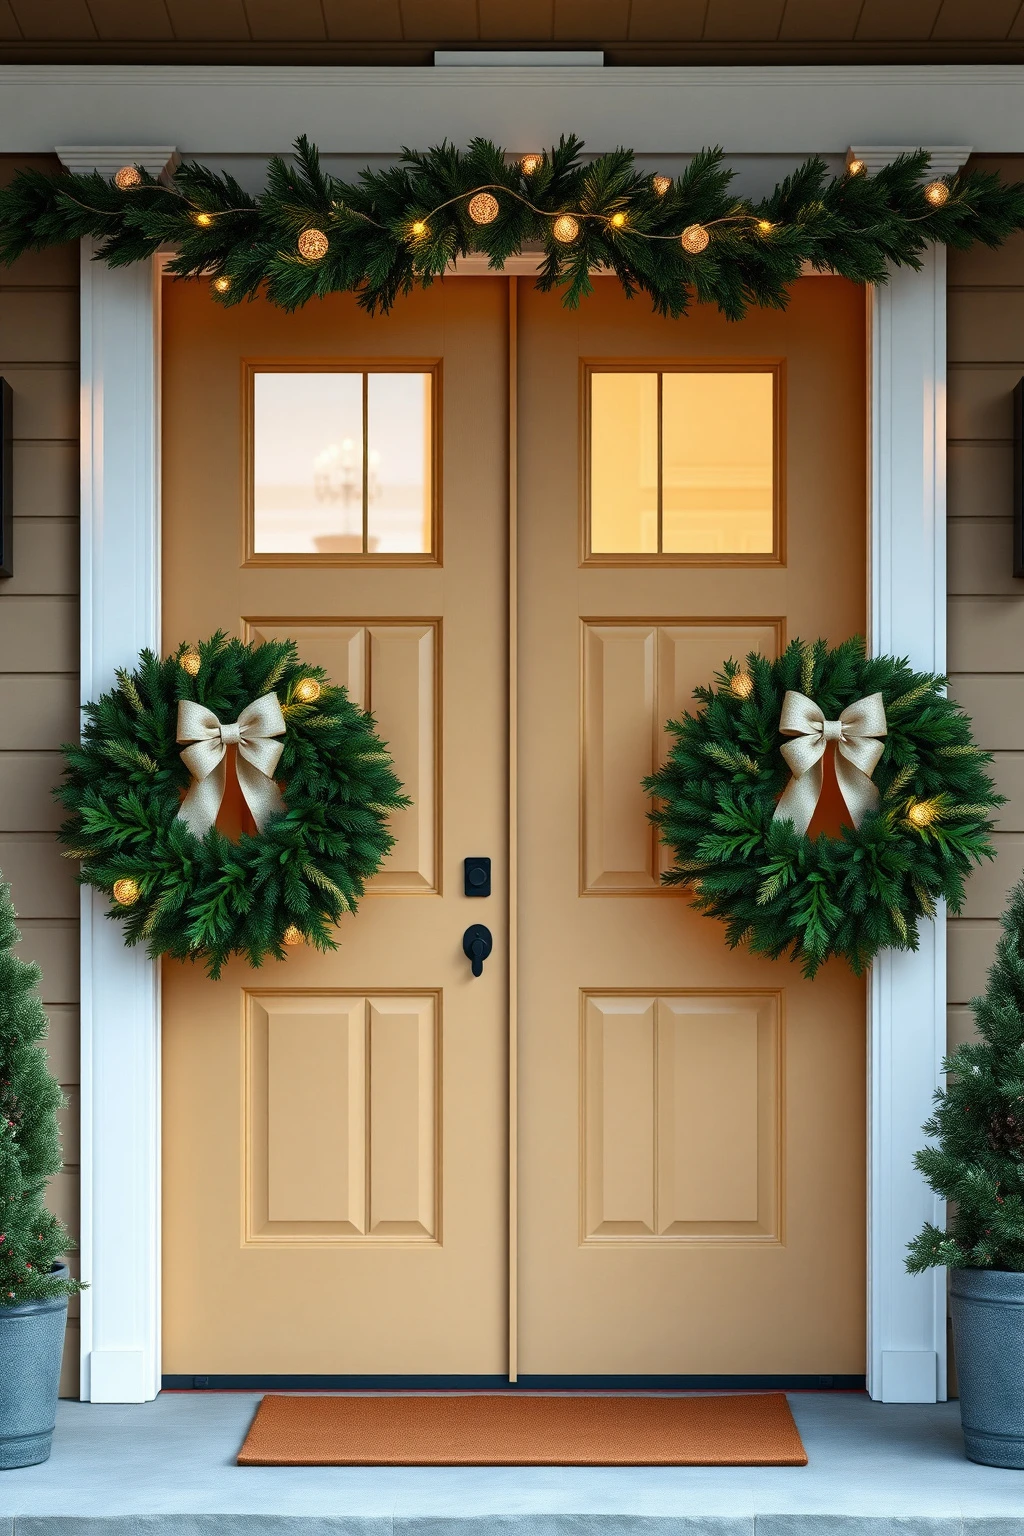
Layered wreaths look richer when the light comes from the side or back, not from the front where it glares. This is an easy upgrade: hide the light so it makes the wreath look dimensional.
Use two wreaths, like an inner 20 inch evergreen wreath and an outer 26 inch wreath with thicker greenery, then weave LED mini-lights between the layers. Hide the battery pack behind a ribbon tail so the power source disappears from view. Avoid the common mistake of wrapping lights directly around the outer ring because the bulbs show as bright pinpoints. Instead, distribute lights through the greenery so each needle catches the glow differently, creating that soft shimmer.
Shaded Corner Styling with “Cluster, Don’t Scatter” Lighting
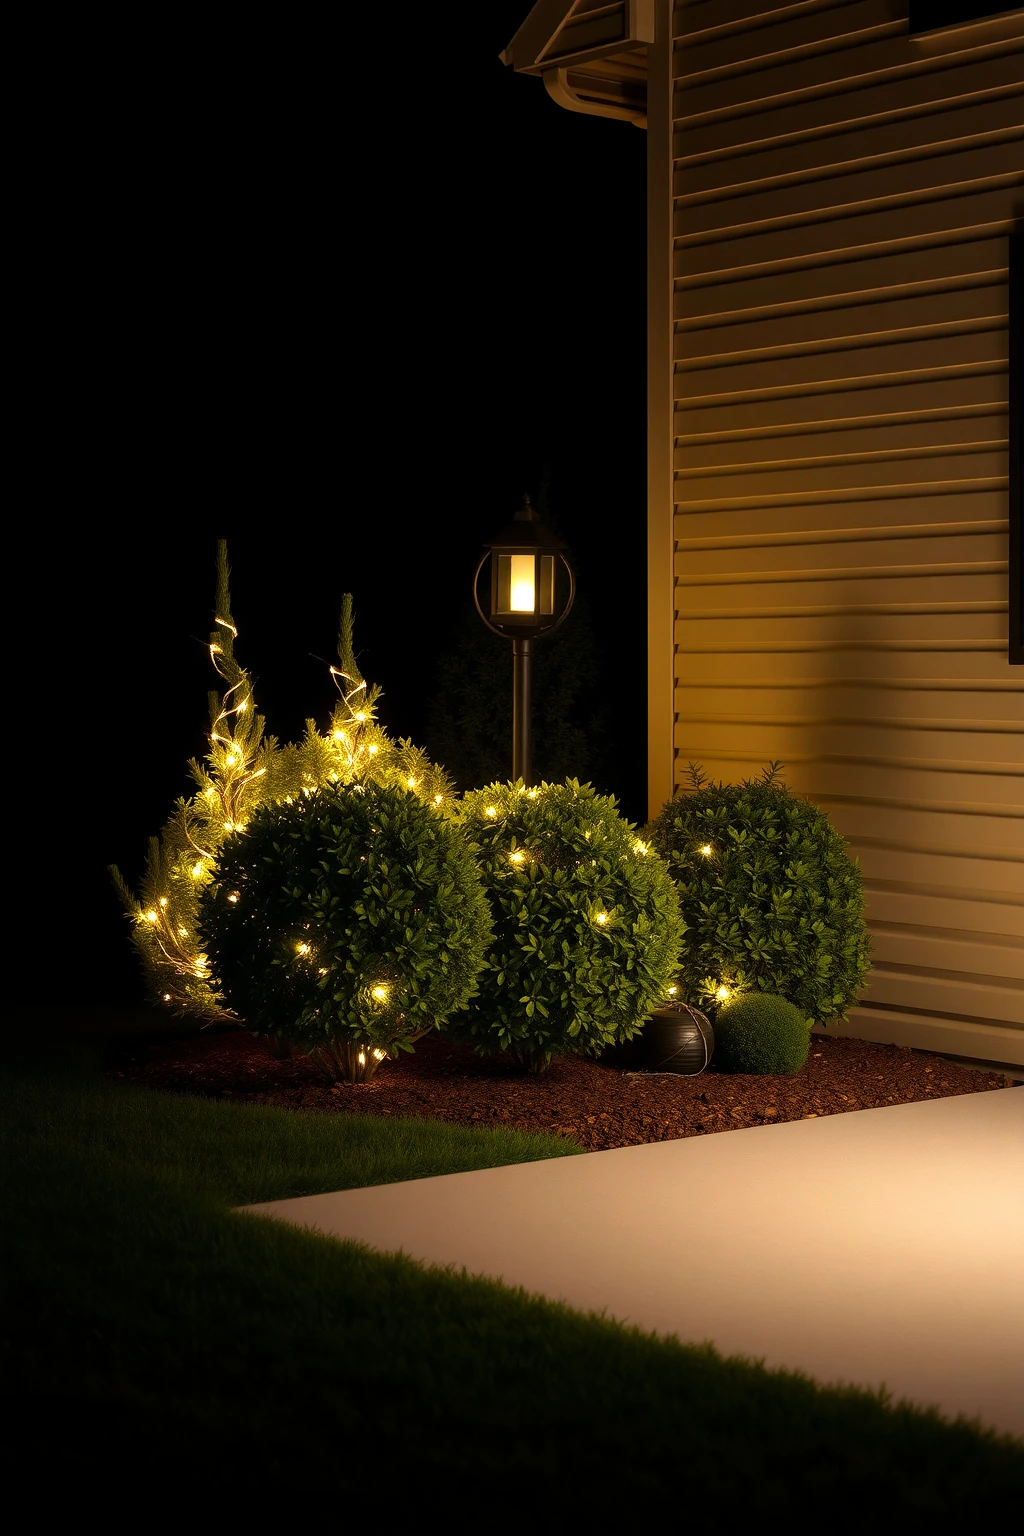
Dark corners make many light displays look unfinished because your eyes go looking for a focal point. The fix is to cluster lights into deliberate groupings, then leave some space unlit so it feels designed.
Pick one corner near your walkway and create a cluster: line three shrubs with lights (or net them), then add one larger illuminated element like a lit lantern post or a pre-lit small topiary. Keep the rest of the yard simpler, especially near windows, so you do not create visual chaos. A common mistake is lighting every inch evenly, which flattens contrast and reduces the impact of the main area. Use a timer and dim steady mode to keep the corner consistent throughout the night.
Plaid Ribbon Tie-Ins with Black and Sage for a Quiet Luxury Look
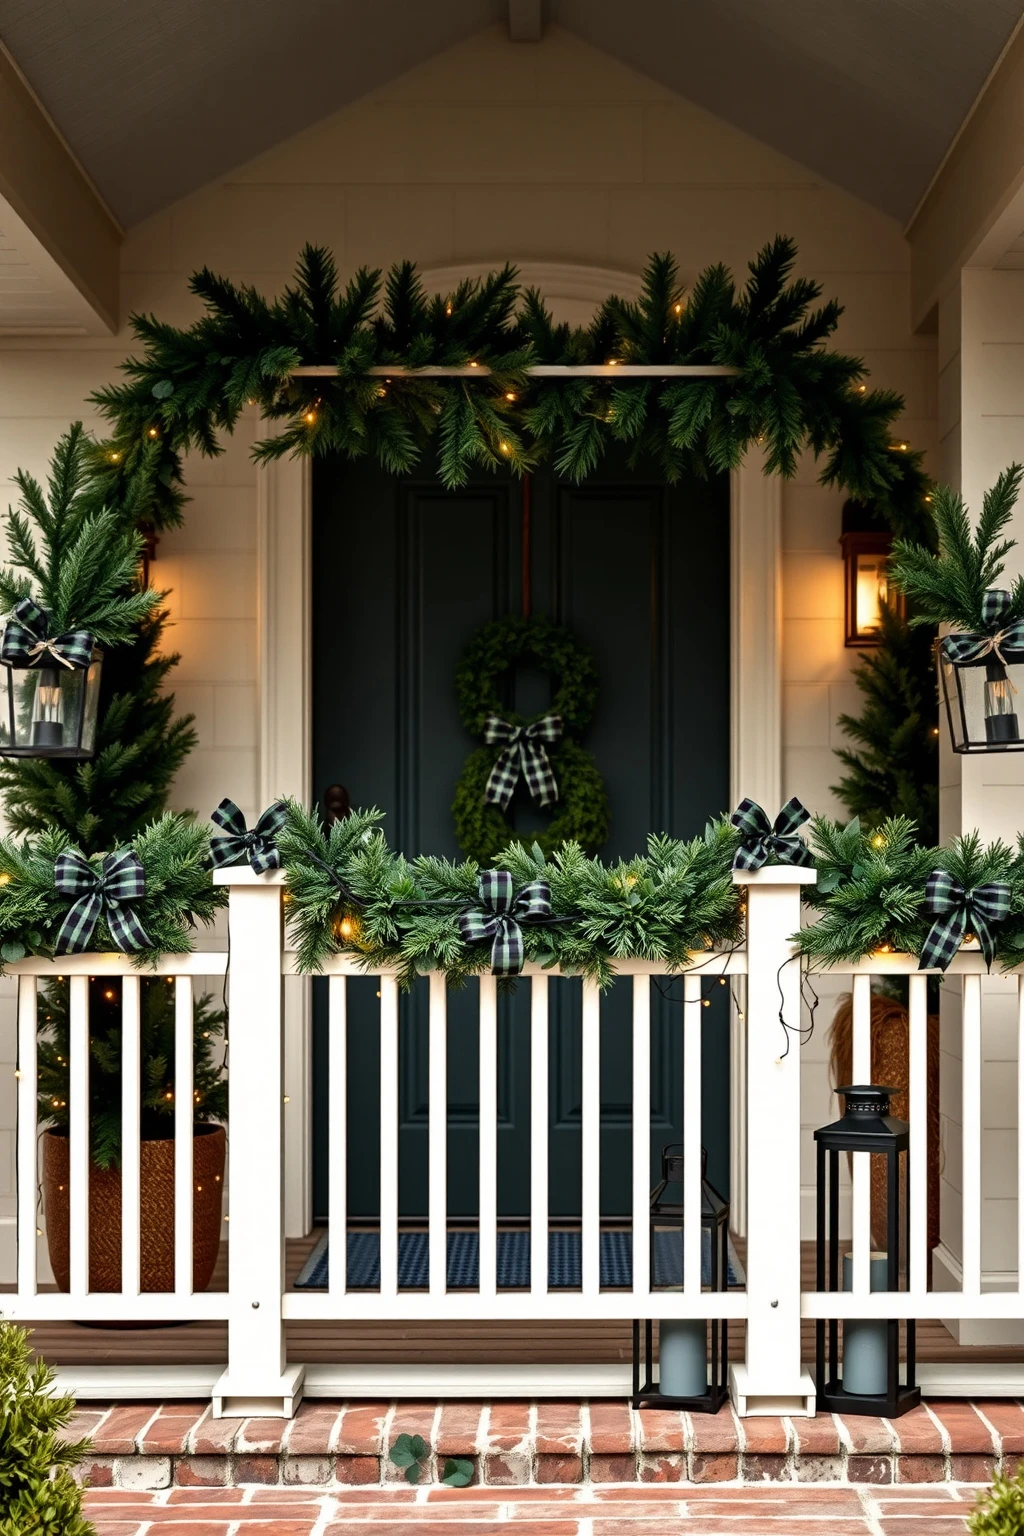
You can make lights feel more “tailored” by dressing the supporting structure, like ribbon tied to railings and stakes. Quiet luxury is not about going brighter, it is about controlling color and texture.
Use ribbon in black, deep evergreen, and sage green, then tie it to railing posts or garland at 10 to 12 inch intervals so it looks intentional rather than random. Keep lights warm white and choose either micro mini lights or icicle-style drops, but do not mix bulb sizes across the display unless you have a clear reason. Avoid the common mistake of adding too much red, which can clash with modern black hardware and make everything feel busy. This works best when your exterior palette is neutral, like cream siding and charcoal doors.
Budget Swap: Use One Long Strand per Side, Not One-Off Islands
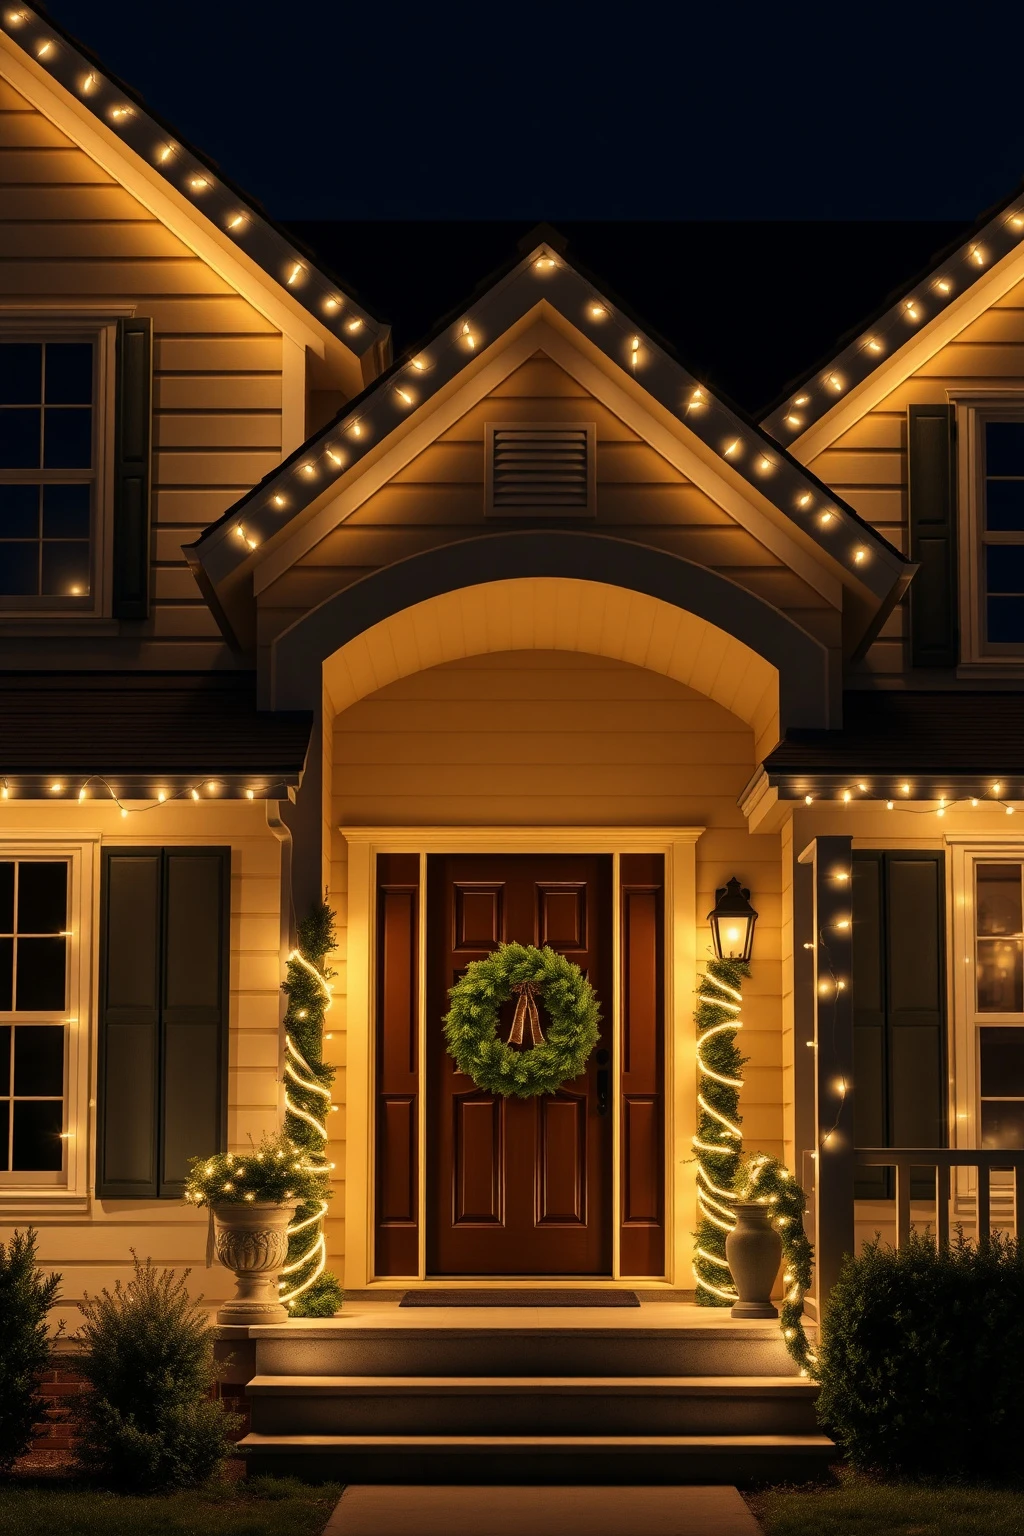
A lot of DIY displays end up looking patchy because people treat each section like its own mini project. If your goal is a polished look, wire your display as continuous runs per elevation, then use controllers for timing.
Run one long, outdoor-rated strand per side of the façade, then use extension cords only at logical junctions like near downspouts. Keep a consistent attachment point height so the line is level, even if your house has slight slope. The mistake to avoid is mixing multiple brands or wattages, which can cause brightness mismatches. If you have a limited budget, start with roofline and door area first, because those are the features your eyes notice most from the street.
Conclusion
The best outdoor light displays do not just shine, they direct. When you think about where people walk, where their eyes land first, and how light reveals texture, your home ends up looking warm and curated rather than overloaded.
Pick one focal moment, keep your palette tight, and make the pathway and entry read clearly. Do that, and even a small setup will feel like a big holiday gesture.

Mush Decor
Writes about accessible, timeless interior styling for readers worldwide.
More about Mush DecorRelated articles
 Christmas Ideas
23 Fresh Greenery Front Door Christmas Ideas
Fresh greenery front door Christmas decor ideas: wreaths, garlands, bows, lights, and styling tips with real materials and measurements.
Read More Christmas Ideas
23 Classy Outdoor Christmas Lights (No Inflatables)
From warm-wreath porch lighting to architectural uplights, here are 23 classy outdoor Christmas light ideas that skip inflatables and stay elegant.
Read More Christmas Ideas
23 Whimsical Christmas Decor Ideas for the Whole House
Get playful Christmas styling across your whole home: whimsical wreaths, garlands, table ideas, mantel details, and lighting tips.
Read More