
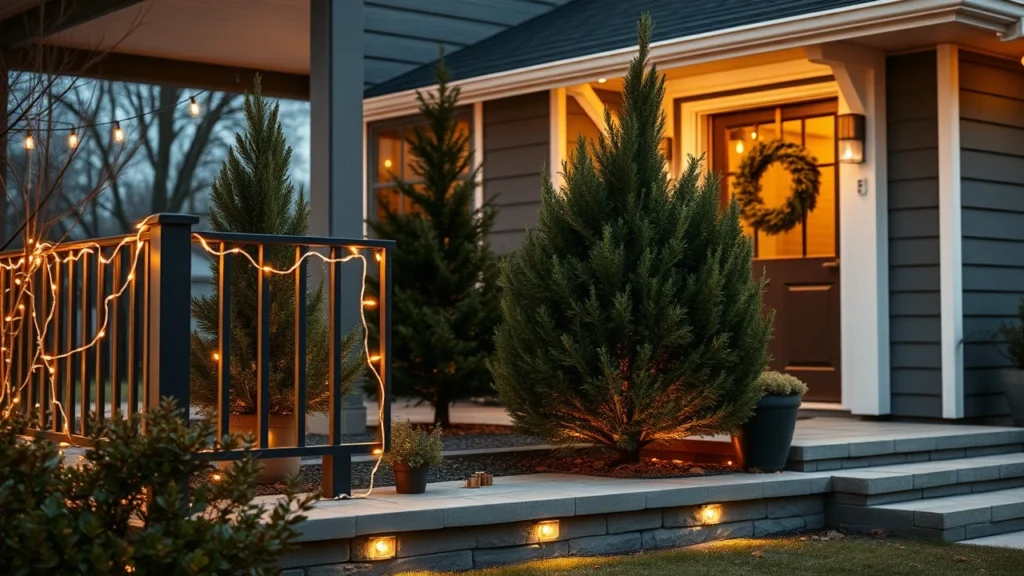
The second you plug in your holiday lights, your house starts acting like a warm invitation instead of just a building. The trick is choosing lighting that looks intentional from the street, not like a last-minute scramble of clips and extension cords.
If you have ever stared at a bundle of novelty inflatables and thought, “No, that is not my vibe,” you’re in the right place. Below you’ll find classy, design-forward ways to light up your front yard, porch, and trees using real architectural cues, clean color palettes, and smart placement.
Each idea is built for practical success, too. You’ll learn where to hang, how to layer light for depth, which colors look most expensive, and what common mistakes to avoid so your setup looks polished all season.
Wrap porch railings with warm-white micro lights (no bulky tubes)
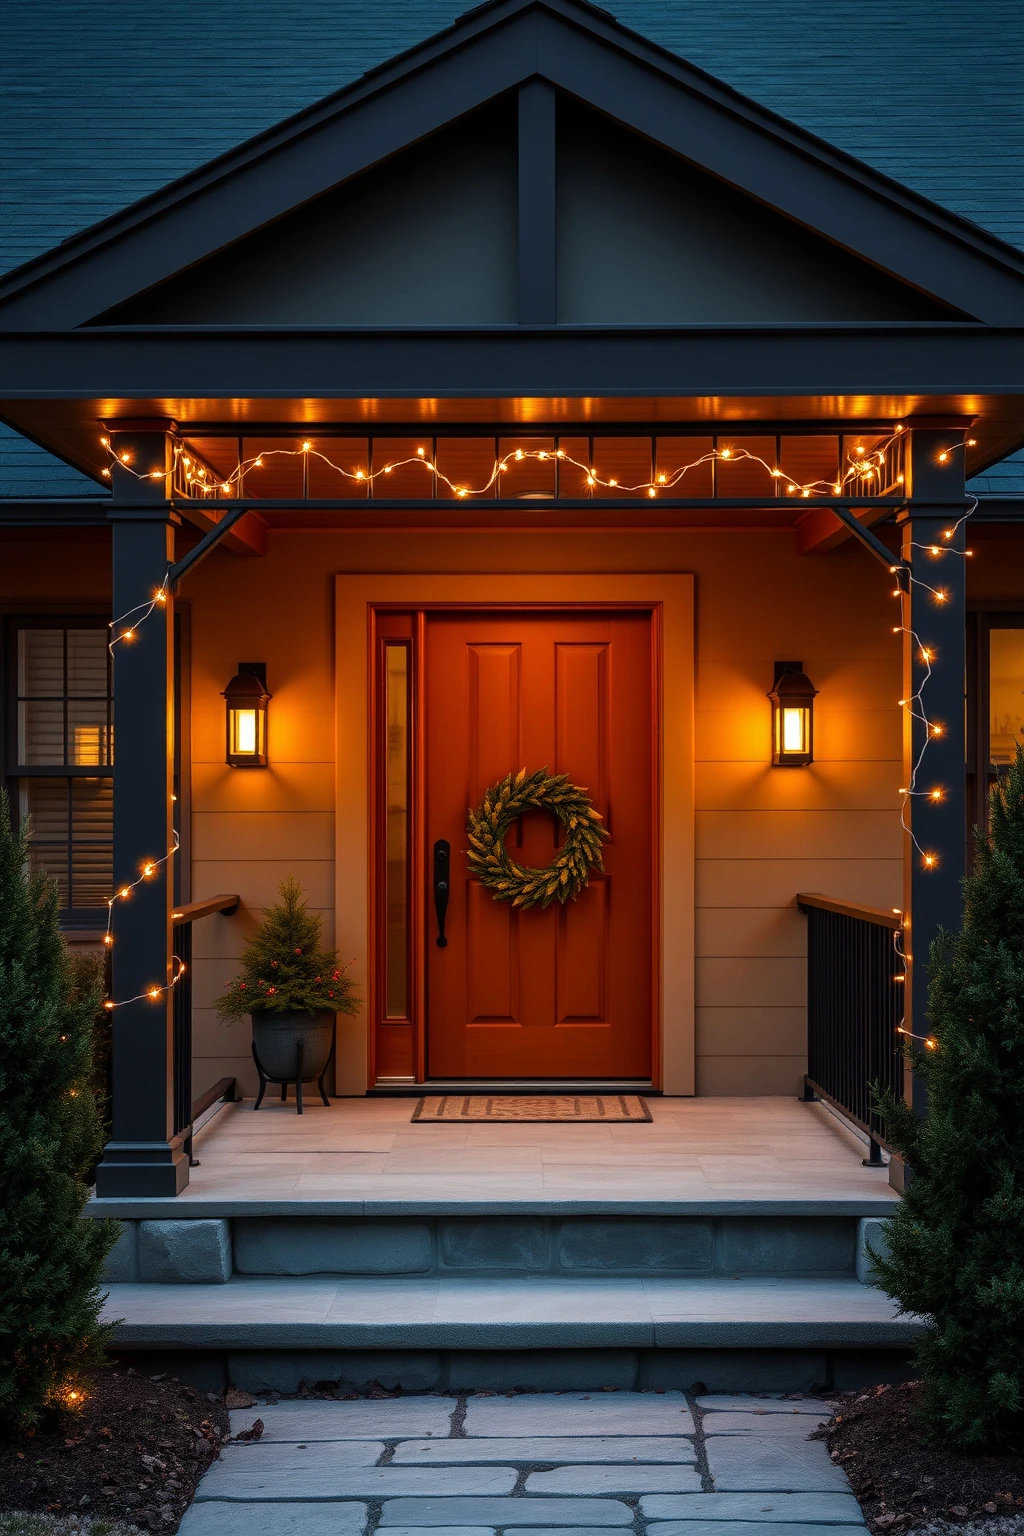
If your porch looks pretty in daytime but flat at night, railing lighting is your quickest fix. Warm-white micro lights feel tailored because the small bulbs tuck neatly into the lines of the railings and don’t fight the architecture.
Start by measuring the railing length and buying enough light strands to create two wraps per section with a little breathing room. Secure with low-profile clear hooks or zip ties under the rail, spacing strands about 4 inches apart so you get even coverage. Keep the transformer connection hidden behind a railing post, not hanging off the front edge where it catches eyes from the sidewalk.
Uplight your front steps with small path stakes for depth
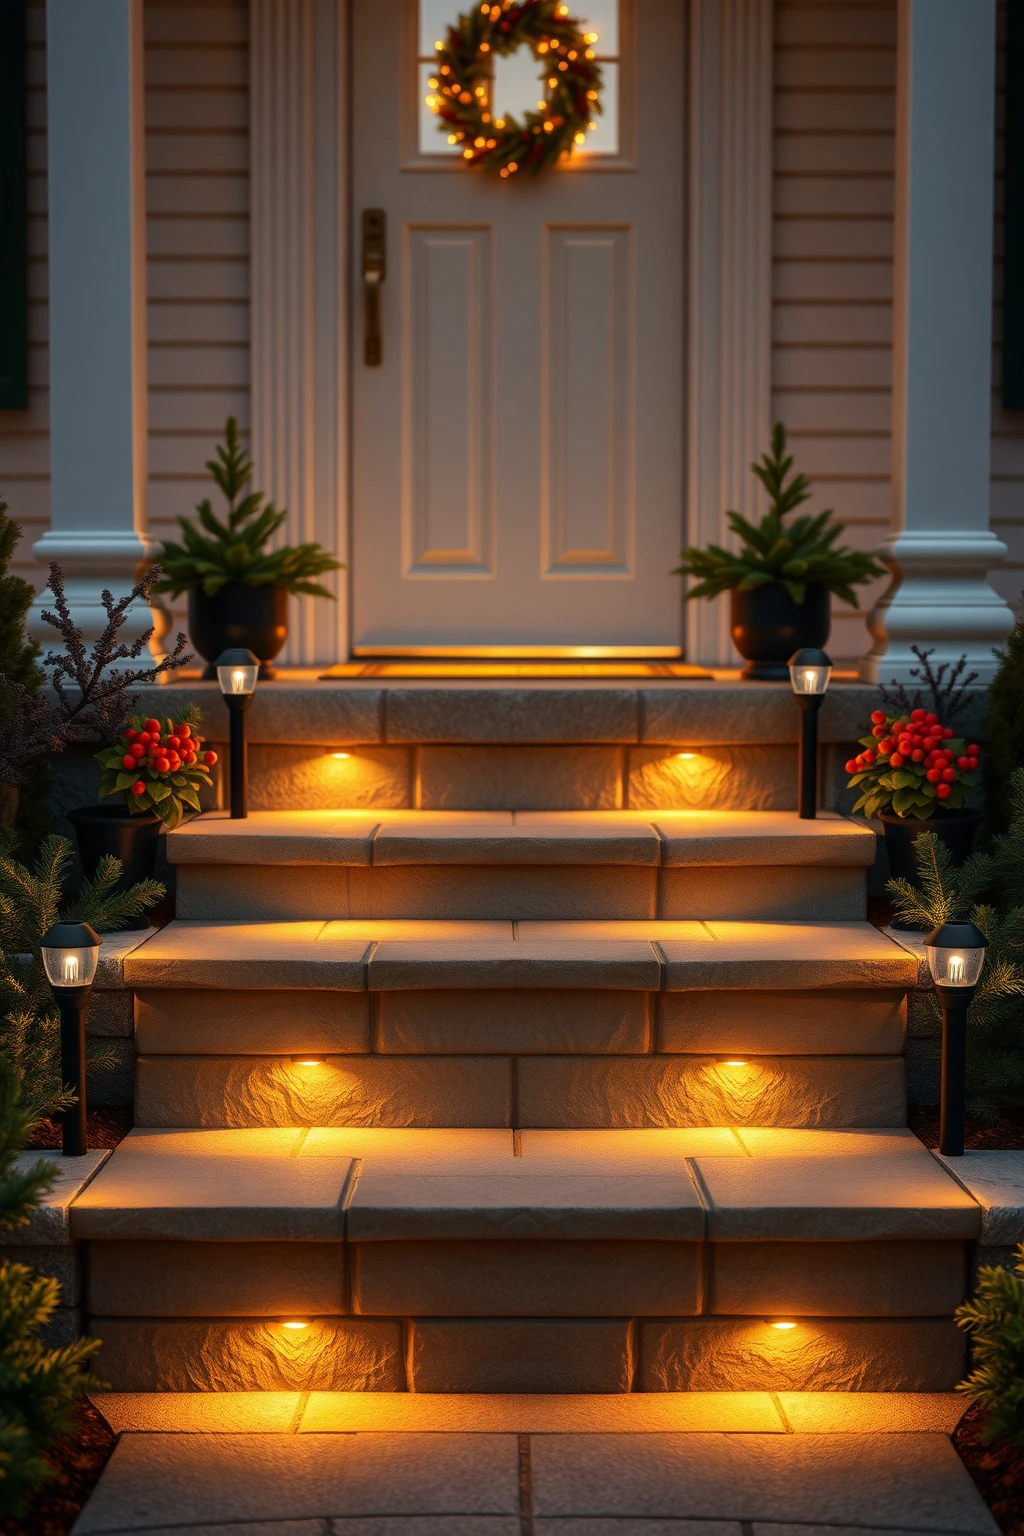
String lights are pretty, but uplighting turns them into design. When the light comes up from the ground, it creates shadows in the stone and planters, which reads more expensive than flat illumination.
Place 8 to 12 small path lights along the edge of the steps, aiming upward at a 20 to 30 degree angle so the beams hit risers and nearby greenery. Use warm-white bulbs, and stagger the lights so the brightest spot doesn’t land on one tile. Hide the cords behind the lowest stone lip or tuck them under edging so pedestrians do not see cables while walking.
Light your wreath like a jewelry piece, not a Christmas cartoon
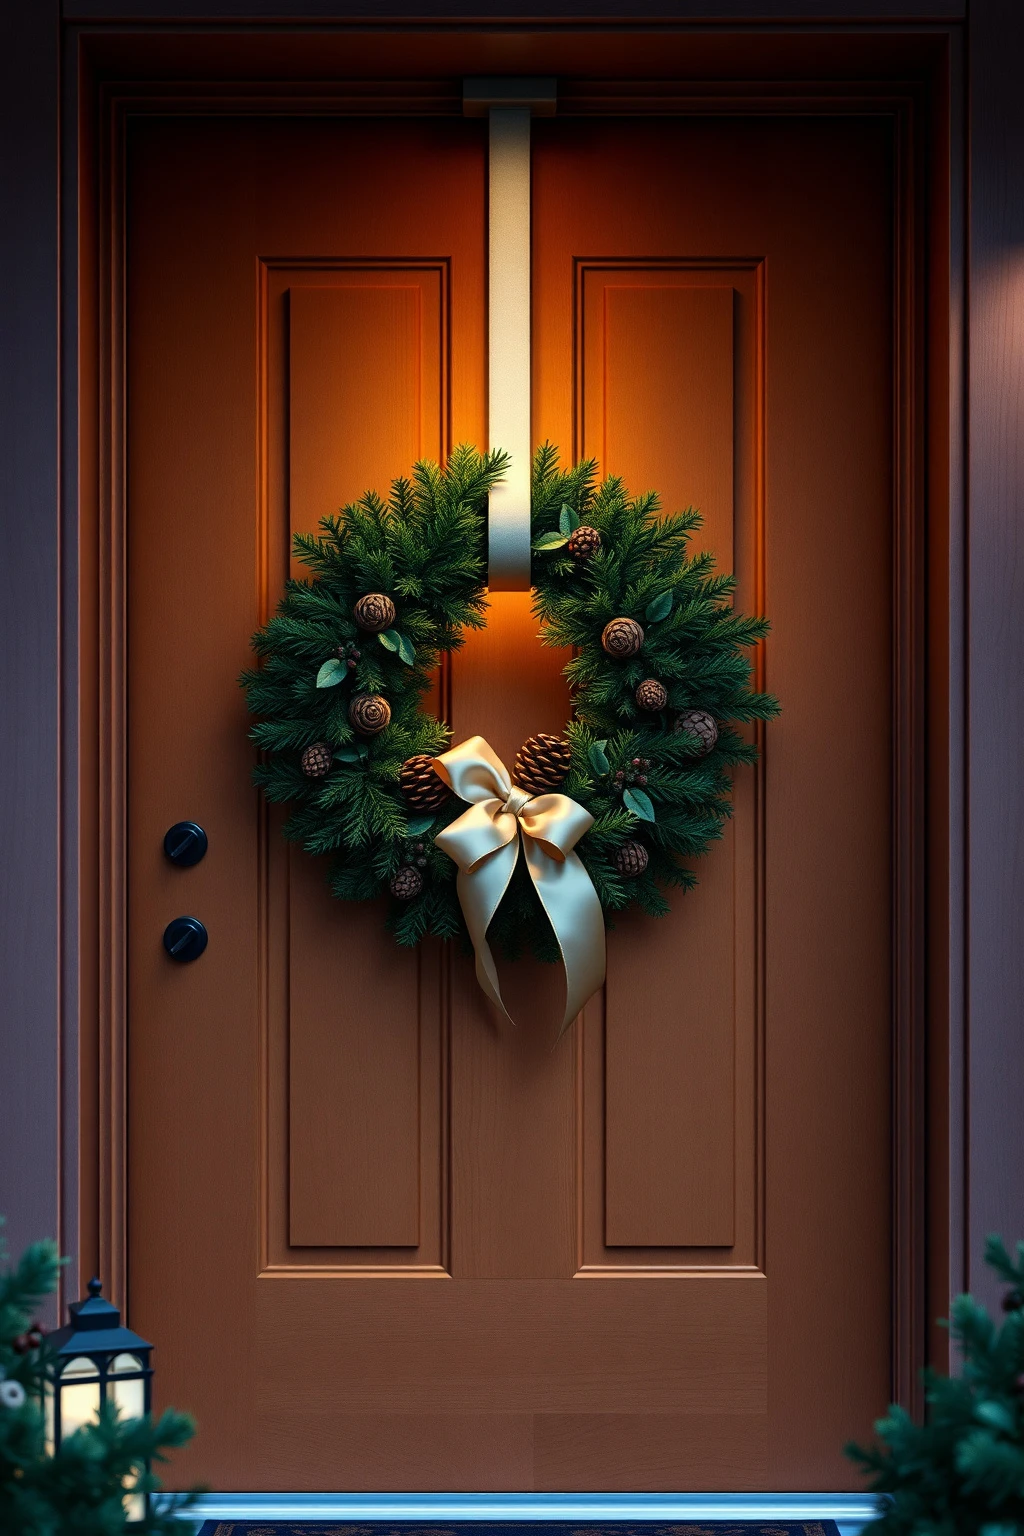
A wreath can look great during the day, then disappear at night. The classy move is to treat it like a focal “jewel” with controlled lighting, so the texture of evergreen and pinecones stays visible.
Add a battery-operated puck light or a small plug-in spotlight inside the wreath ring, aimed slightly downward. If you’re wiring lights around a door frame too, keep the wreath lighting brighter than the surrounding area by using warm-white on the wreath and a slightly softer warm tone elsewhere. Avoid placing lights so they shine directly outward from the wreath face, which creates harsh glare and flattens the greenery.
Use a single color temperature: warm-white only, or cool-white only
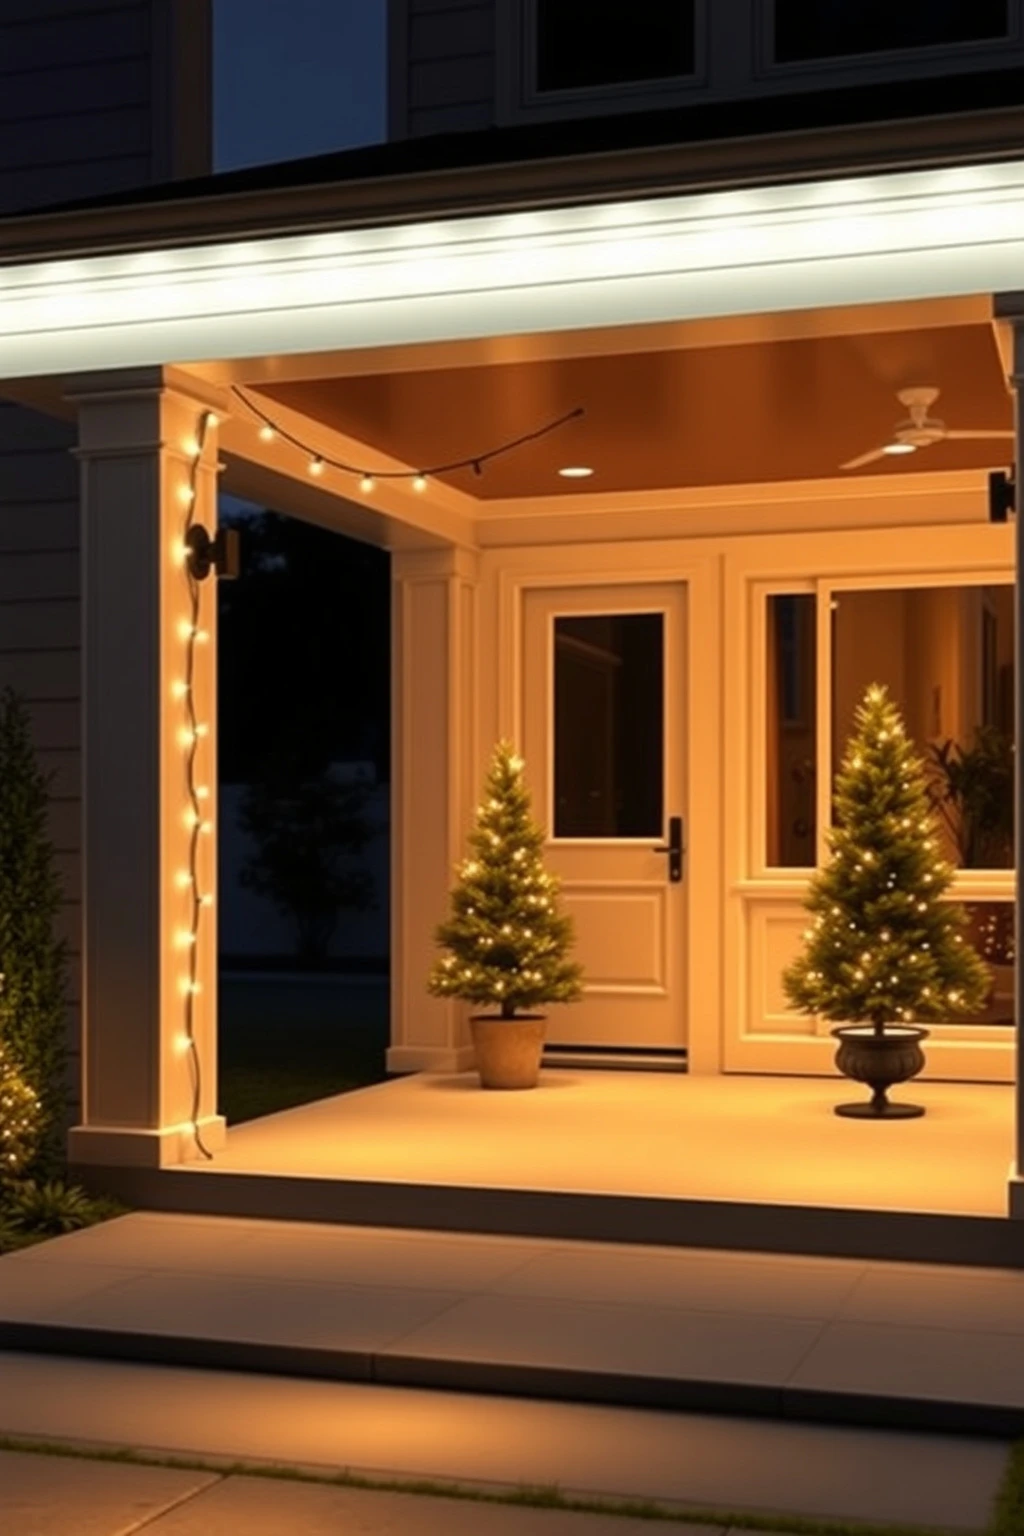
Mixing warm and cool LEDs is one of the fastest ways to make outdoor lights look messy. Your eye reads mismatched temperatures as “unplanned,” even if you think the colors are close.
Pick one: either 2700K warm-white for a cozy, traditional look, or 5000K cool-white for a crisp, modern feel. Match everything on the same palette: string lights, pathway stakes, and any spotlights. If you already own strands, test them together on the front step at night; if one looks bluish, keep it for interior under-cabinet use and don’t bring it outside.
Drape lights across columns, then stop before the corners
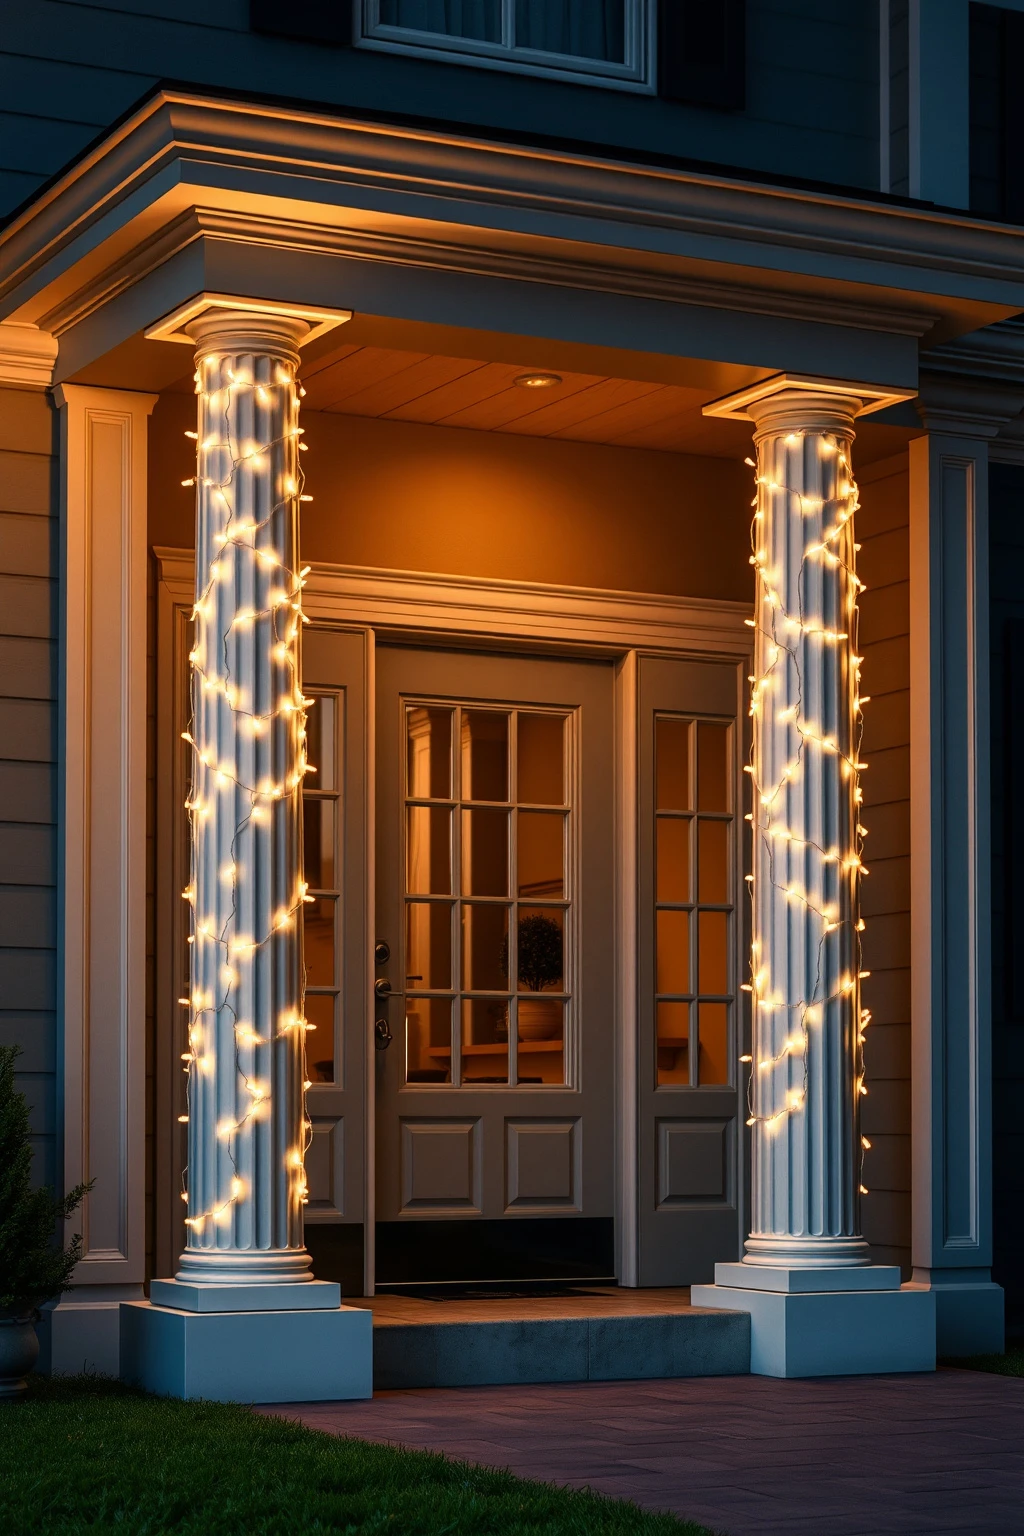
Columns love lighting, but overdoing the corners can make your entry feel cramped. If the lights wrap fully around every edge, the glow turns into a big bright blob instead of a structured frame.
Drape warm-white lights down the front face of each column, then stop about 6 inches before the corner where two planes meet. That leaves a natural shadow break that gives form and keeps the glow looking intentional. Use a ladder and a light timer so you can check alignment from the sidewalk, not just while standing close to the house.
Make evergreen trees look full with 3 layers of lighting
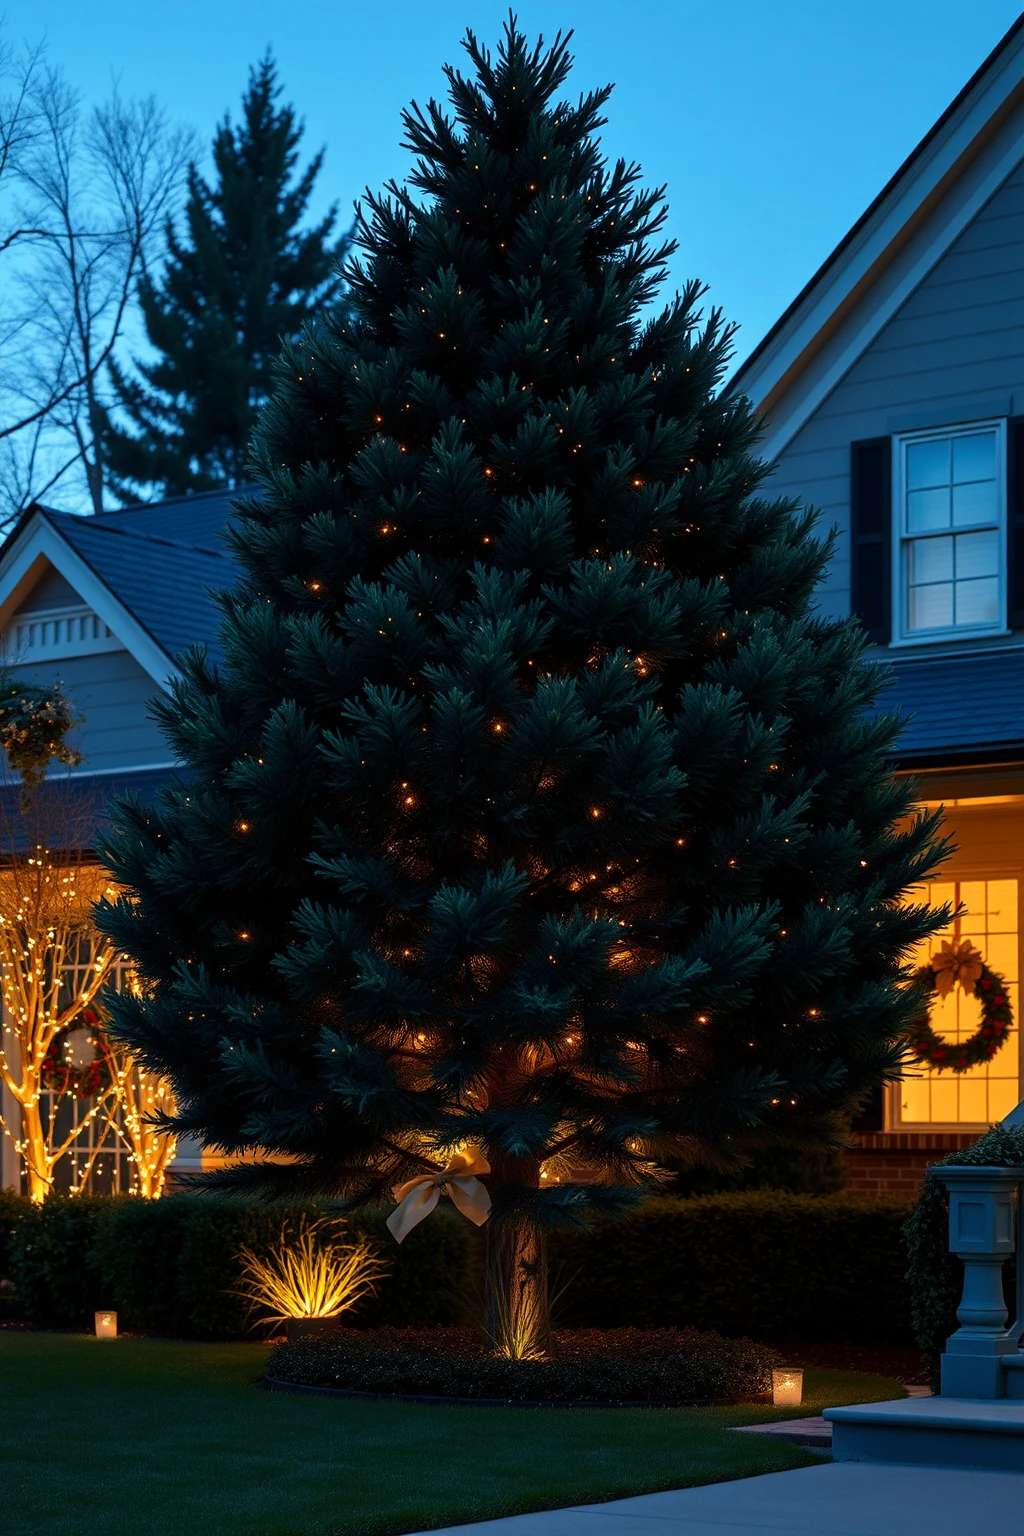
A single strand through branches often looks sparse, like you’re trying to light a silhouette instead of a tree. Layering gives you the kind of fullness you see in magazine displays without resorting to over-the-top props.
Use three layers: a base layer of mini lights inside the branches, a mid layer on the outer canopy, and a final light line tracing key edges. Keep wiring tight, then fluff branches gently so you don’t see the cord. For balance, start with the trunk and spread outward, then add density at the top last so the tree doesn’t end up top-heavy with light.
Thread lights through garden trellises instead of using them as “ropes”
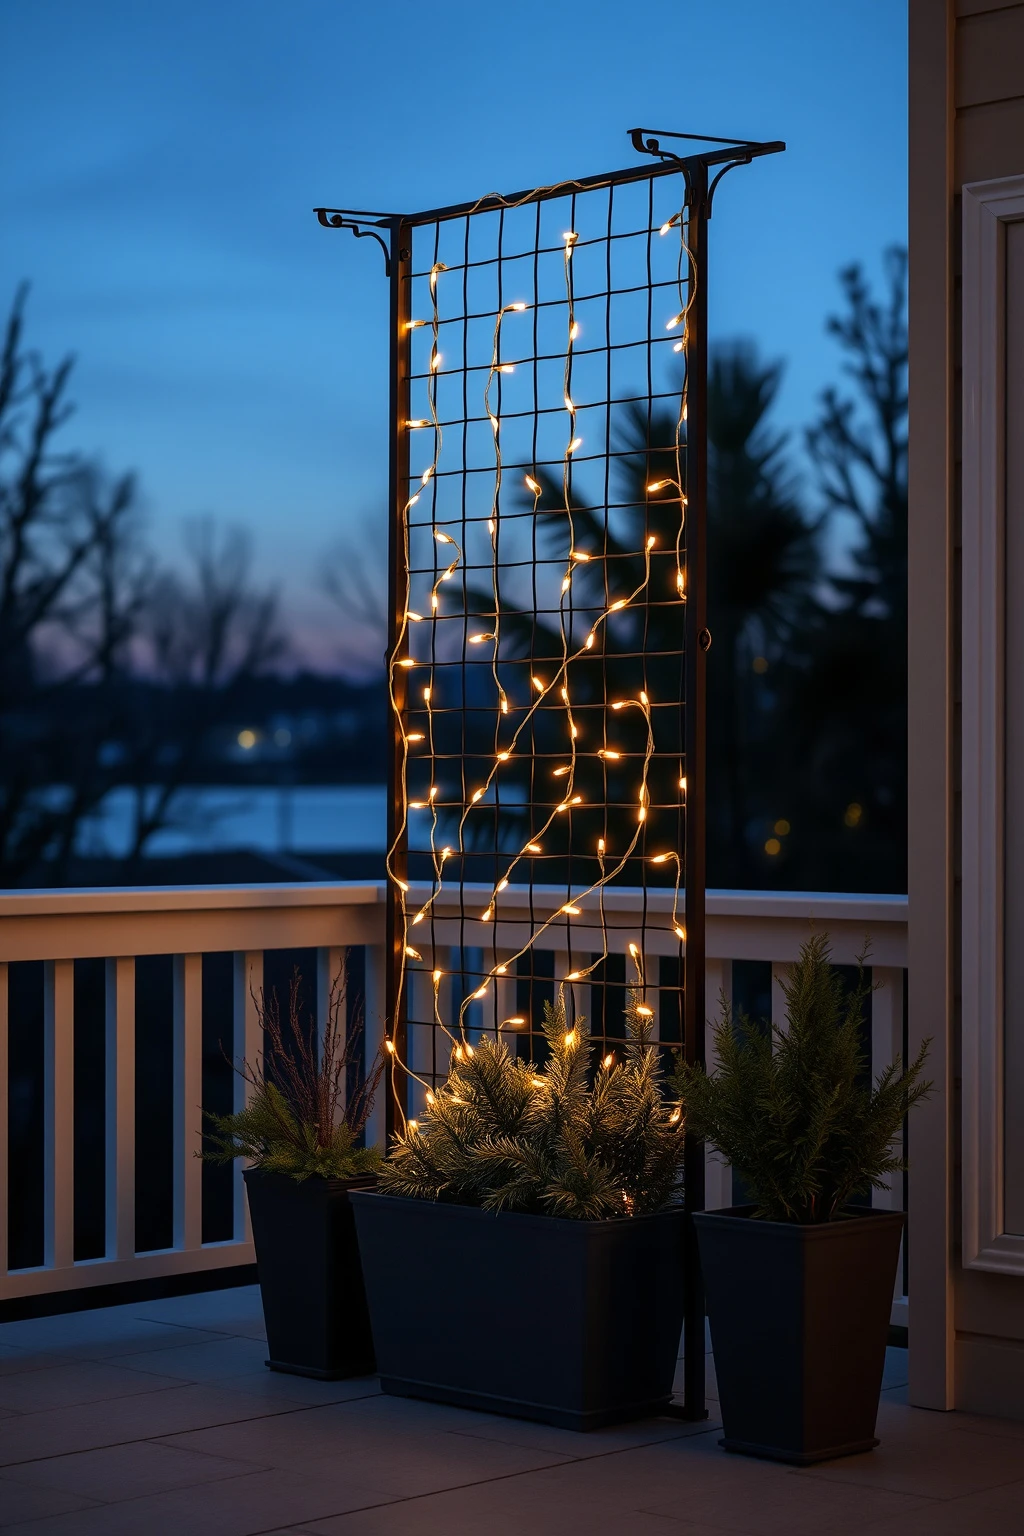
If you just hang lights on a trellis like a rope, you’ll get uneven gaps and a flat look. Trellises are already a grid, so weaving the light through it creates rhythm and a more tailored pattern.
Choose a trellis width and weave lights diagonally or in a consistent zigzag, using small cable clips every 12 to 16 inches to keep the strand from sagging. Use the same color temperature as your other outdoor lighting so everything feels cohesive. Avoid wrapping too tightly around thicker stems, since that can create bright nodes and shadowy holes between sections.
Try icicle-style lights only on one narrow surface
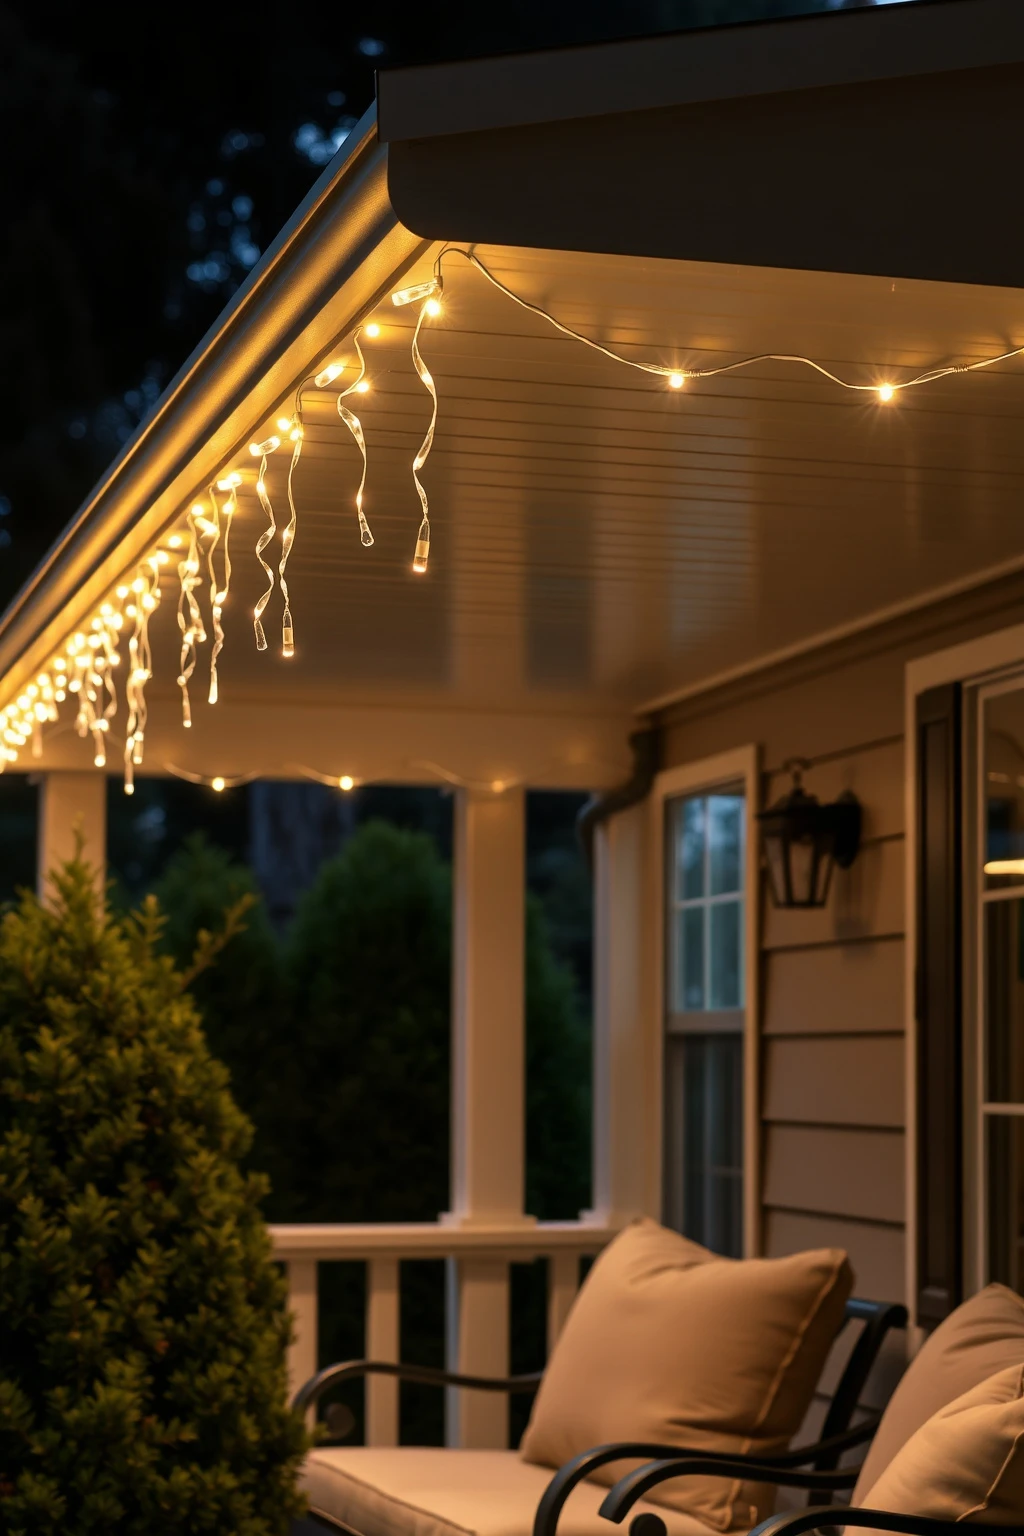
Icicle lights can look chic when they’re controlled, but they get cartoonish fast if you cover every edge of the house. The secret is choosing one narrow, high-impact line, like the edge of a porch roof or a single bay window.
Hang icicle lights with the top tied to the eave so they hang 10 to 14 inches down, then keep the run to one continuous section for the cleanest look. If you have a two-story facade, limit the icicles to the first level to avoid a heavy “snow curtain” effect. Check spacing by stepping back 20 feet; if individual drops read too sparse, add a second strand only to the ends where gaps show.
Use light to frame windows, not to blanket the whole facade
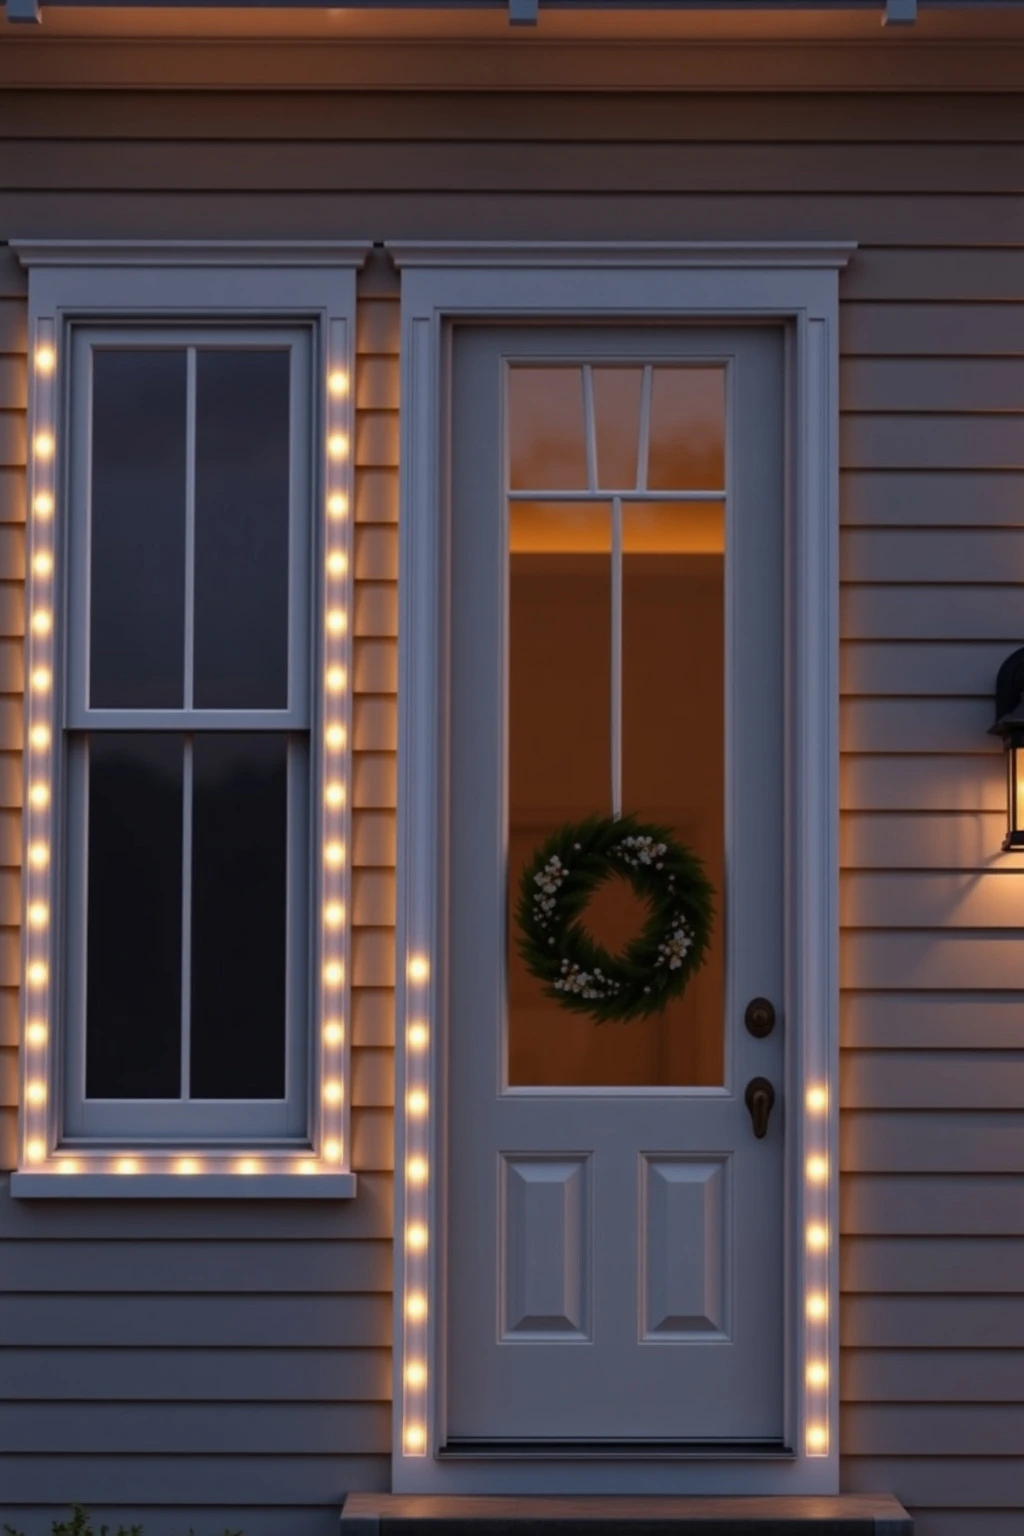
Blanketing the entire house in lights usually makes it feel busy and flattens the architectural details. Window framing lighting gives you proportion and direction, like picture frames for your home.
Outline the trim around one or two windows using small warm-white LEDs, keeping the lines close to the molding edge so the light follows real geometry. For depth, add one tiny spotlight behind or beside each window aimed at the wall, not straight out toward the street. Don’t hide the wiring inside the window itself if it traps heat; use outdoor-rated clips and leave a small gap behind trim.
Backlight your planters with low-voltage LED strips
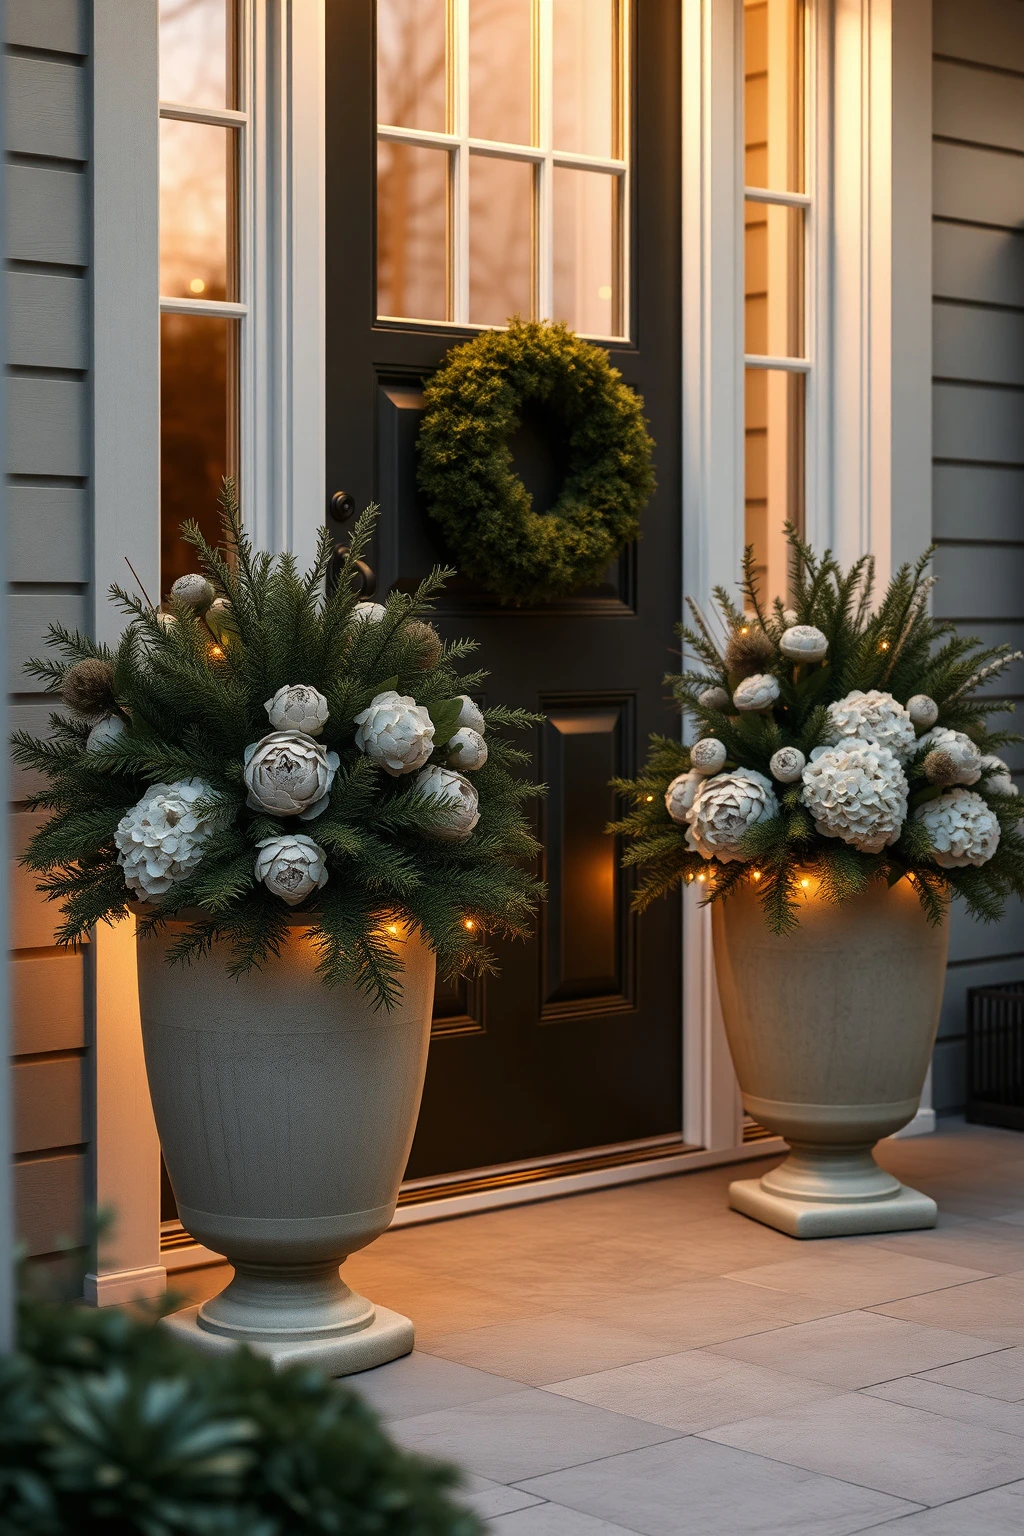
Planters are where classy holiday styling really happens, because they’re close to eye level. Backlighting plants makes the texture of boxwood, holly, and dried hydrangeas look rich instead of flat.
Install a low-voltage LED strip under the lip of a planter or inside a planter rim so the light rises. If you’re using multiple planters, keep spacing consistent: about 12 inches from light to plant mass so you don’t scorch or overexpose. Use timers, and test for glare by looking from across the street; if the light source is visible, angle it upward or cover it with a thin layer of faux pine sprigs.
Balance a big tree with a single lantern moment
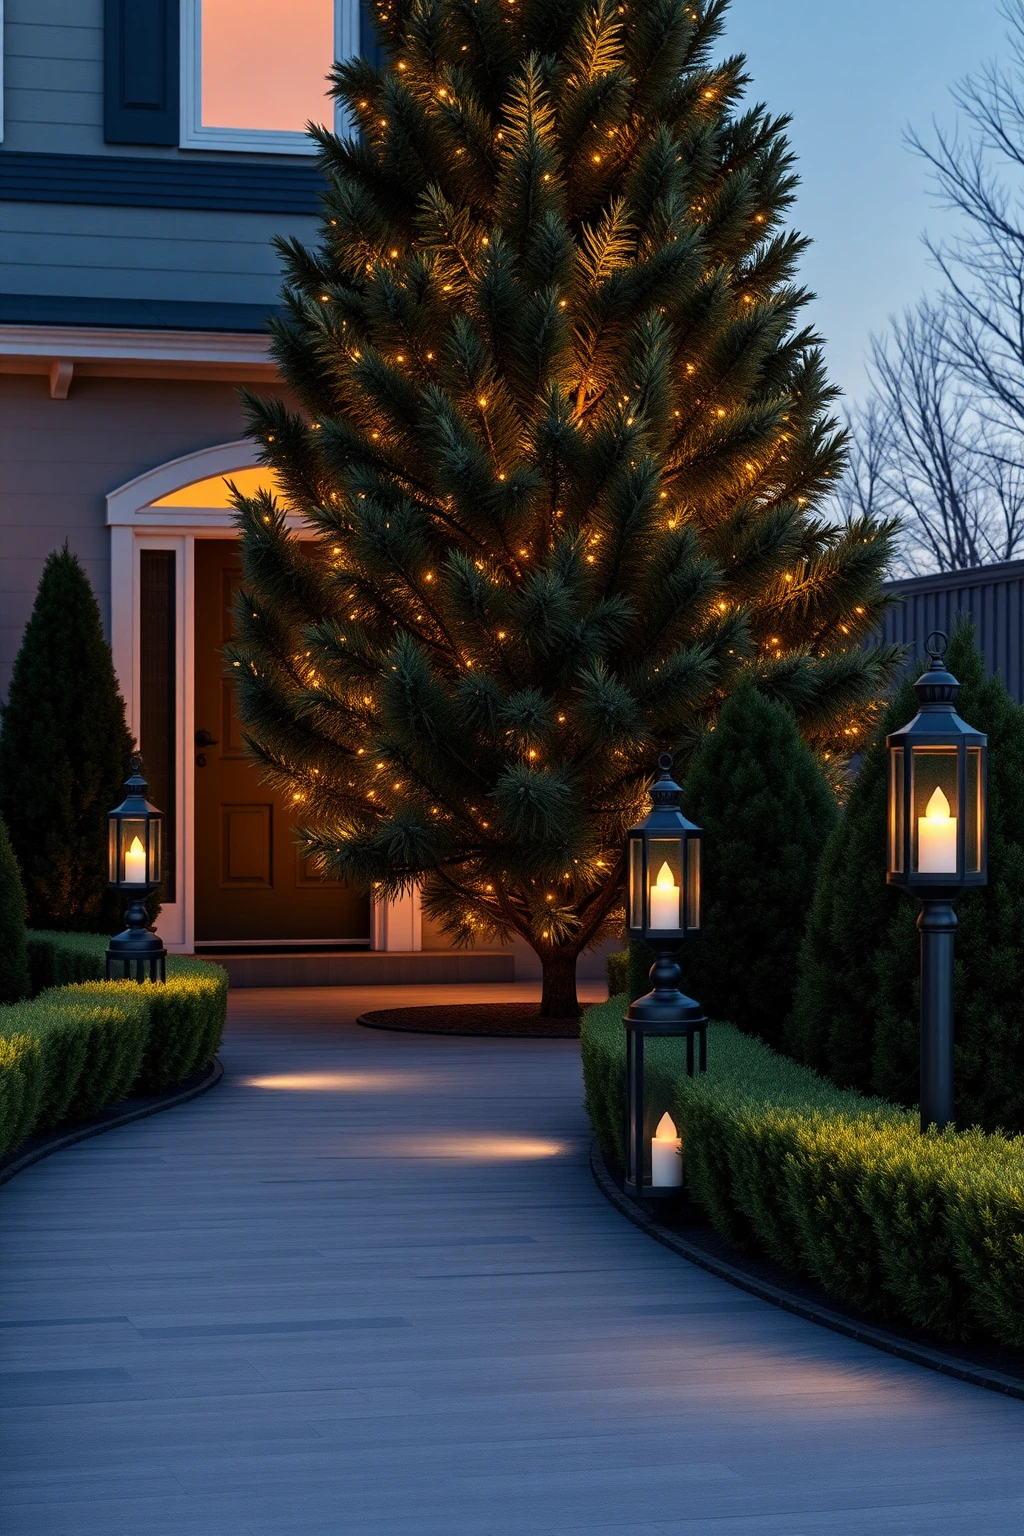
One huge glowing tree can steal all the attention, especially if it’s already bright from uplights. For a more curated look, pair it with one warm, human-scale moment like lanterns or a fireplace-style torch effect.
Place two or three lanterns with warm flame-effect LEDs along the walkway, keeping them 24 to 36 inches apart so they look intentional, not random. Use black metal or dark bronze lanterns if your home has modern hardware, and coordinate the lantern temperature to your string lights. Avoid mixing lanterns that flicker at very different speeds, because your eye reads that as “cheap novelty.”
Light your walkway edges, not the center of the path
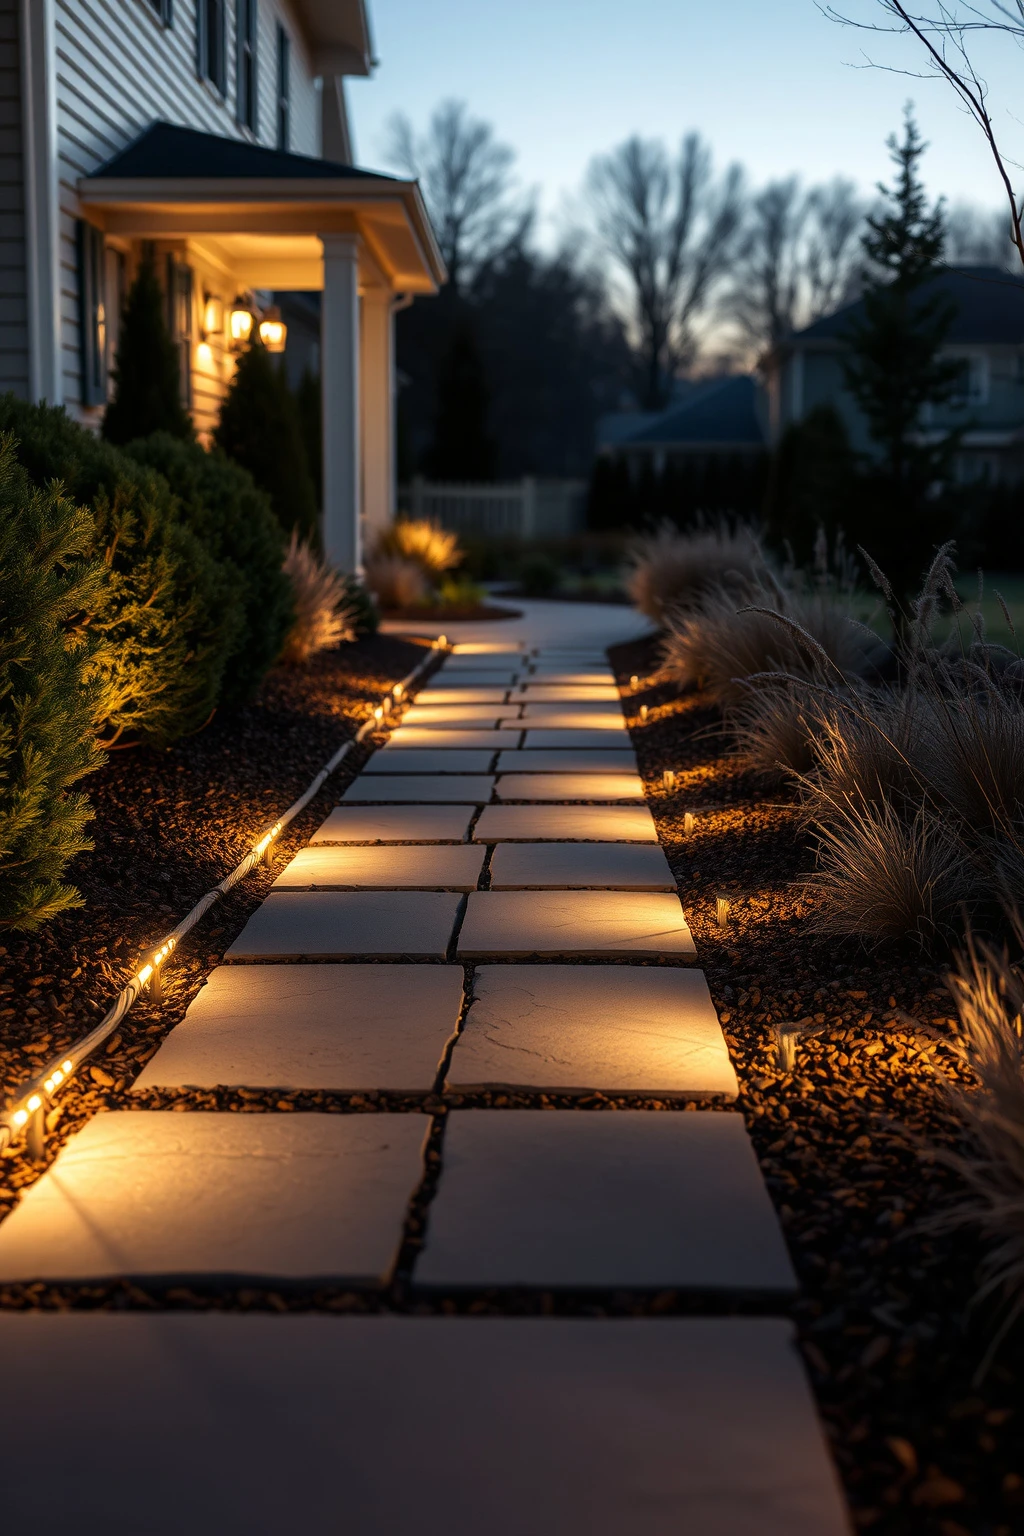
If you put bright lights in the center, you create glare in the driver’s view and a harsh spotlight effect for anyone walking. Side lighting along the edges feels more refined and improves actual visibility.
Use small warm-white edge lights or stake lights spaced every 4 to 6 feet along the border, aimed slightly inward. Keep the beam low, around ankle to knee height, so it lights the ground rather than your guests’ faces. A common mistake is over-crowding lights close together; if your walkway is 4 feet wide, you usually need only two lines of lights, not three.
Go vertical with eave-to-ground lighting using net-less strands
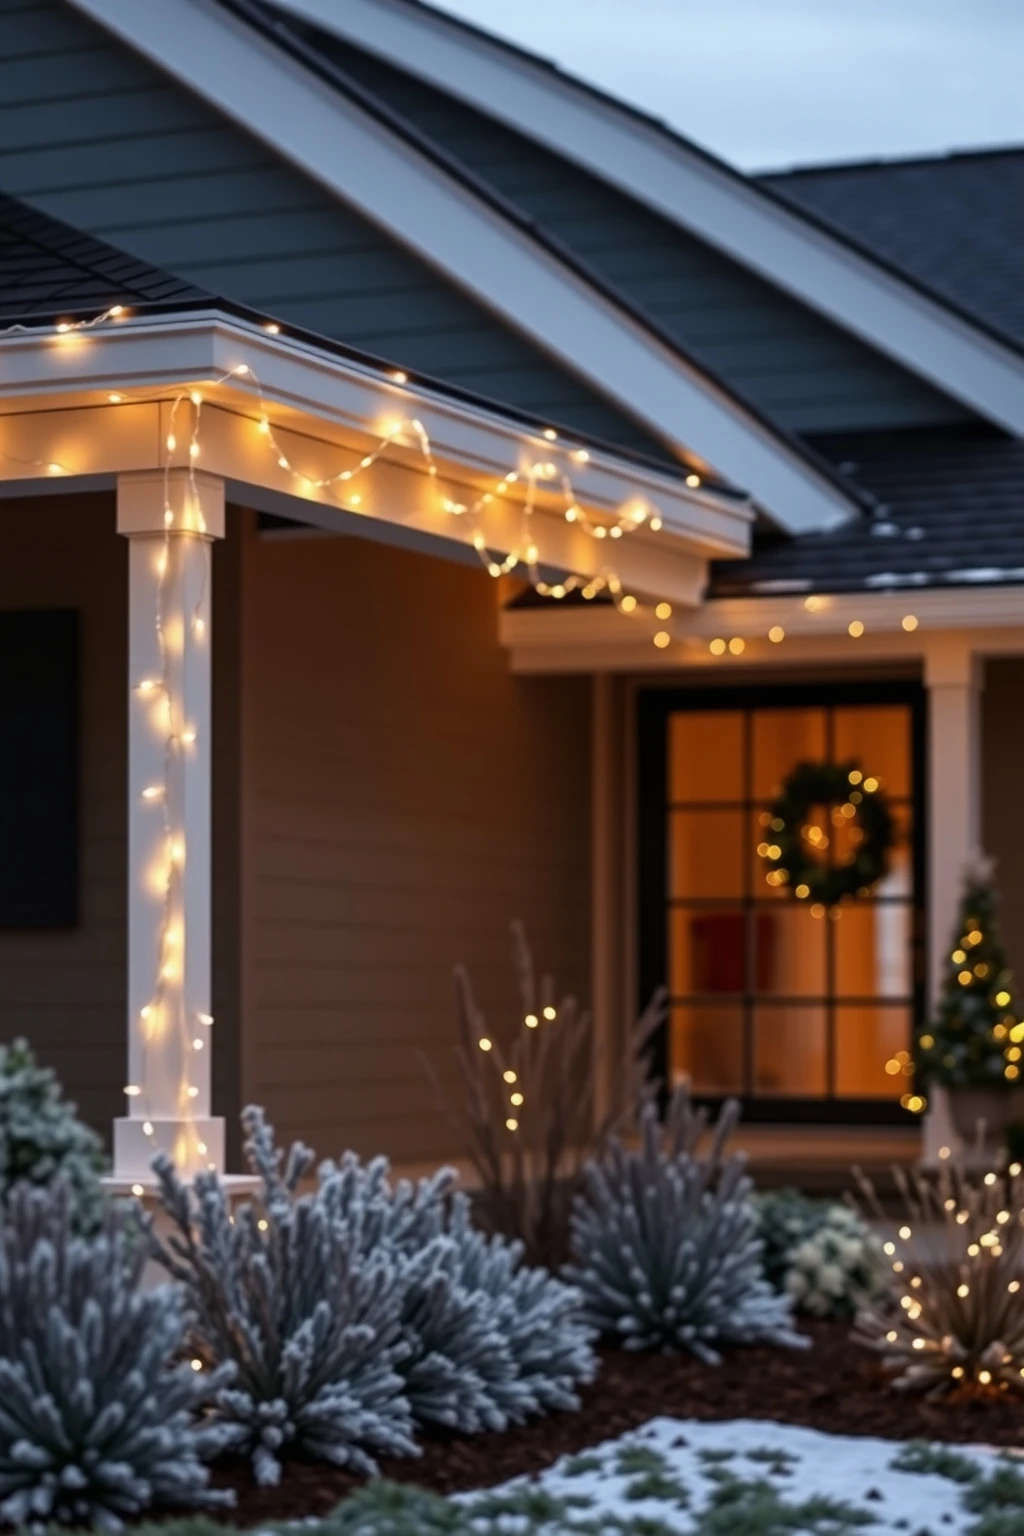
Netting and pre-made yard “bundles” often look uneven because they’re designed for speed, not style. A vertical plan gives you clean coverage and reads architectural, especially on homes with gables.
Run light strands from eaves down to landscape anchors, using outdoor clips on fascia every 18 to 24 inches. Then stop the strands at a low point, about 8 inches above the mulch, so you get a vertical glow without tangling in plants. Pick either steady lights or gentle-dim warm LEDs; frantic blinking looks festive at the mall, not classy on your home’s exterior.
Make wreaths on the porch match using the same ribbon hue
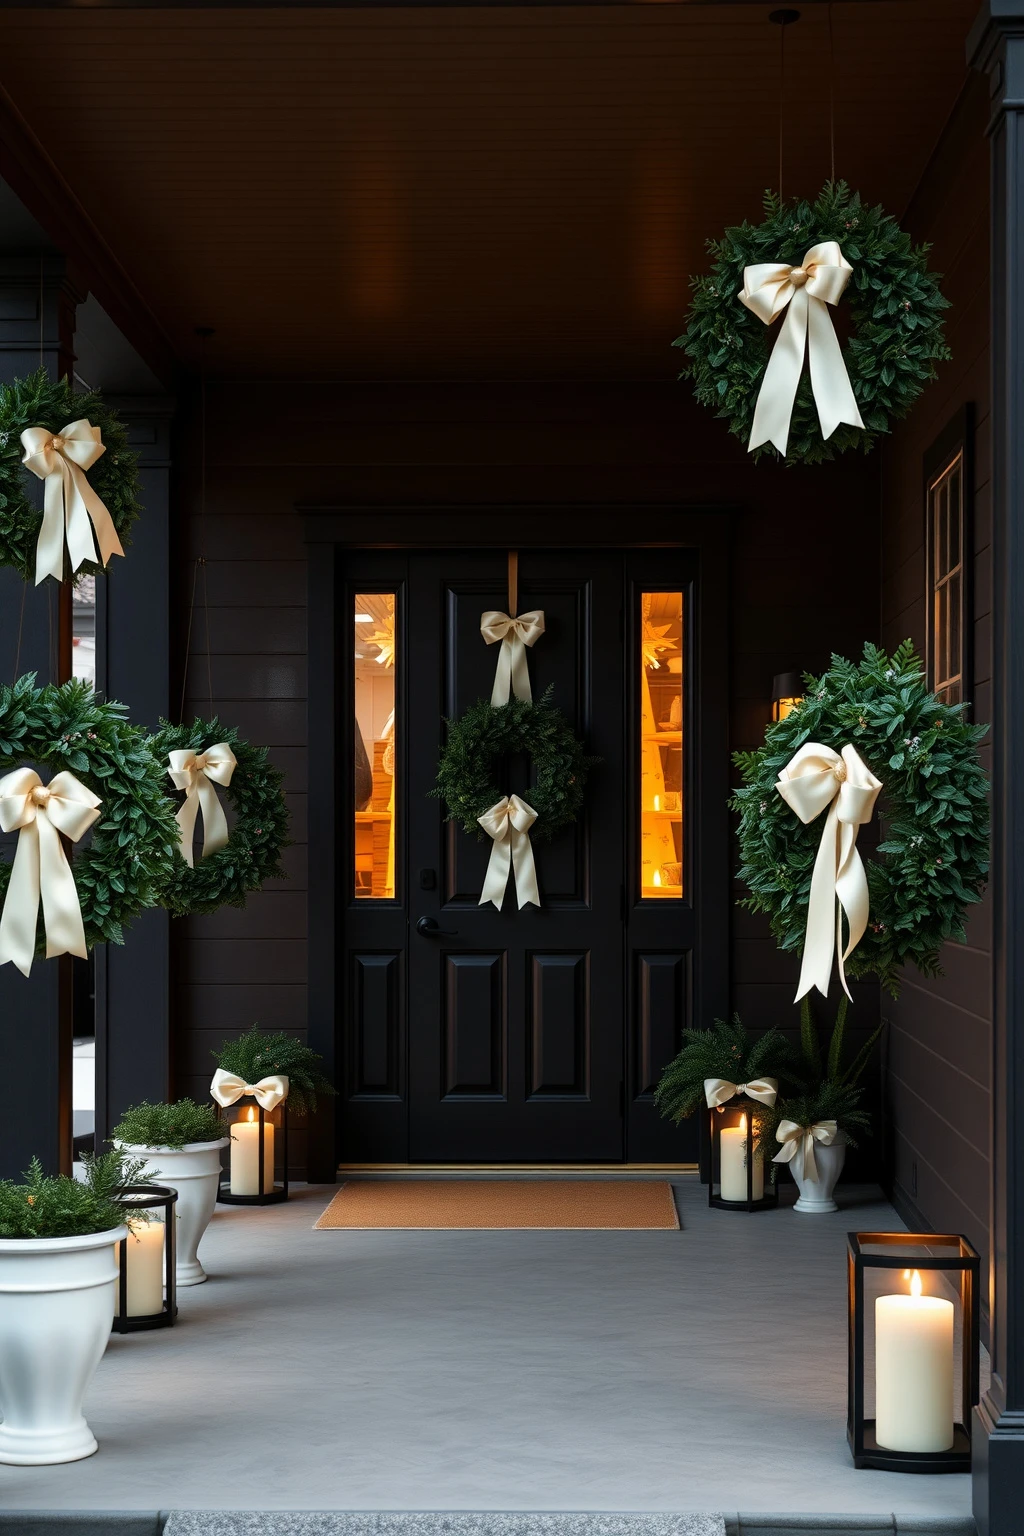
Even the best lights won’t feel classy if your décor reads mismatched. Ribbon hue is an easy, elegant way to unify lighting moments like multiple wreaths across a porch or columns.
Choose one ribbon color, like warm ivory satin or deep evergreen grosgrain, and use it on every wreath that’s lit. Then keep the lighting consistent: warm-white micro lights on the wreath backing, no multicolor mixes. Place wreaths at standard eye height, around 60 to 66 inches from floor to wreath center, so the whole entry reads balanced from the street.
Wrap stair banisters with painter’s tape markers first
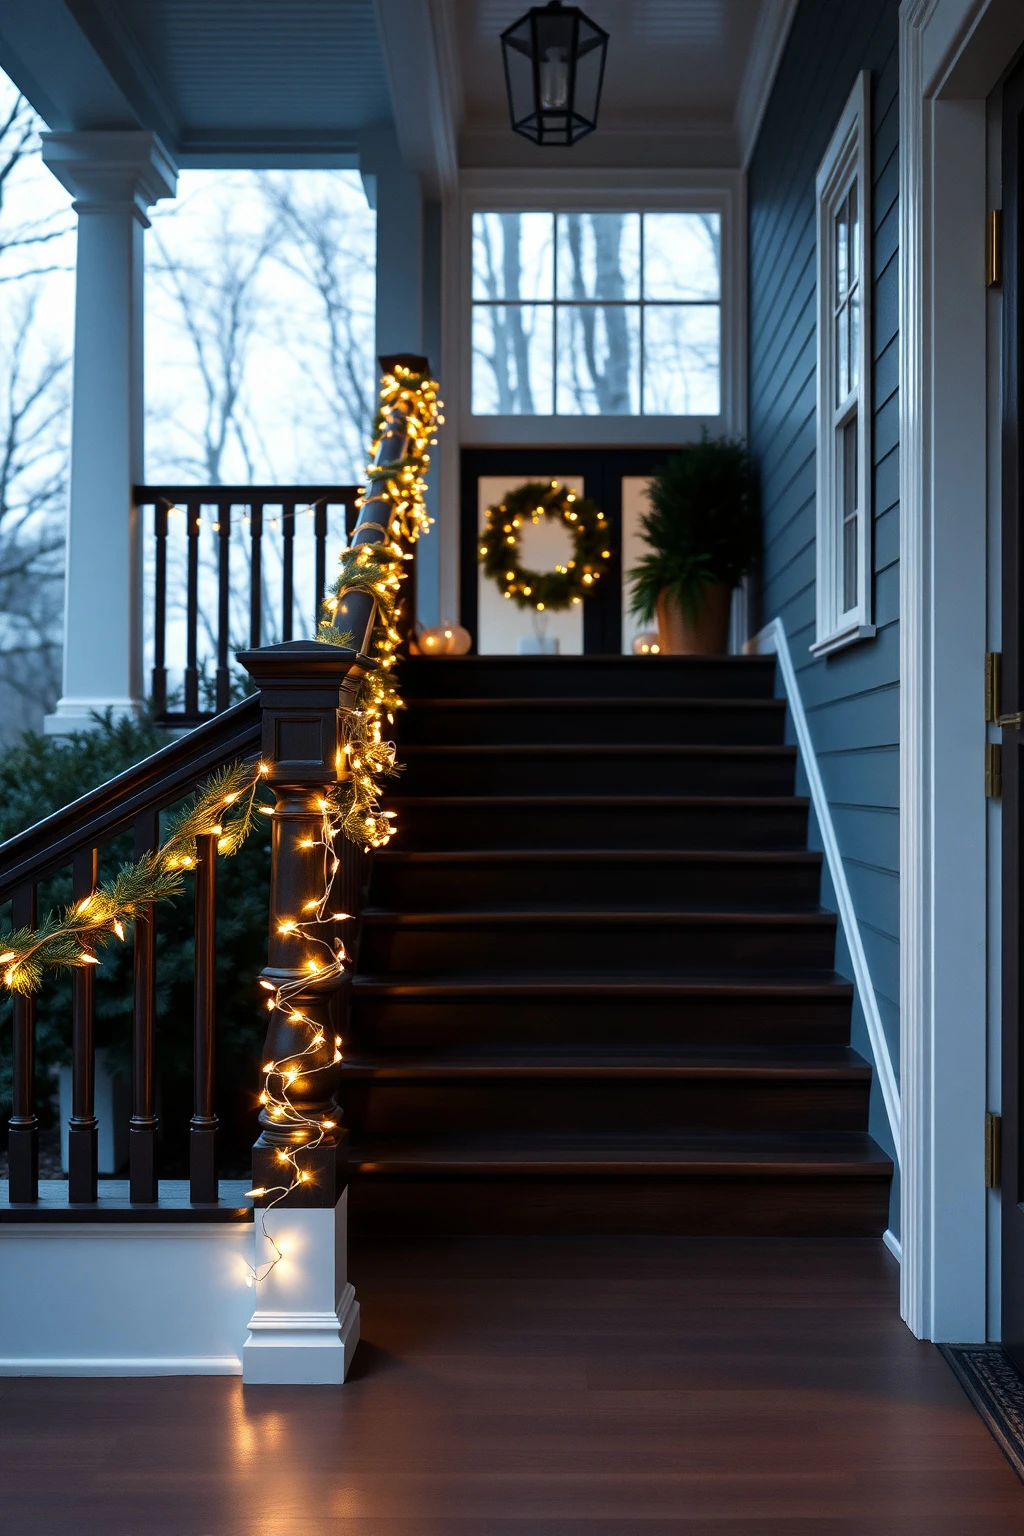
Banisters are tricky because every twist and newel post changes the angle of your lights. If you guess placement, you’ll end up with a saggy line that looks sloppy from the sidewalk.
Before you hang a single clip, map the pattern using painter’s tape in thin strips along the banister where the lights will land. Then install clips and keep the strand taut but not stretched, allowing a little slack to account for temperature changes. Use warm-white lights and alternate the path at each turn so the strand follows the banister curve cleanly.
Spotlight the architectural details: columns, stone, and trim
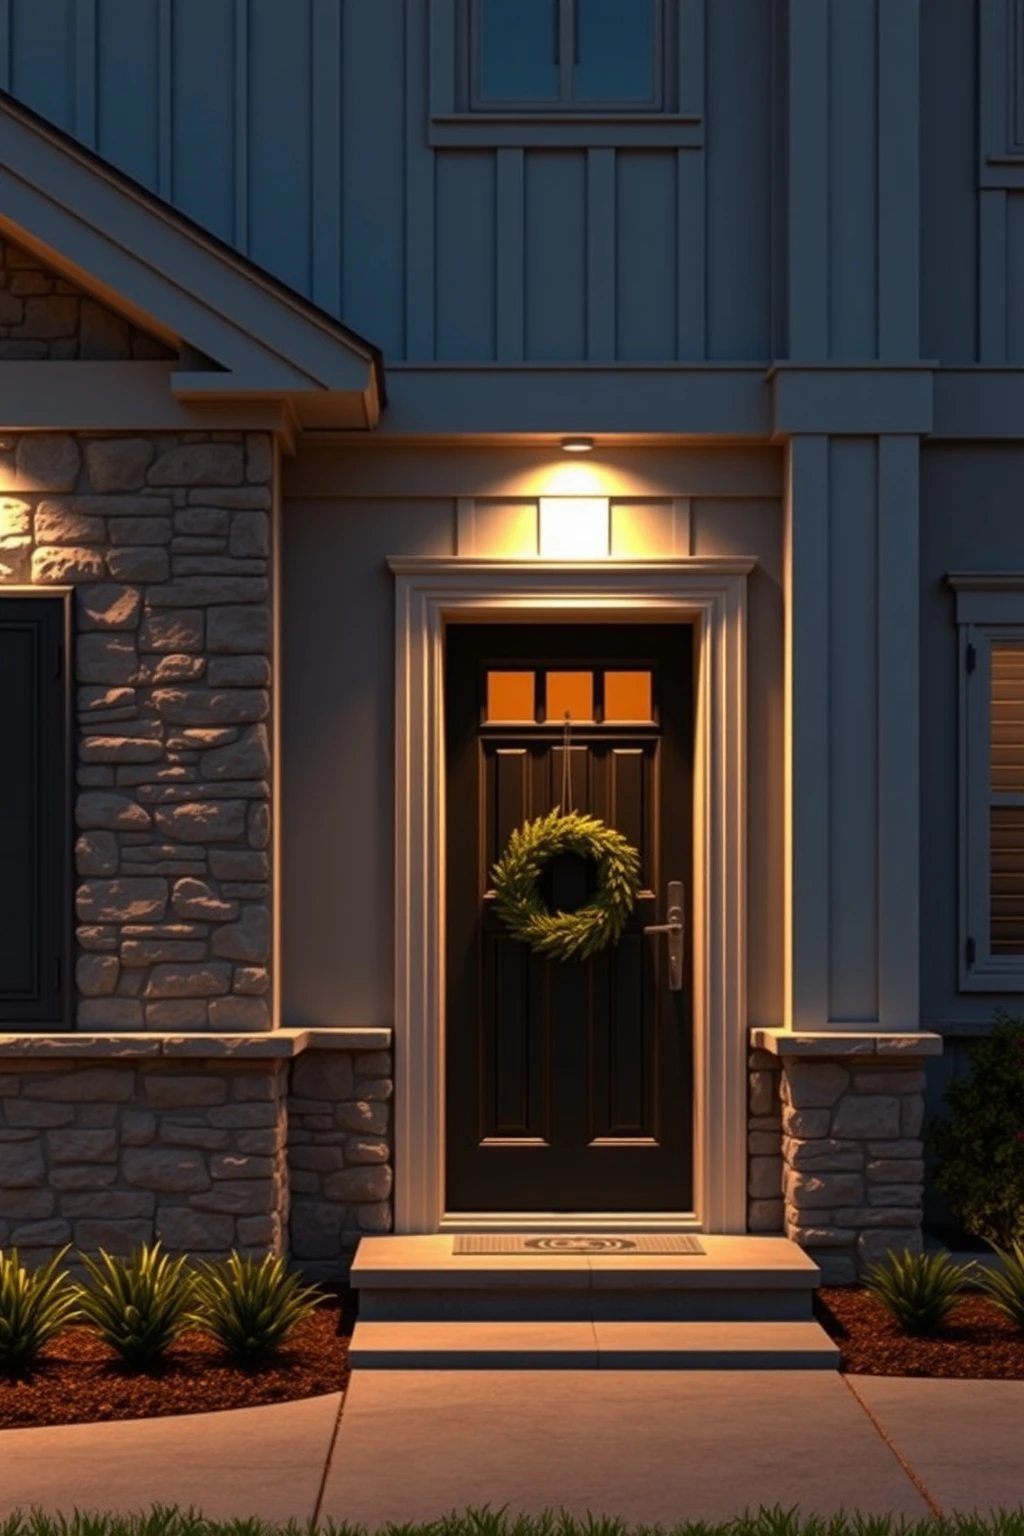
The most “designer” exteriors use light like a spotlight, not like a flood. When you highlight trim lines, stone textures, and craftsmanship, the house looks cared for, not just illuminated.
Place two to four small spotlights with adjustable heads to graze stone or light under trim, aiming to create soft vertical lines. Use warm-white and keep beam angles narrow, because wide beams wash details and hide your house’s texture. A smart mistake to avoid: lighting the same surface from too many directions, which creates hot spots and reduces depth.
Add “floating” light by placing strands on planters, not furniture
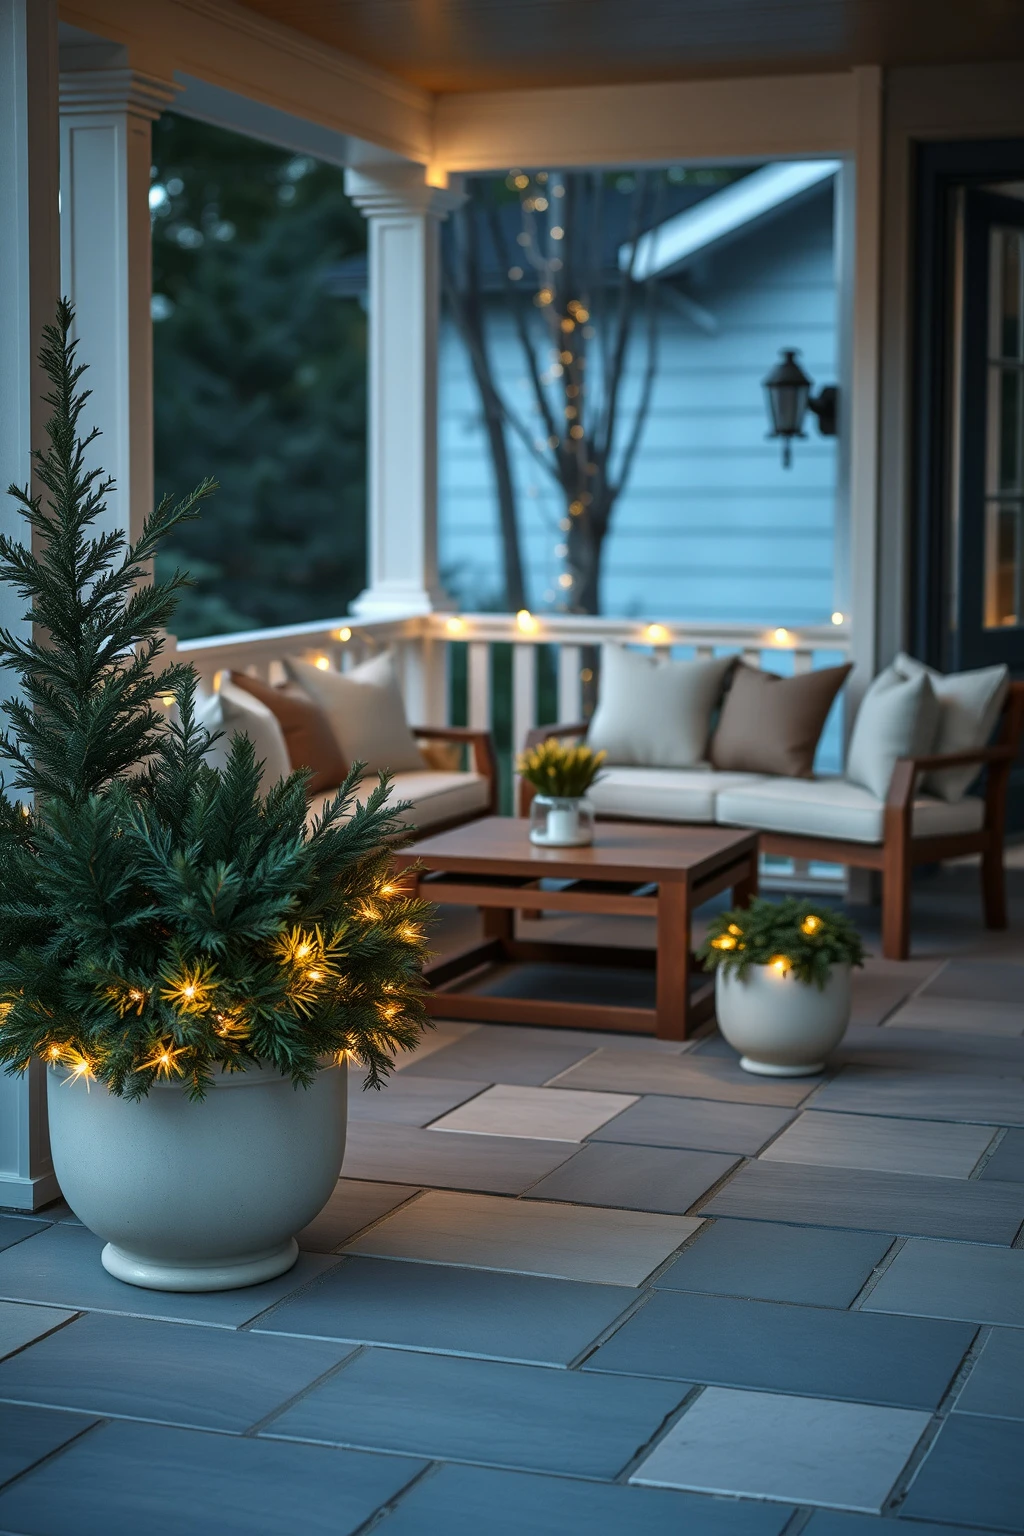
Outdoor chairs and tables can get in the way, and the cords look cluttered. For a more elegant look, anchor the glow to landscaping or planter edges so it appears to float in the space.
Lay a light strand along the inner rim of a planter, then cover the strand with decorative evergreen clippings so the bulbs disappear. For a porch, place one longer planter instead of multiple small ones so you can run one clean line of light. Avoid running lights across the seat of outdoor furniture, where weather exposure and visible wires make it look accidental.
Choose classy “paper” glow: lanterns with warm LED candles
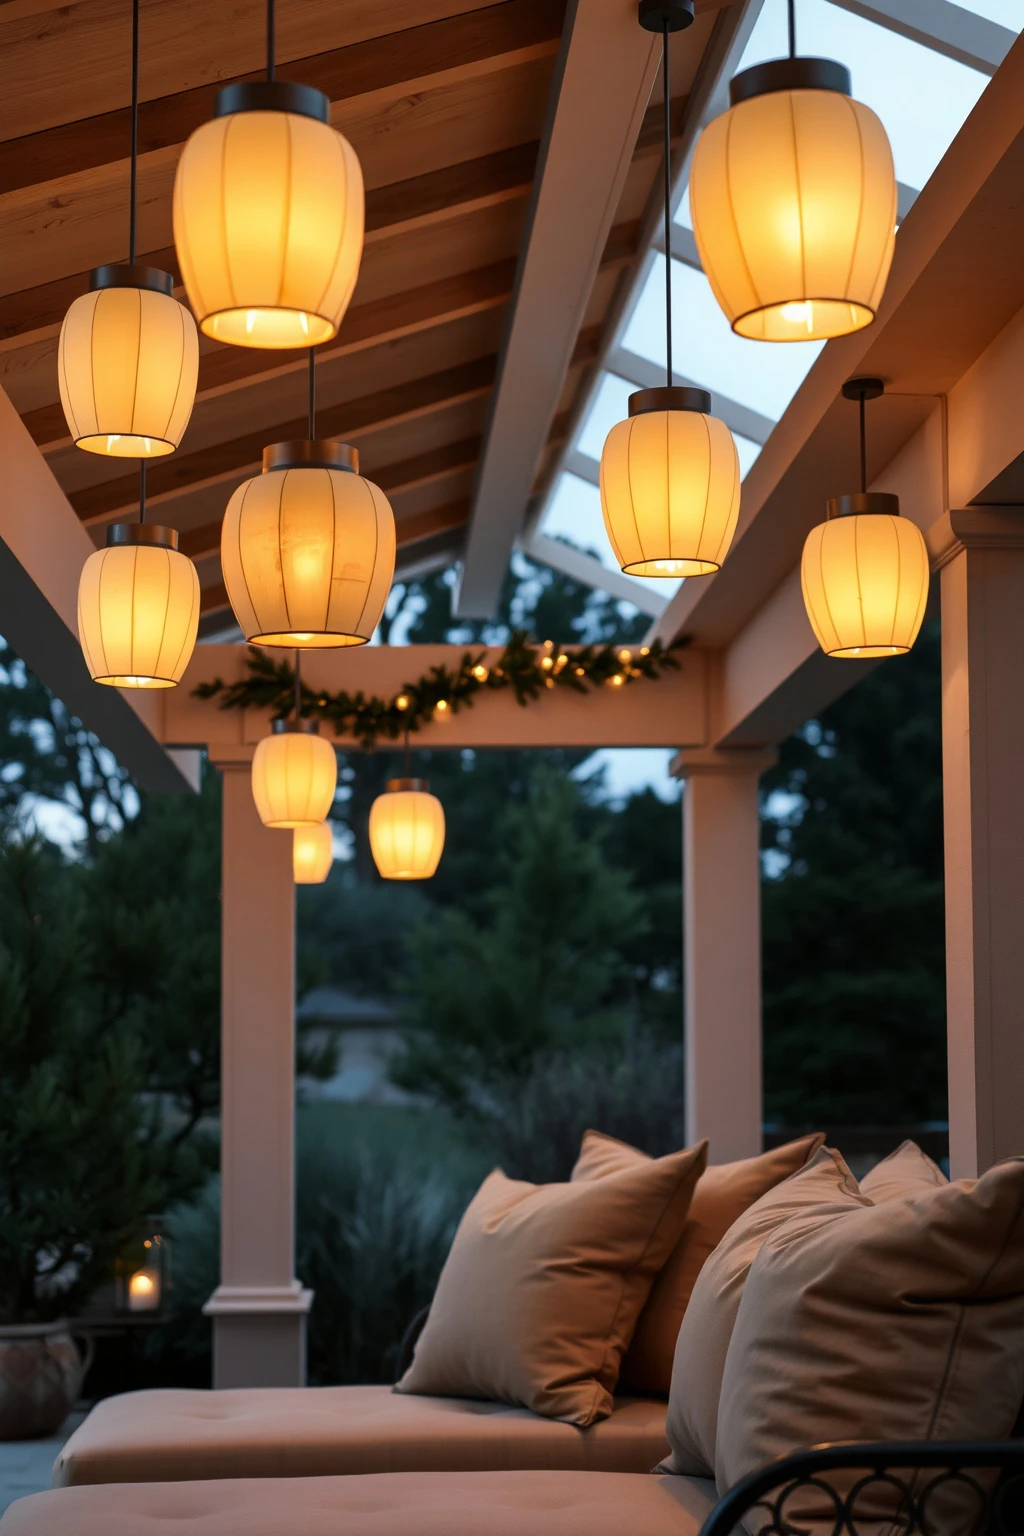
If you love that soft holiday atmosphere but hate flashing novelty, paper lanterns with warm LED candles are a winner. They look delicate and layered, and the light reads more like candlelight than electronics.
Hang lanterns in pairs at different heights, about 6 to 8 feet off the ground for the top and 4 to 5 feet for the lower tier. Use warm-white LED candles inside, not colored LEDs, so you keep a uniform palette. Avoid placing lanterns too close together, since overlapping halos can turn the scene into one dull glow with no shape.
Create a “halo” on the roofline using channel clips
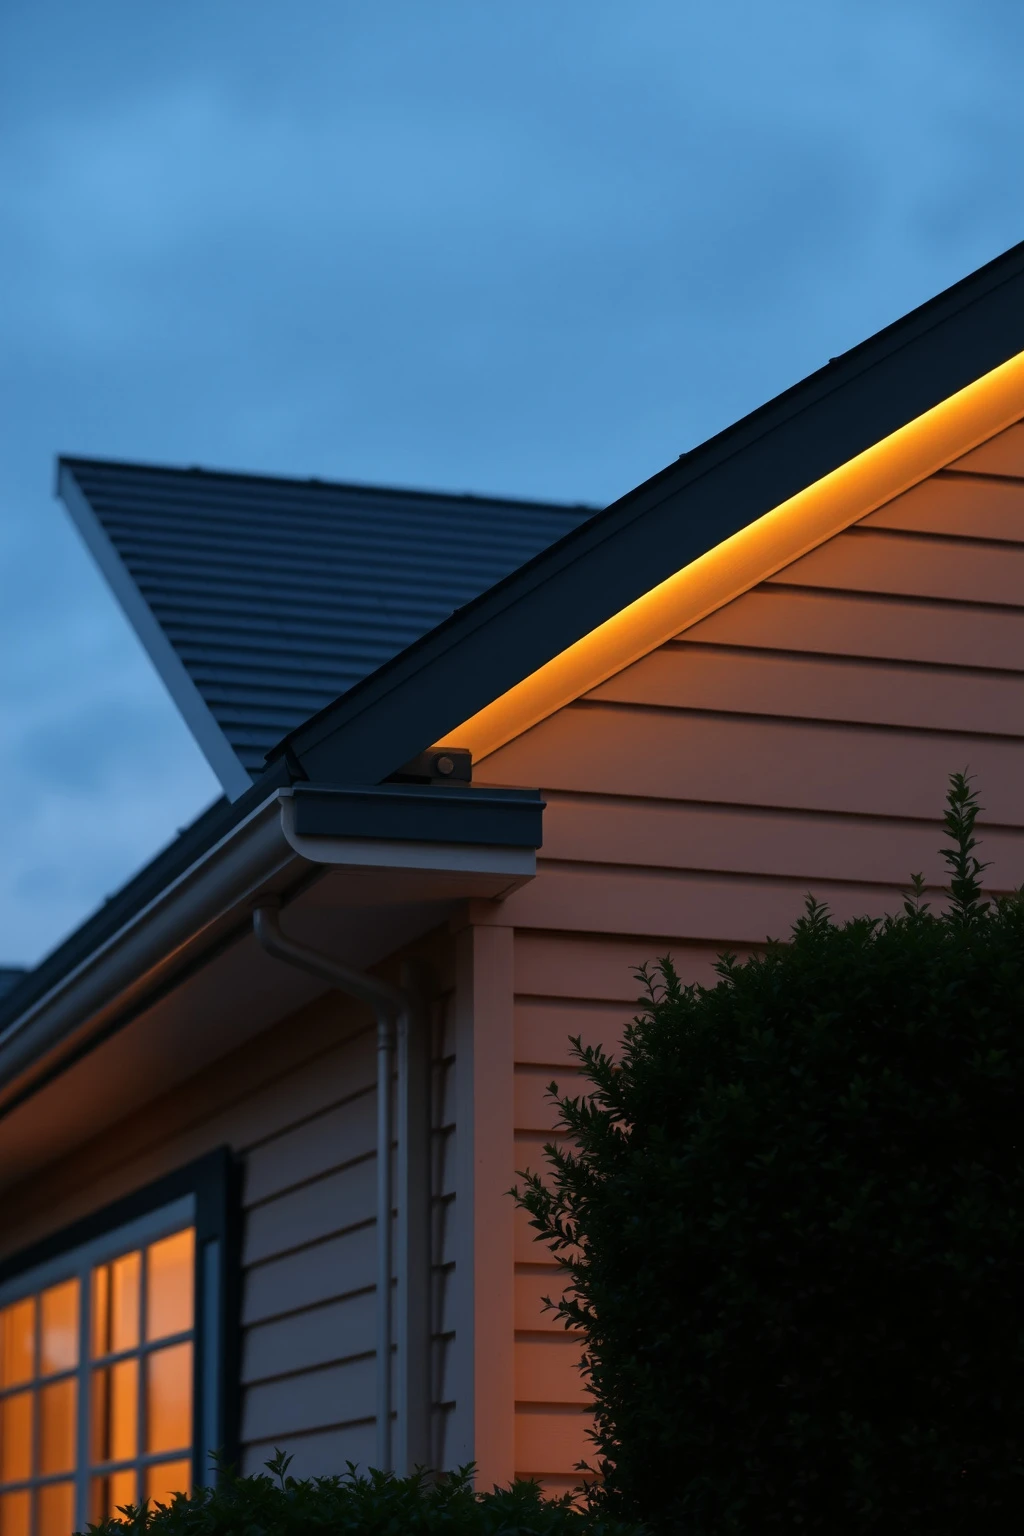
Roofline lighting looks especially polished when you keep the strand tight and consistent. Channel clips help you avoid the messy droop that happens when lights are draped without support.
Install clear or matching clips along the gutter line every 12 inches, then press the strand into the channel so it sits flush. Use warm-white steady lights for a halo effect, and keep the run continuous around the main facade instead of starting and stopping every few feet. If your home has a lot of decorative trim, use fewer lights per foot and rely on the clip alignment for the “designer” look.
Make small yards feel bigger with one glowing focal point
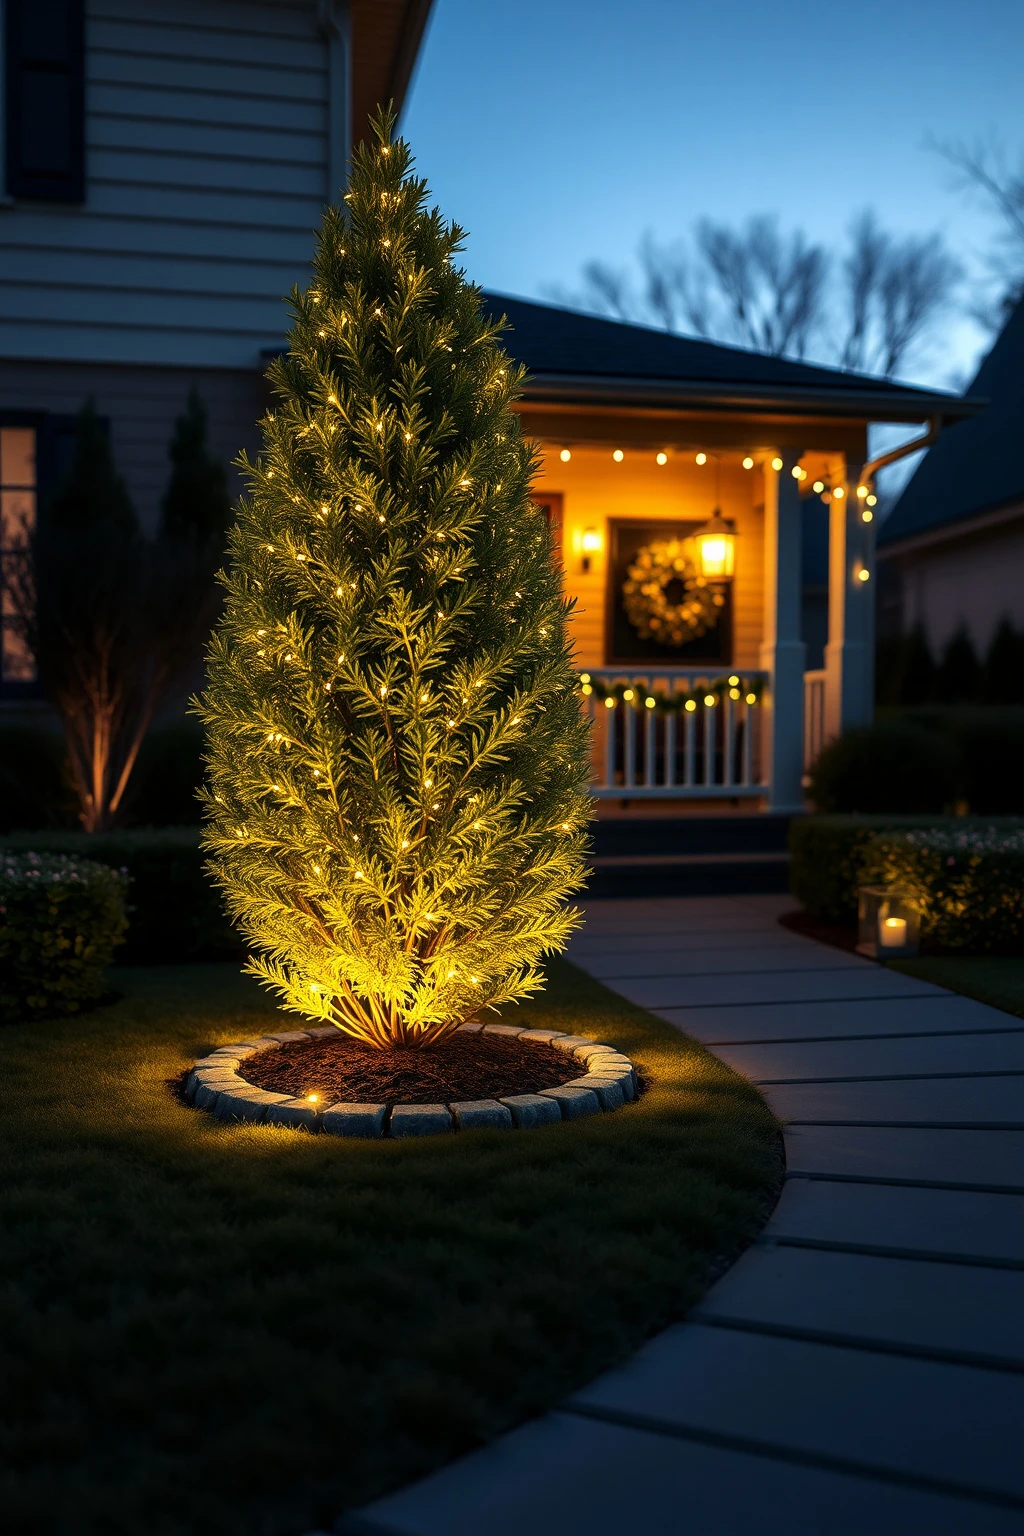
In a small yard, too many light zones make everything feel crowded and visually chaotic. Pick one focal point, like a single ornamental tree or a tall shrub, and then keep everything else dim and clean.
Choose the tallest plant you can find and light it heavily, then restrict other lights to porch steps or a short path line. For example, use one cluster of mini lights inside the shrub plus two uplights at its base, but keep porch lighting to a single wreath and one short railing wrap. Measure from the street, not just from your doorway; if your focal point doesn’t read clearly at 30 to 40 feet away, add brightness there instead of everywhere.
Let a window box carry the magic with mini-light layers
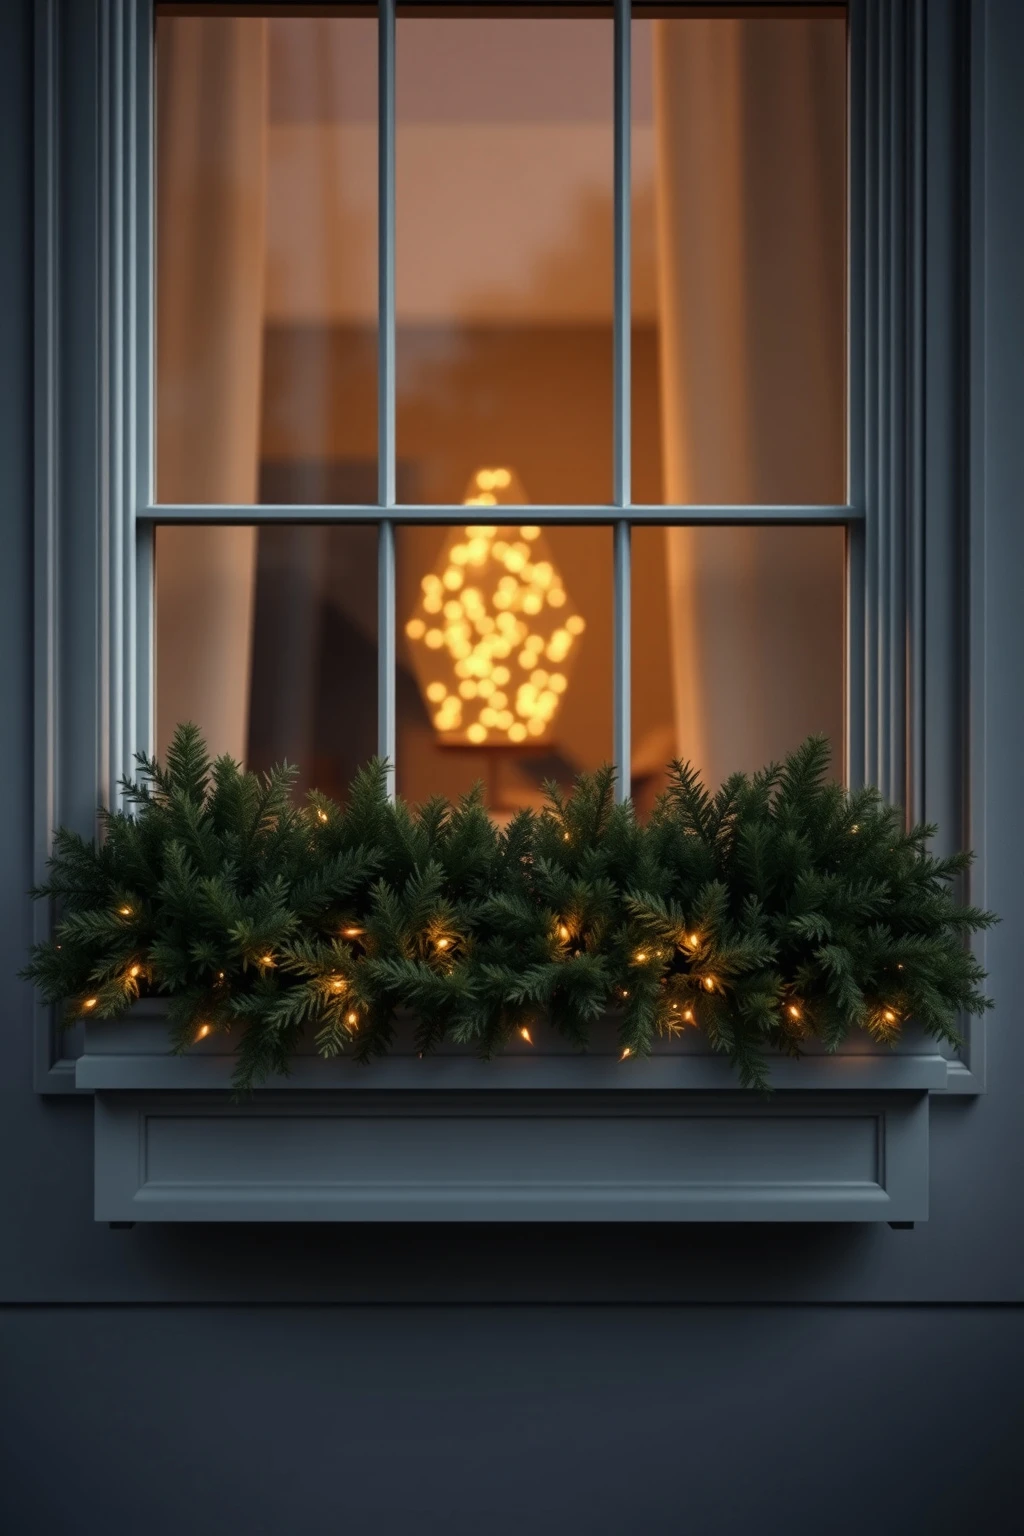
Window boxes are often decorated in daytime, then left to fend for themselves at night. Mini lights inside and behind the foliage make the box look full and intentional, even when you’re not staring at it up close.
Weave a strand through the back of the box first, then add a second pass along the front edge, keeping the bulbs hidden behind leaves. Use sage or deep green faux foliage and warm-white lights so the palette feels natural, not artificial. Avoid using multicolor light strands in window boxes; they compete with any shutters or holiday plants and look busier than classy.
Choose “steady” lights for a luxe look, not random blinking
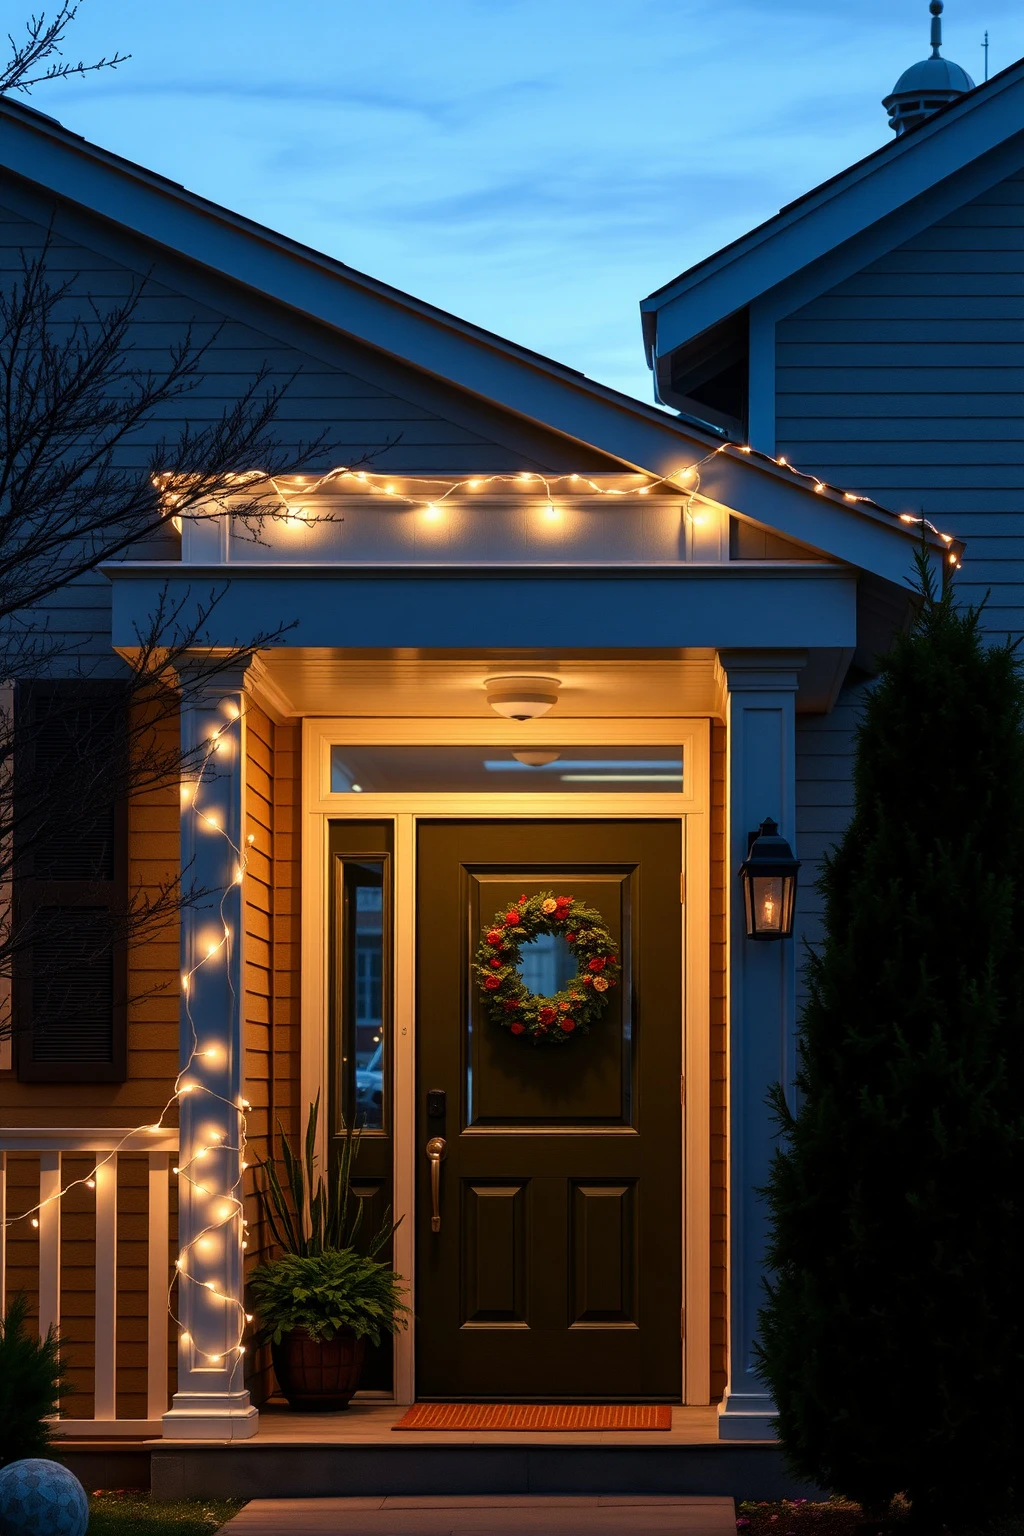
Blinking lights can be fun at times, but they also make the whole facade feel less refined. Steady warm lighting reads calm and intentional, which is exactly what most people mean by “classy.”
When shopping, look for steady or slow-fade options and avoid fast sequences that cycle through multiple patterns. If you want motion, keep it subtle: one line can have a gentle effect, while the rest stays steady. A common mistake is buying one blinking strand for fun and then letting it take over the visual hierarchy, pulling attention away from wreaths and architectural features.
Budget-friendly: use battery candles for porch corners instead of more strings
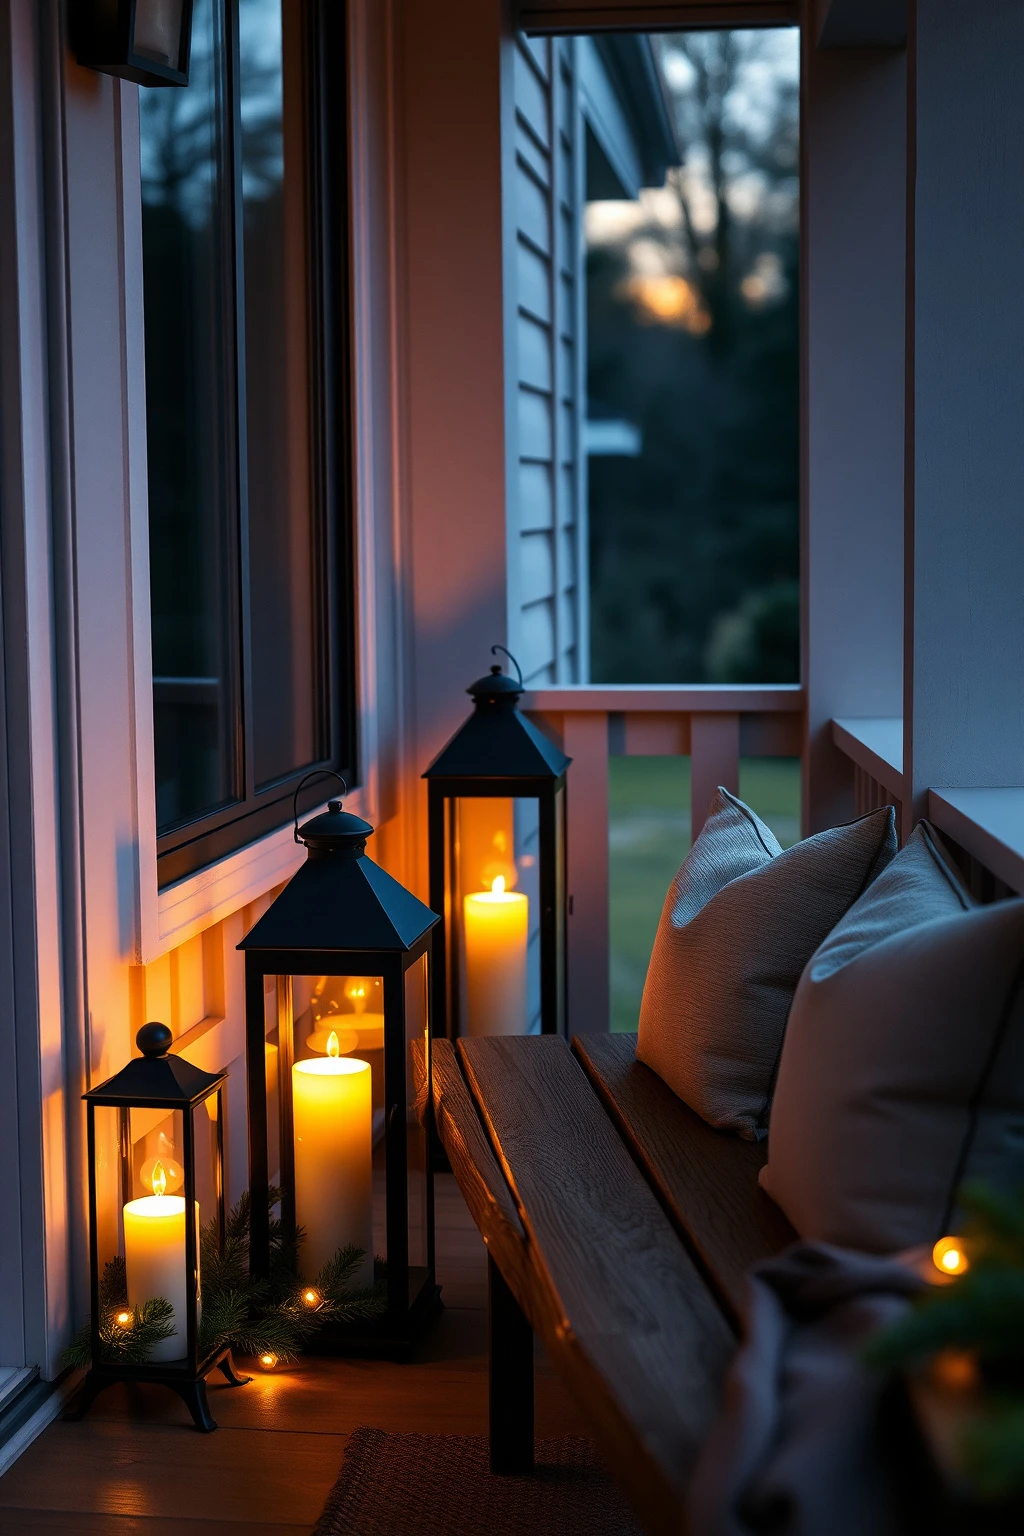
More cords often create more mess. If you want the “lit” feeling without running extra outlets, battery candles in lanterns or on risers give you controlled glow in porch corners.
Place two or three battery LED candles inside dark metal lanterns or on a small tray, spacing them at least 2 feet apart so the glow doesn’t blend into one patch. Pair them with a single railing wrap or one tree uplight, so the corners feel cozy but the architecture stays clean. Avoid cheap flicker patterns that look like a strobe; spend a little more on a warm flicker that mimics candlelight softness.
Conclusion
When you treat outdoor Christmas lighting like design instead of decoration, the whole place starts to feel intentional. Your best “cheat code” is consistency: one warm color temperature, a clear hierarchy of where the light goes, and tidy cord management that disappears.
Pick one focal point to go bold on, then support it with a few well-placed glow moments. Do that, and you’ll get the festive feel without the inflatable energy, all while your home looks elevated from the curb.

Mush Decor
Writes about accessible, timeless interior styling for readers worldwide.
More about Mush DecorRelated articles
 Christmas Ideas
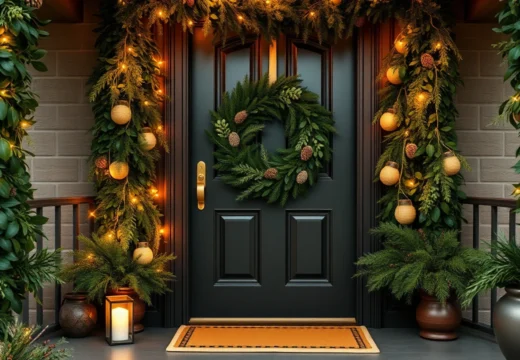
23 Fresh Greenery Front Door Christmas Ideas
Fresh greenery front door Christmas decor ideas: wreaths, garlands, bows, lights, and styling tips with real materials and measurements.
Read More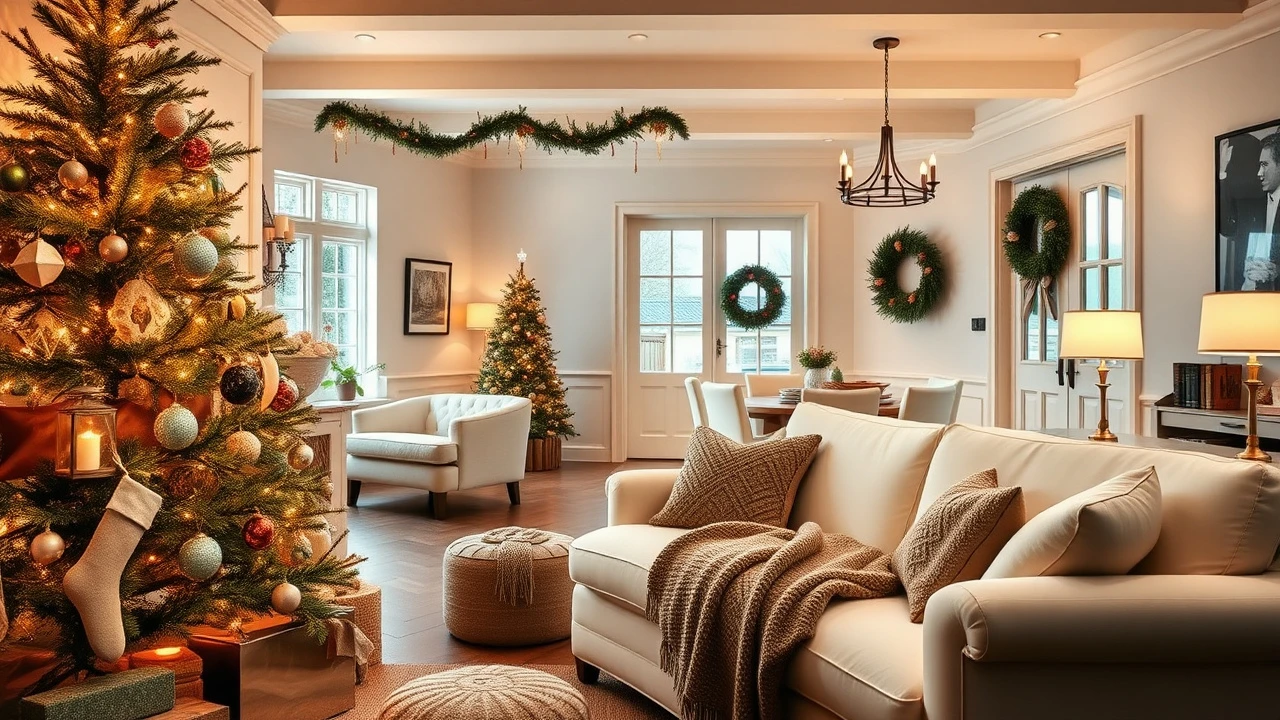 Christmas Ideas
23 Whimsical Christmas Decor Ideas for the Whole House
Get playful Christmas styling across your whole home: whimsical wreaths, garlands, table ideas, mantel details, and lighting tips.
Read More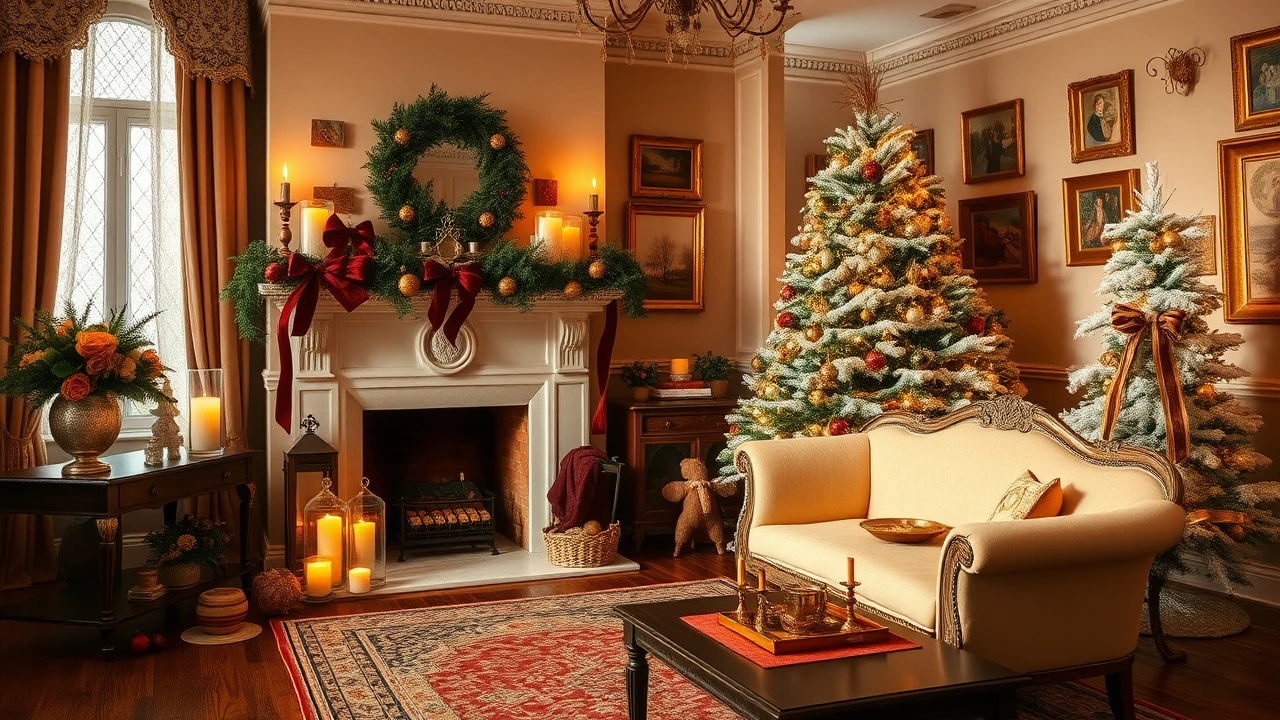 Christmas Ideas
24 Victorian Vintage Christmas Decorating Ideas
Get Victorian vintage Christmas style with practical tips: velvet trees, gingerbread trays, mercury glass, garlands, and more.
Read More