
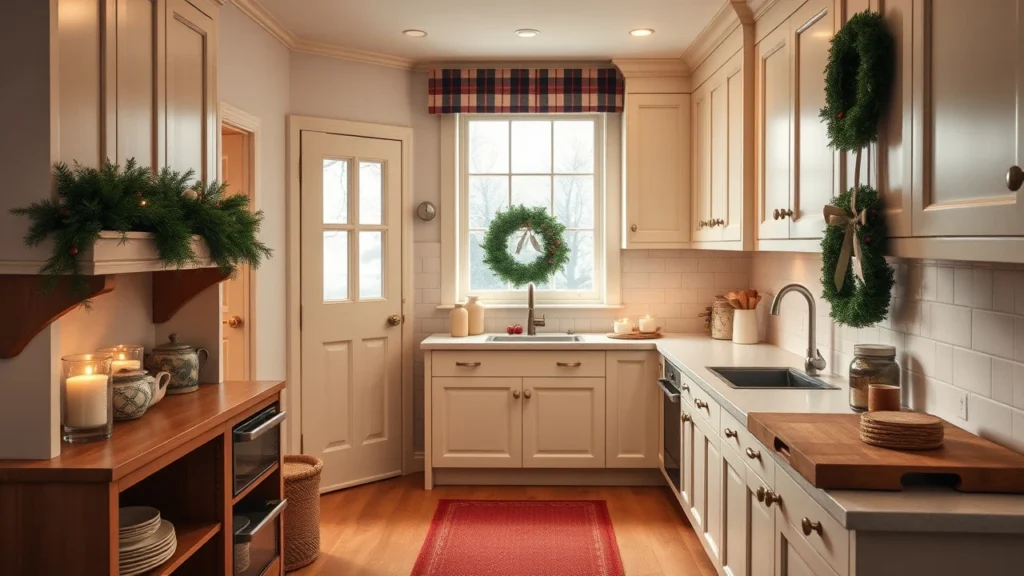
The first time you walk into your kitchen on a snowy afternoon, you want it to feel like a warm postcard—candles lit, herbs smelling like something good is happening, and none of it costing a fortune.
A lot of holiday decor advice starts with “buy more stuff,” but kitchens don’t give you that luxury. You’ve got tight counters, grease-prone surfaces, and traffic flow that still needs to work when guests arrive.
Below you’ll find 21 budget-smart Christmas kitchen styling ideas, each with a practical way to pull it off—so your space feels cozy, not cluttered, even if you’re working with a rental kitchen or a tiny galley layout.
Start With One “Holiday Color Story” (and Repeat It 3 Places)
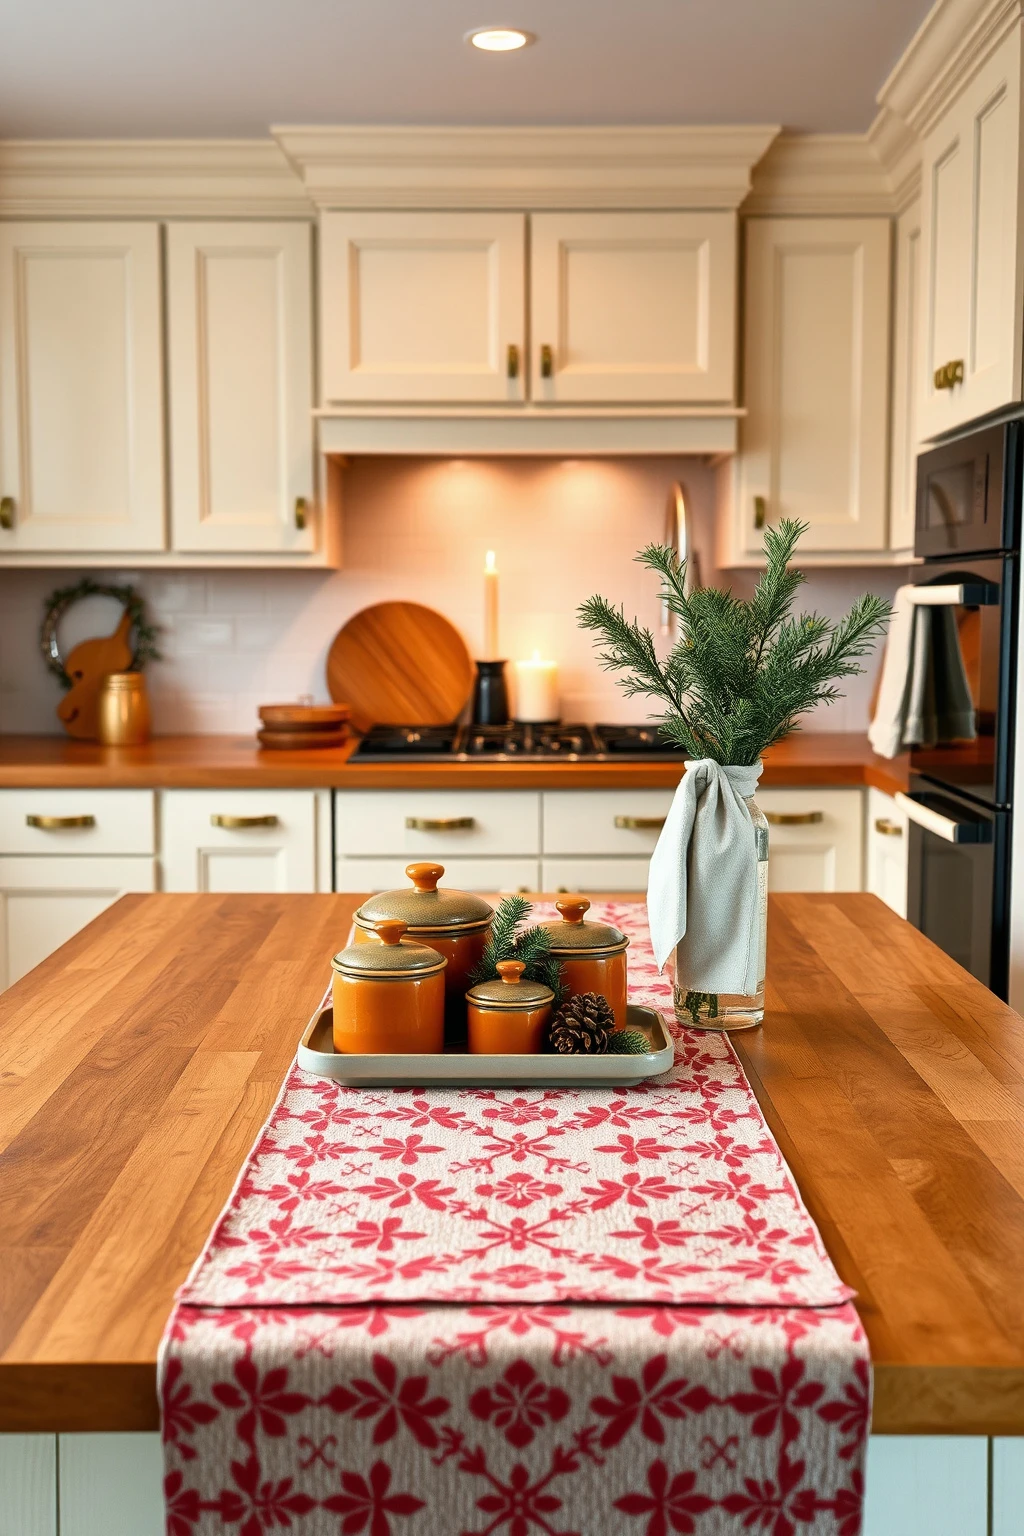
If your kitchen looks festive for a week and then instantly feels messy, it’s usually because the colors are all over the map. Instead of buying five different “Christmas reds,” pick one main palette—like warm ivory + pine green + a little burnt orange—and repeat it in three visible spots.
Why it works: kitchens have a lot of visual interruptions (appliances, cords, dish racks). A tight color story creates unity, so your decor reads as intentional even when space is limited. Choose: one textile (runner or towel set), one organic element (evergreen, eucalyptus, or pinecones), and one small accent (ceramic canisters, ribbon, or a tray). To style it, place the palette anchors at eye level first, then keep anything else in the same family—think sage green ornaments, not bright neon.
Use a “Tray Rule” to Keep Counter Decor Looking Expensive
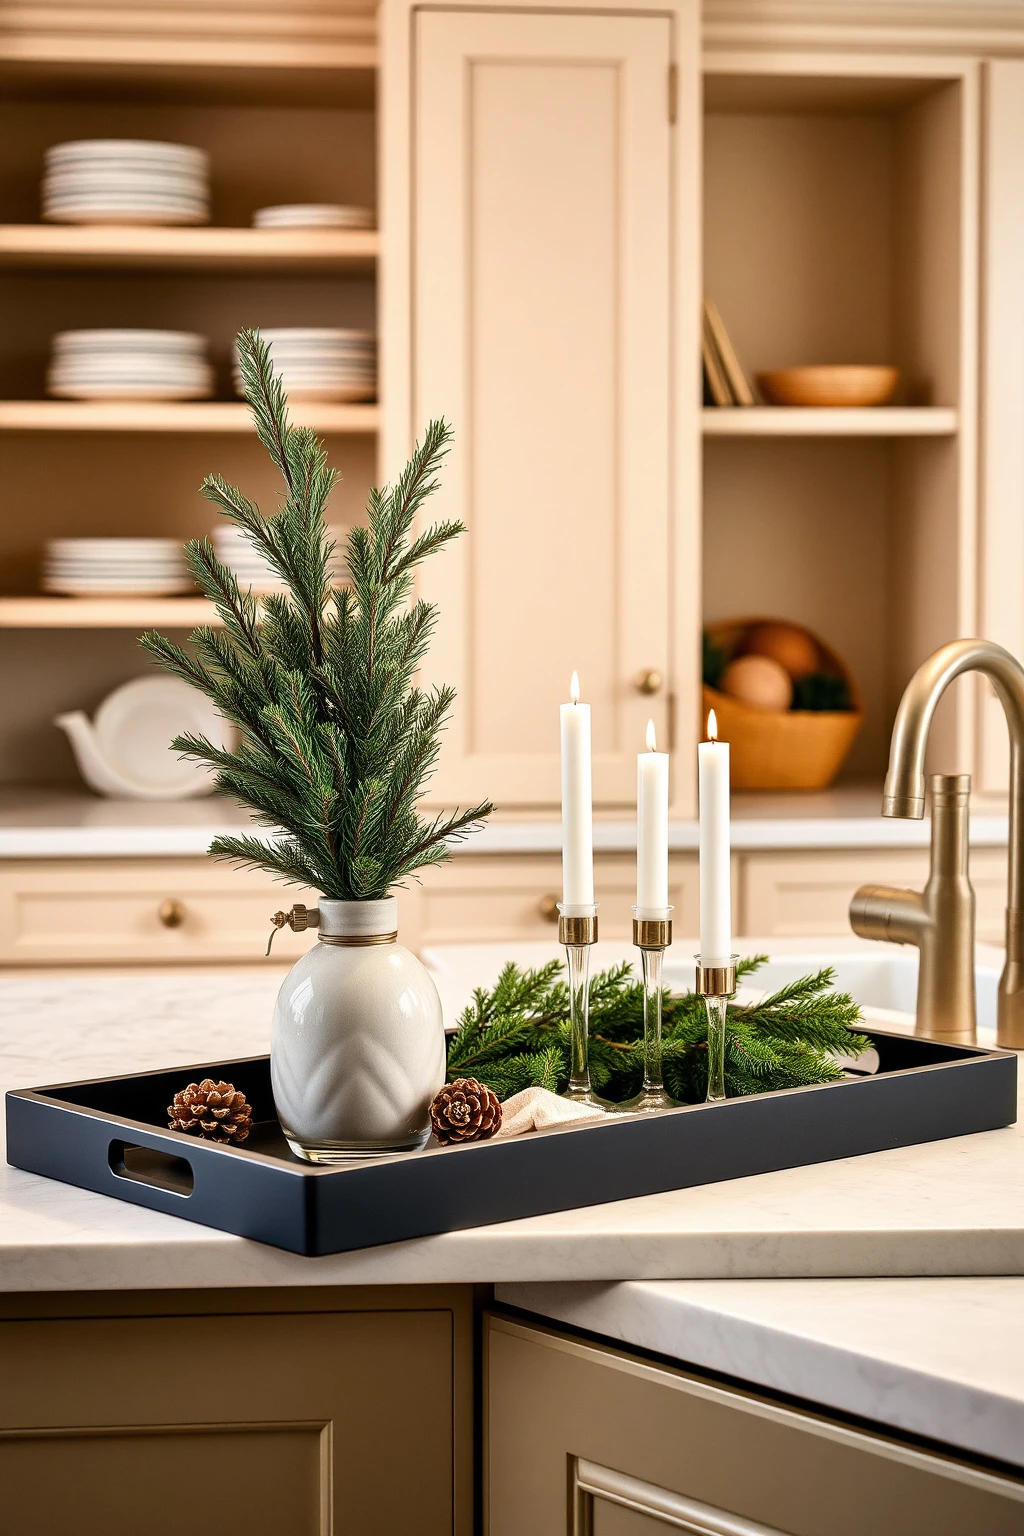
Counters get chaotic fast because holiday items love to multiply—tiny candles, ribbon scraps, ornaments, and suddenly you’re playing decor Tetris. Here’s the shortcut: put your Christmas pieces on a tray (or two) so everything shares one boundary.
Why this works: the tray creates a visual container and keeps your styling cohesive, which matters in kitchens where light moves across surfaces. Pick a tray size that covers at least half the open counter run you plan to use, then keep the height variation: one tall sprig (8–12 inches), one medium element (6–8 inches), and one flat layer (pinecones, wrapping paper scraps under glass, or a candle). A budget-friendly option is a thrifted metal tray sprayed matte black or warm brass instead of buying a new set.
Swap One Shelf Display for a “Food-Friendly Garland”
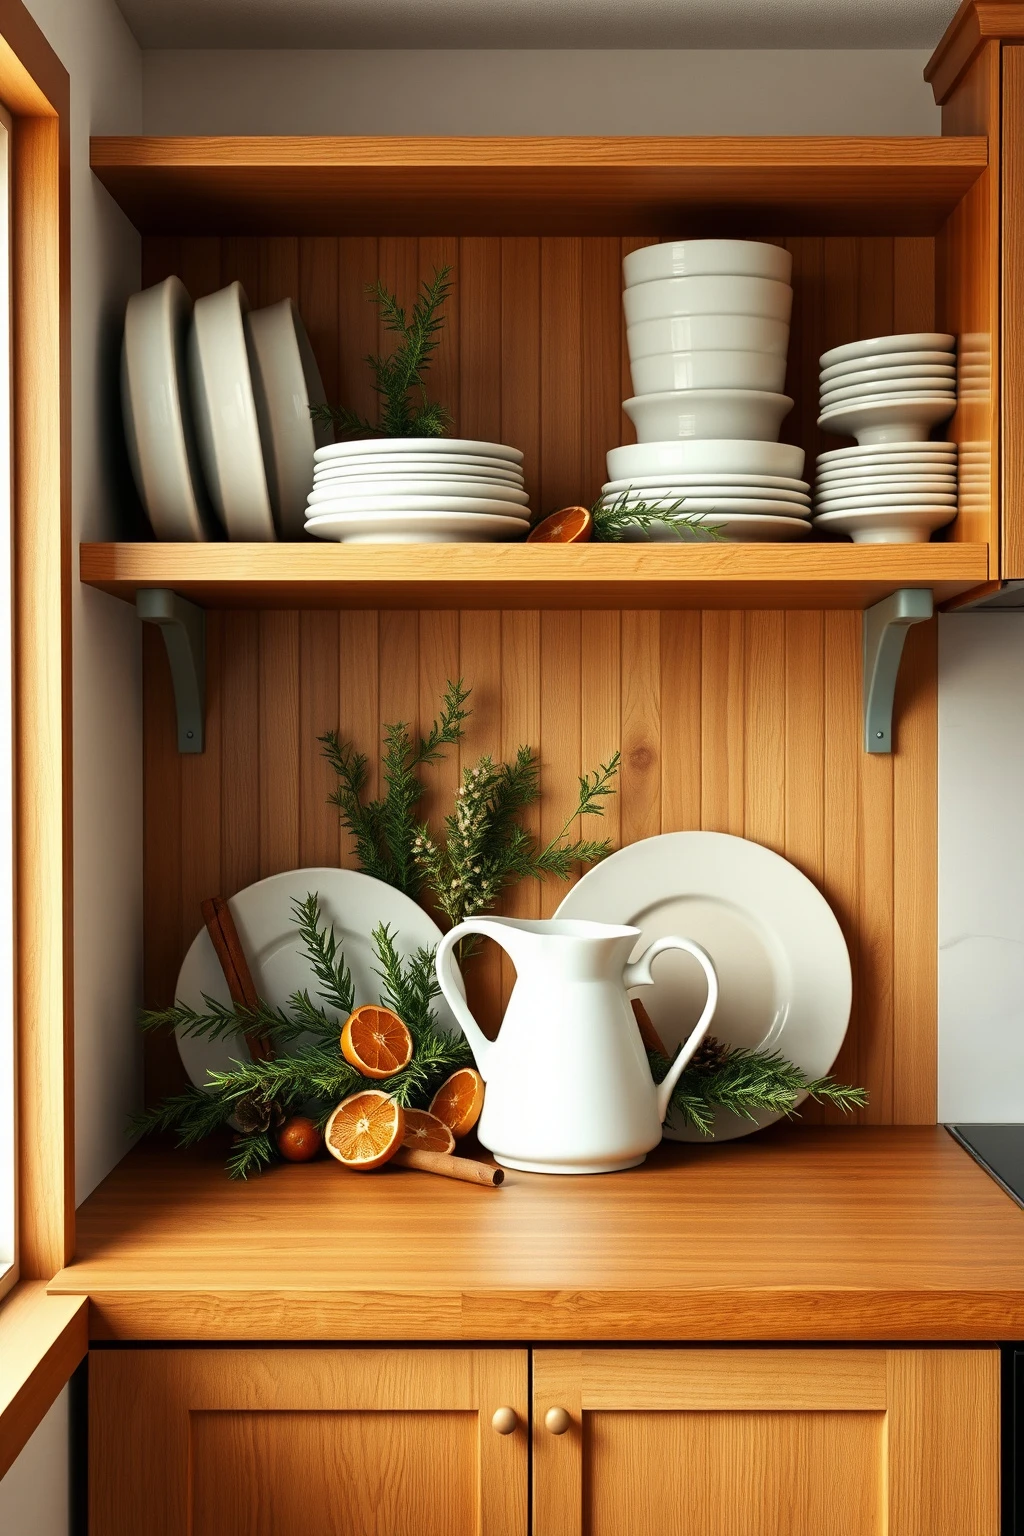
Instead of hanging a full-size garland that blocks window light, try creating a garland that also earns its keep. Line a shelf or ledge with edible-looking (but actually decorative) greenery like faux boxwood or rosemary sprigs and tuck in cinnamon sticks, dried citrus slices, or bay leaves.
Why it works: you’re styling the shelf’s height and direction while staying close to the kitchen’s natural rhythm—storage and prep. Keep it practical by using clips or a thin wire along the back edge so you’re not drilling anything. For a budget approach, skip florals and use what you can source cheaply: bulk pinecones from a craft store, cinnamon from the baking aisle, and dried orange slices you can make in the oven. Finish by adding one “anchor” item—like a white ceramic pitcher—so the greenery doesn’t look like a random scatter.
Hang a Wreath That Doesn’t Get in Your Way (Mount it High)
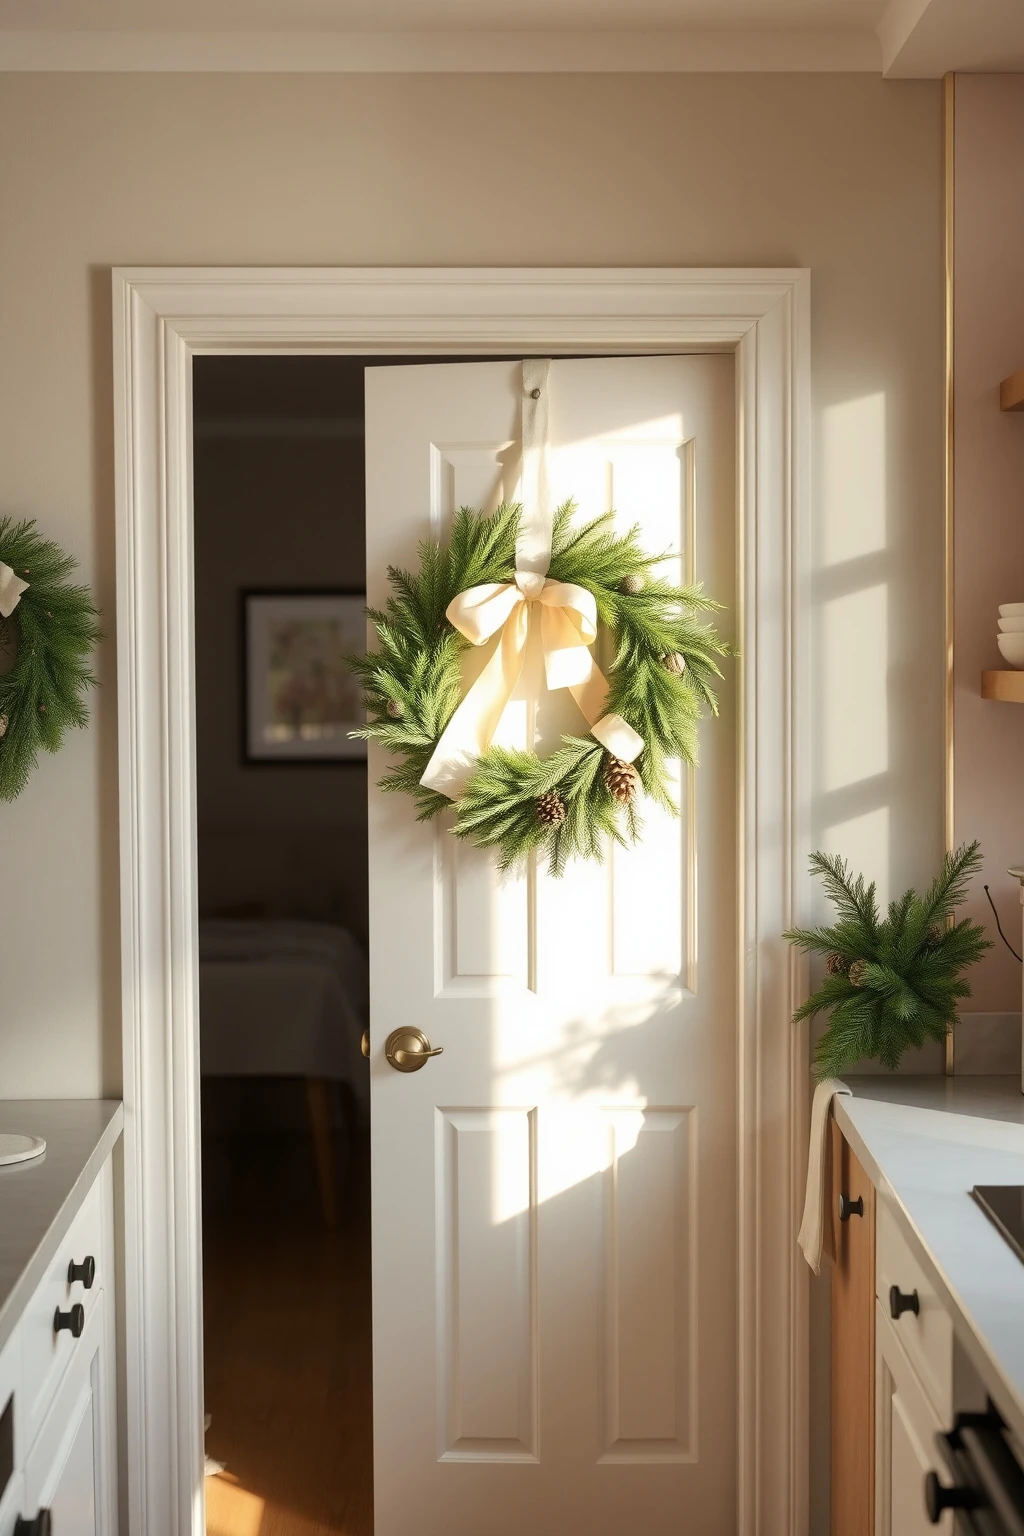
Most wreaths look cute—but if it hangs at eye level in a busy kitchen doorway, you’ll bump it every day. Mount it higher than you think so it reads festive in photos without interrupting your traffic flow.
Why this works: kitchens are high-traffic zones, and clearance matters as much as style. Aim for the wreath’s bottom edge to be about 6–8 inches above the door knob or handle line. For rentals where you can’t drill, use a sturdy over-the-door hook or an adhesive hook rated for the door material. Budget tip: choose a wreath base you can reuse year to year (grapevine or faux evergreen) and swap the “look” with one strand of ribbon and a small cluster of pinecones each season.
Build a Faux Mantel Moment Using the Back of Open Shelves
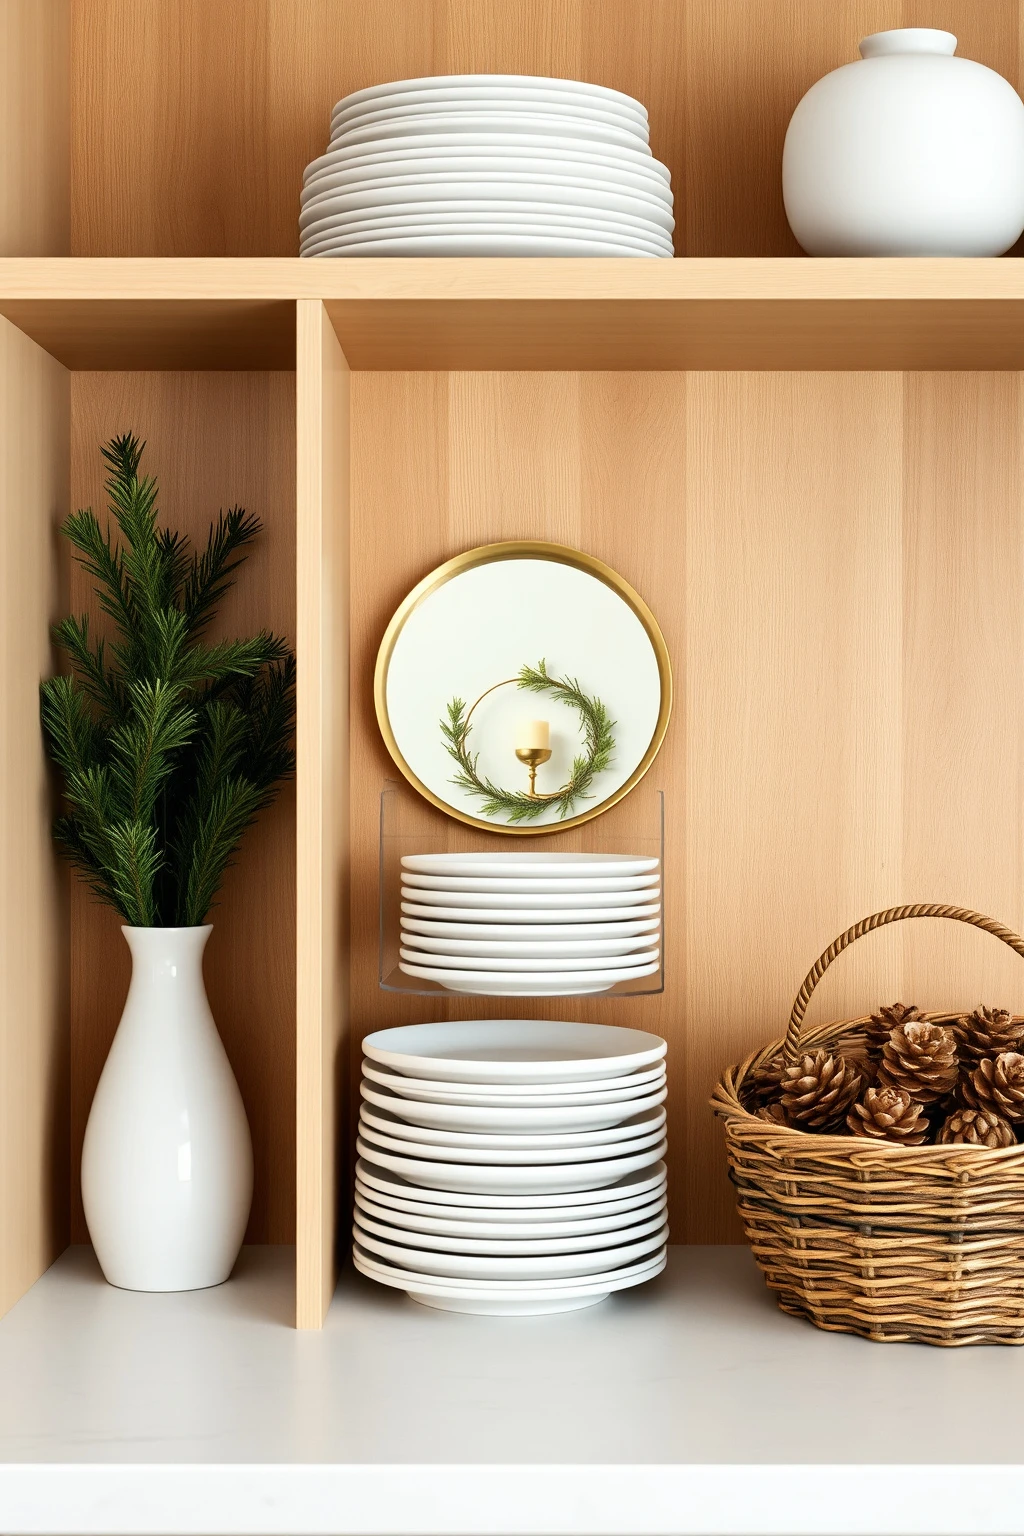
You don’t need a fireplace to get that classic “mantel glow.” If you have open shelving, treat the back rail like your mantel and stack decor behind your everyday dishes instead of on top of them.
Why it works: depth layering makes small kitchens feel fuller without crowding your working surfaces. Use 3 vertical zones: left (taller evergreen vase or wooden candle box), center (a framed print or small mirror), and right (a tray of ornaments or a woven basket). Keep the front zone practical—dish stacks stay functional while the back zone does the holiday work. A budget swap: use a thrifted cutting board as your “platter” and lean it against the back wall for instant height.
Make Your Own “Ornament Garland” With Threaded Vintage Baubles
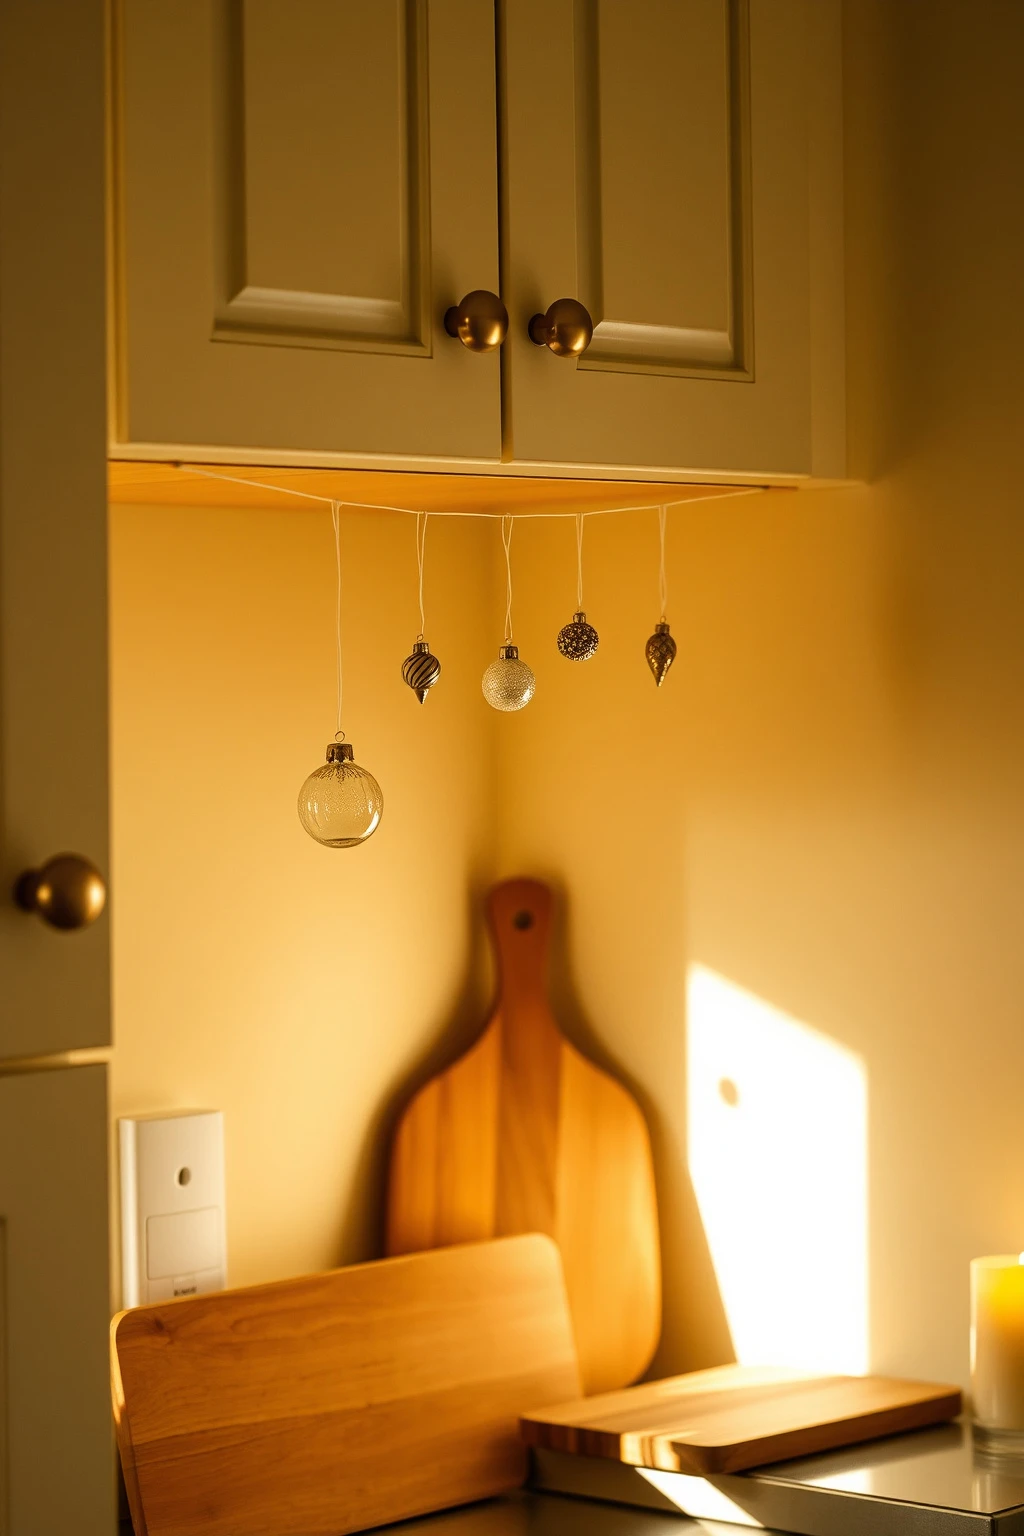
Instead of buying expensive fabric garlands that flatten in a drawer, use what you already store: ornaments, even mismatched ones. Thread small baubles onto fishing line or thin jute twine and hang them under a cabinet edge or along the top of a backsplash area.
Why it works: ornaments create sparkle, and sparkle photographs well even in kitchens with limited window light. The trick is spacing—leave about 2–3 inches between ornaments so the line looks airy, not tangled. For a budget-friendly look, focus on texture and finish: matte glass in deep green + a few shiny brass or clear ornaments. If you’re worried about drilling, wrap small command-style clips around cabinet framing where they’re least noticeable.
Choose Battery Candles for the Places You Actually Use
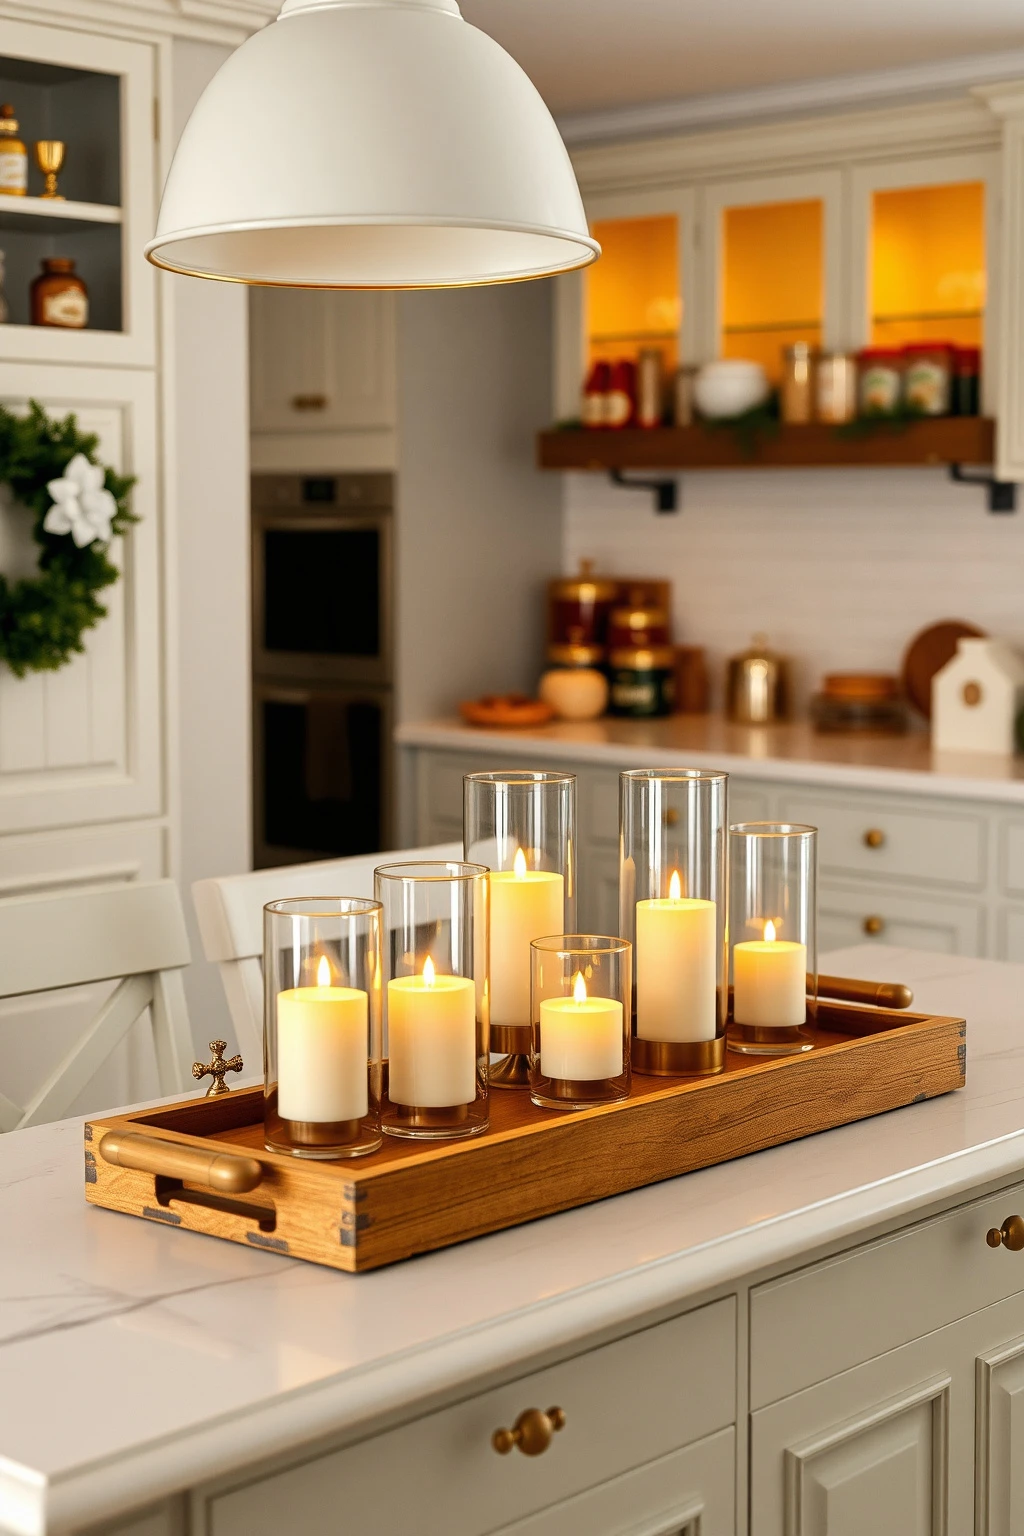
Real candles in the kitchen can be a safety headache and an ongoing expense, especially near curtains, stovetops, and drafty windows. Battery candles give you the warm flicker without the constant worry.
Why it works: light is the fastest route to cozy, and battery candles let you place them closer to decor surfaces that would be risky with flames. Buy candles that taper or vary slightly in height (like 6”, 8”, and 10”) so your light doesn’t look flat. Style them on a tray with a heat-safe base—glass hurricanes, a ceramic riser, or a mirrored tray works beautifully. For extra budget mileage, keep the candles in the same locations all season; just rotate the “shell” items around them (pinecones one week, dried citrus another).
Turn Baking Supplies Into Decor With a “Sugar Cookie Color” Setup
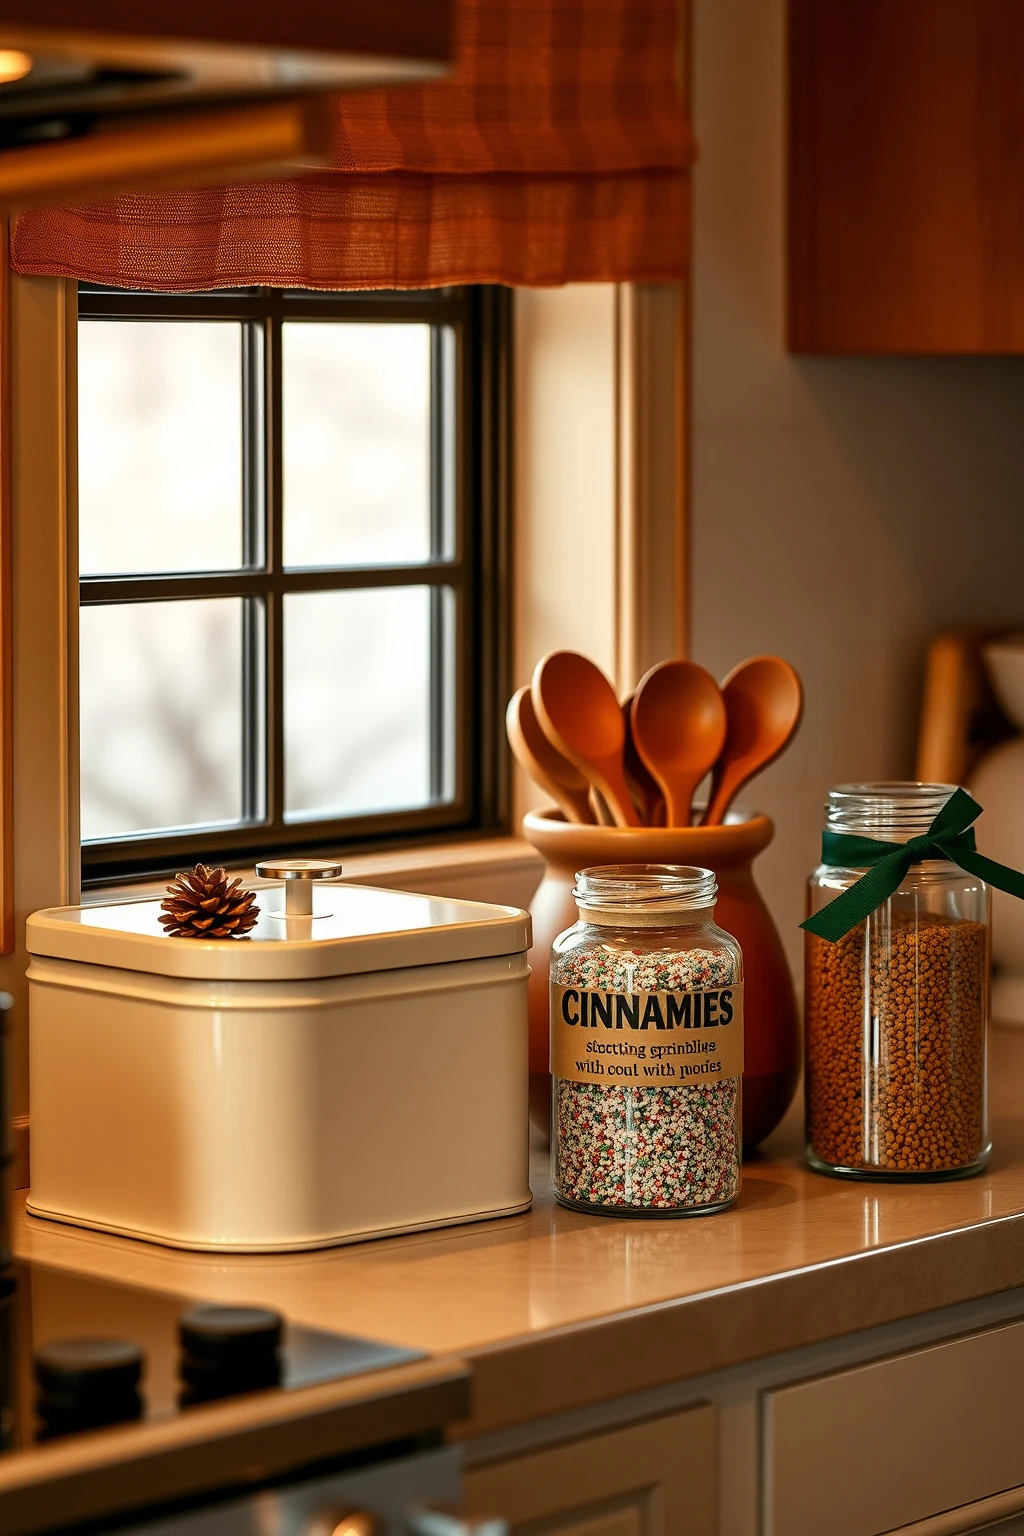
Here’s a trick you can do even if you hate clutter: build a vignette using actual kitchen items. Set a cookie tin, a wooden spoon crock, and a small jar of sprinkles (or cinnamon) on a single spot near where you’ll bake.
Why it works: it’s functional decor, so it won’t feel like “extra” on day 10. Use one container color family to avoid visual noise—warm white tins, terracotta crocks, and oatmeal-colored paper bags all play nicely. Keep the jar labels out of the spotlight by swapping to unlabeled glass jars or wrapping the jar with brown kraft paper and a strip of green ribbon. A budget win is using what you already have: if you don’t own a cookie tin, even a thrifted metal bread box or a lidded mixing bowl can stand in.
Drape Ribbon Like a Tailored Runner, Not a Loose Banner
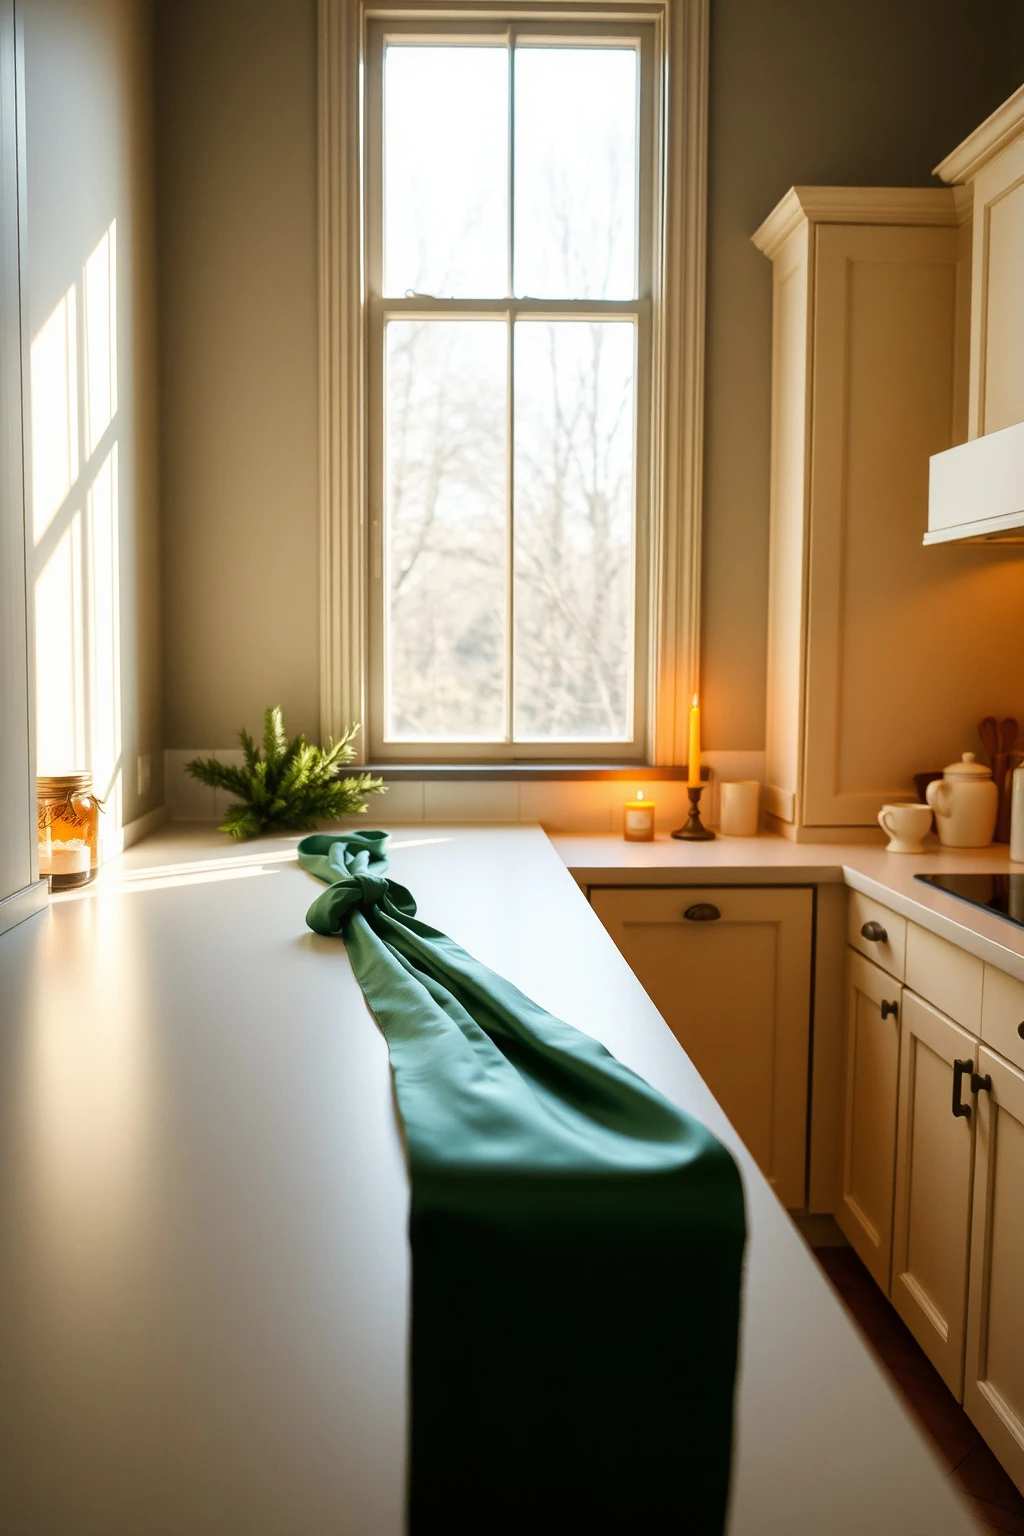
Ribbons laid randomly can make a kitchen feel sloppy—especially if your counters are already busy. Instead, treat ribbon like tailoring: smooth, straight, and intentional.
Why this works: clean lines calm the eye in small rooms. Use one ribbon as a “runner” along the length of a ledge, shelf, or even across the front of a buffet-style cabinet—keep it 2–3 inches above the surface so it doesn’t crowd. Choose a ribbon width around 2.5–3 inches in a fabric like satin for a warm sheen, or wired linen ribbon for better shaping. Secure with tiny hooks on the underside or by tying the ends in a knot hidden behind a jar; you’ll get a crisp look that lasts through multiple holiday gatherings.
Style One Appliance Like a “Little Gift Shop” Corner
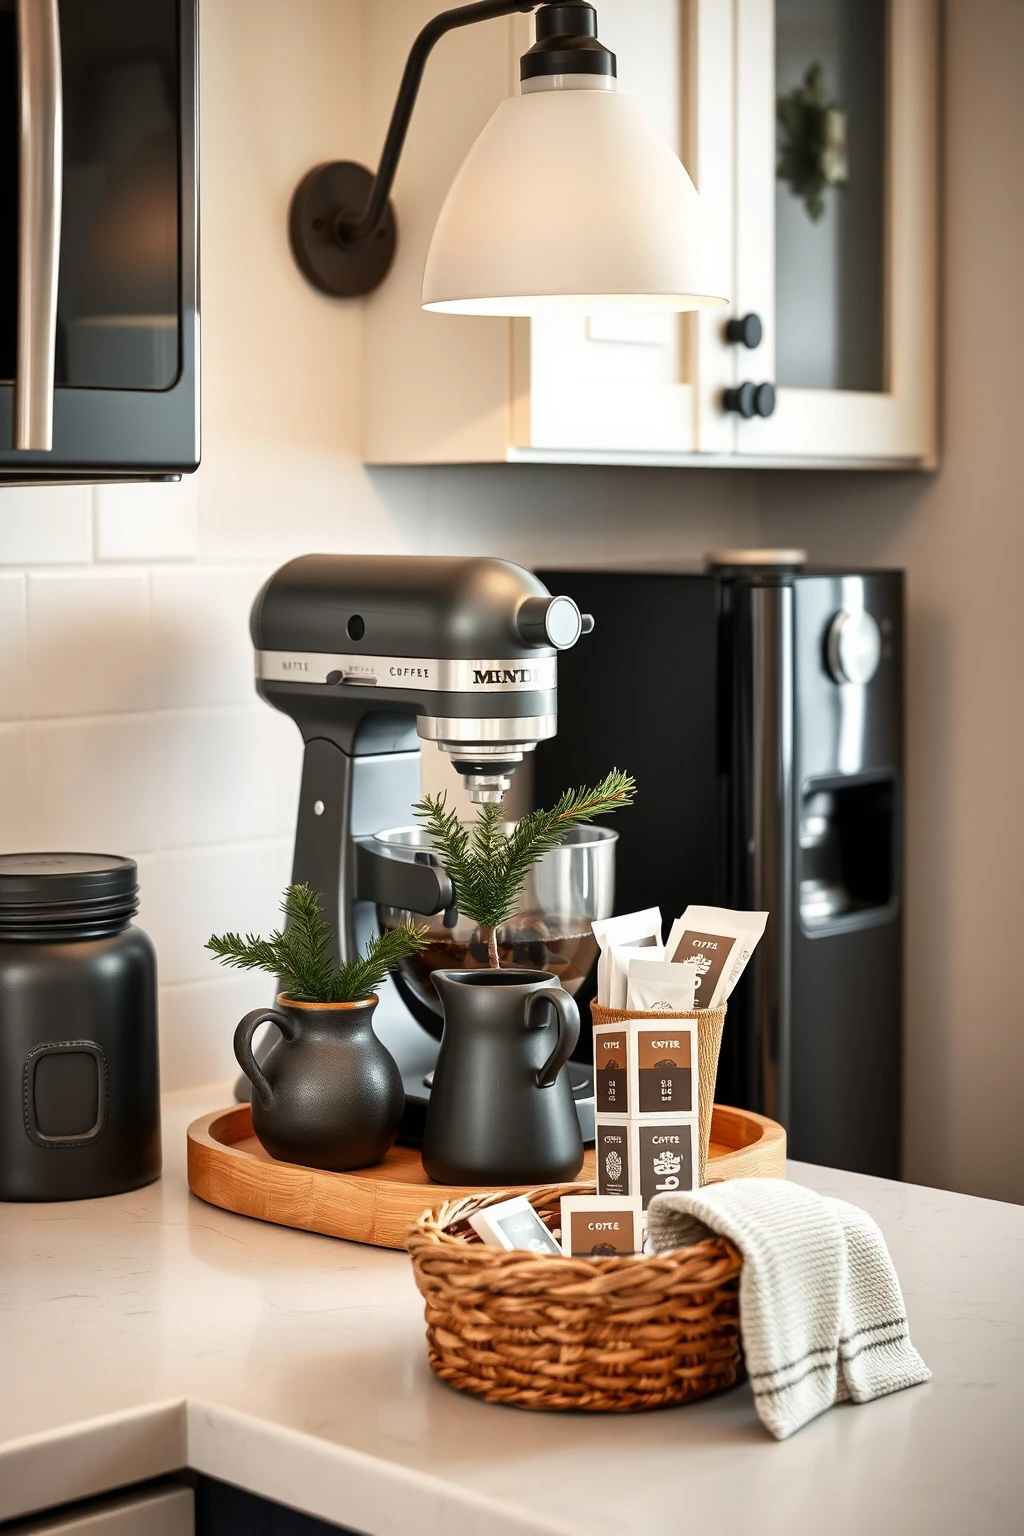
If you don’t want to decorate the whole counter, pick one appliance and make it the focal point—your coffee station, stand mixer, or cutting-board zone. Kitchens look best when one area feels festive and the rest stays practical.
Why it works: focal control prevents clutter. Choose a theme that matches the appliance’s vibe—go farmhouse with reclaimed pine trays and red plaid accents, or keep it modern with matte black, warm ivory, and charcoal. For a budget-friendly “gift shop” effect, add only three items around your appliance: a small greenery bundle (6–10 inches), a seasonal container (like a ceramic sugar jar), and one texture hit (woven basket or jute twine bow). Make it easy to reset: store the items in a small lidded box so you can swap them quickly without hunting.
Create a Window Moment With Paper Snowflakes and a Real Garland
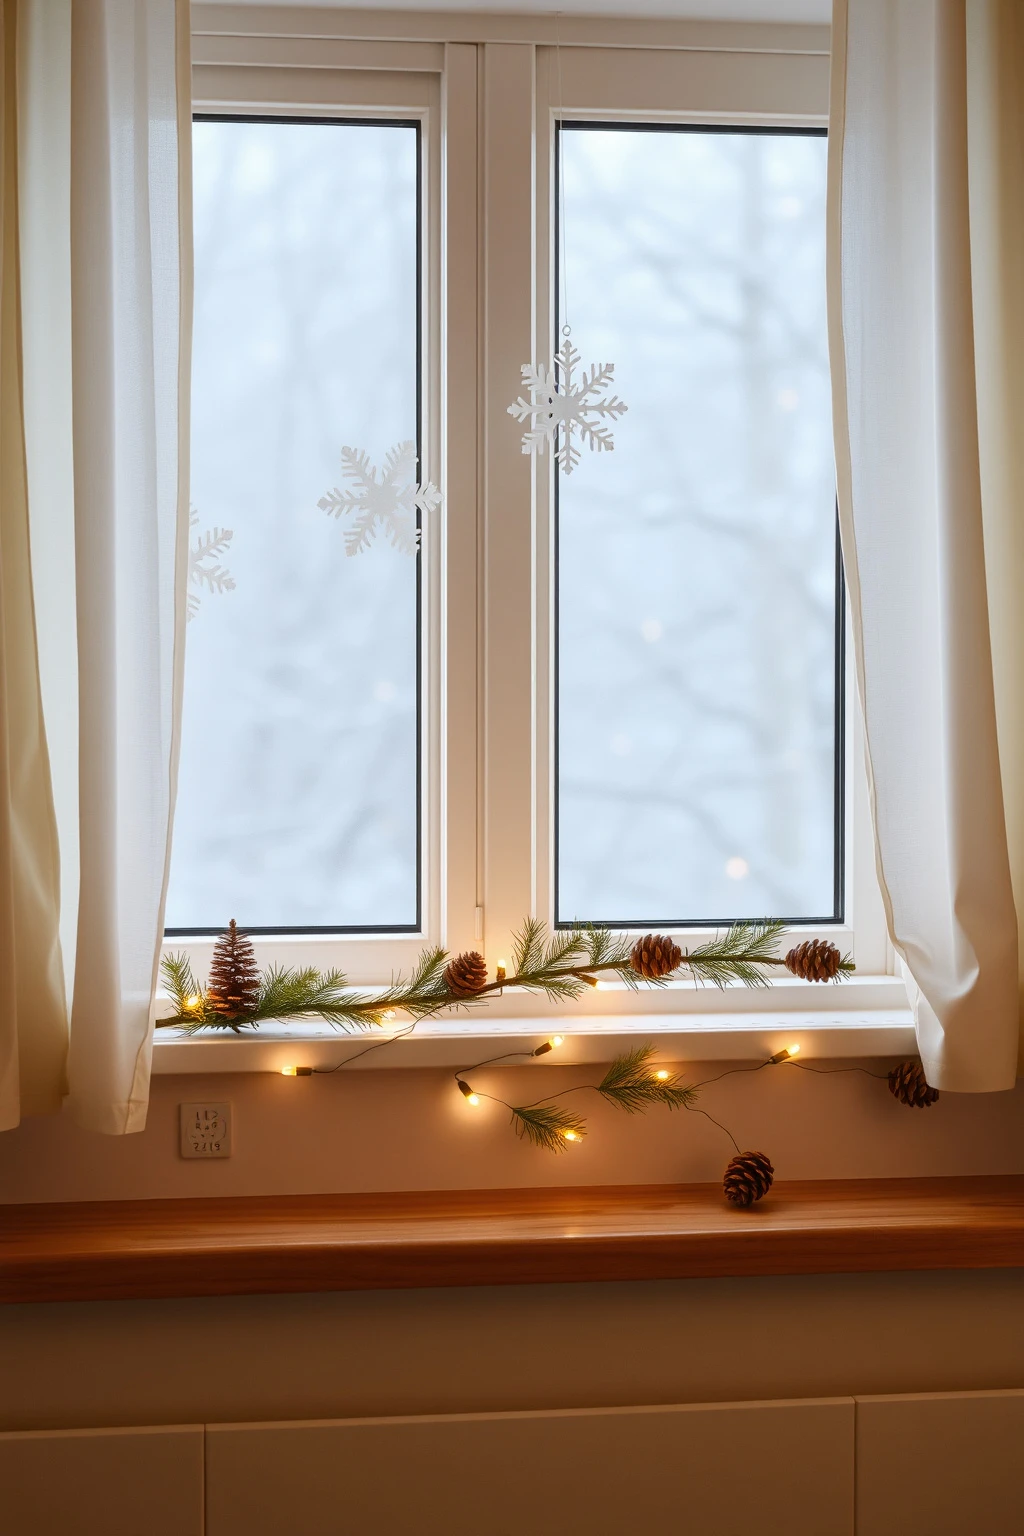
North-facing kitchens can feel dim, and heavy holiday decor can make the gloom worse. Instead of filling the whole window with large wreaths, use light layers: paper snowflakes or subtle cutouts behind sheer curtains plus a slim real-or-faux garland on the sill.
Why it works: you’re adding movement and sparkle without blocking daylight. Keep the garland narrow—about 10–12 inches deep—so it doesn’t crowd the counter. Use white paper snowflakes in varying sizes (2–4 inches wide) and attach them to a clear command strip or to the inside of the window with repositionable tape. For a budget approach, make the “garland” from thrifted greenery stems or leftover holiday stems from last year, and keep the color palette to warm white and pine green for a softer look.
Add Seasonal Texture With Linen Towels and a Single Plaid Accent
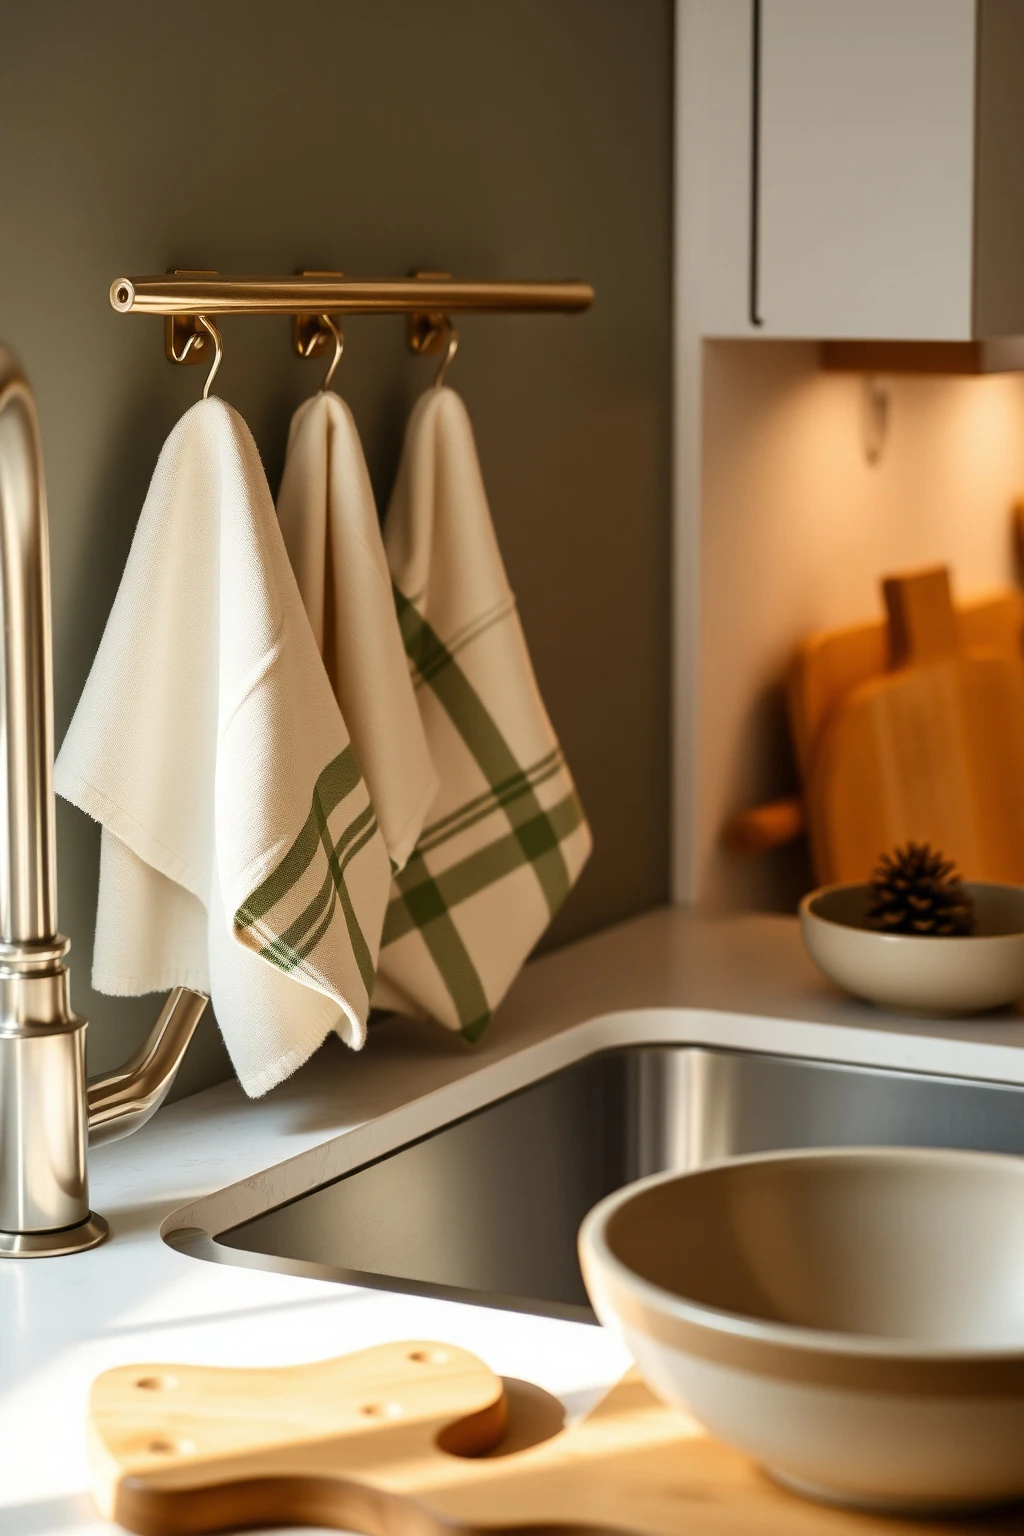
The fastest way to make kitchens feel seasonal is through textiles—but you don’t need a whole drawer full. Swap your everyday tea towels for linen in warm ivory or sage, then add one plaid item only once—like a folded towel or a small potholder.
Why it works: fabrics add softness and absorb light, which helps the kitchen feel warm instead of shiny and sterile. Keep the towel pattern scale practical: choose a plaid with medium spacing (not micro-gingham) so it doesn’t look busy next to stainless appliances. Make sure you can still use them—hang towels where hands naturally land, about 30–36 inches above the counter for most kitchens. Budget tip: search for “single towel sets” at discount home stores or bundle thrifted linens; you can steam out old wrinkles and you’ll have that luxe linen look without paying for new.
Hang a Small Sign—Only If You Hide the Mess Behind It
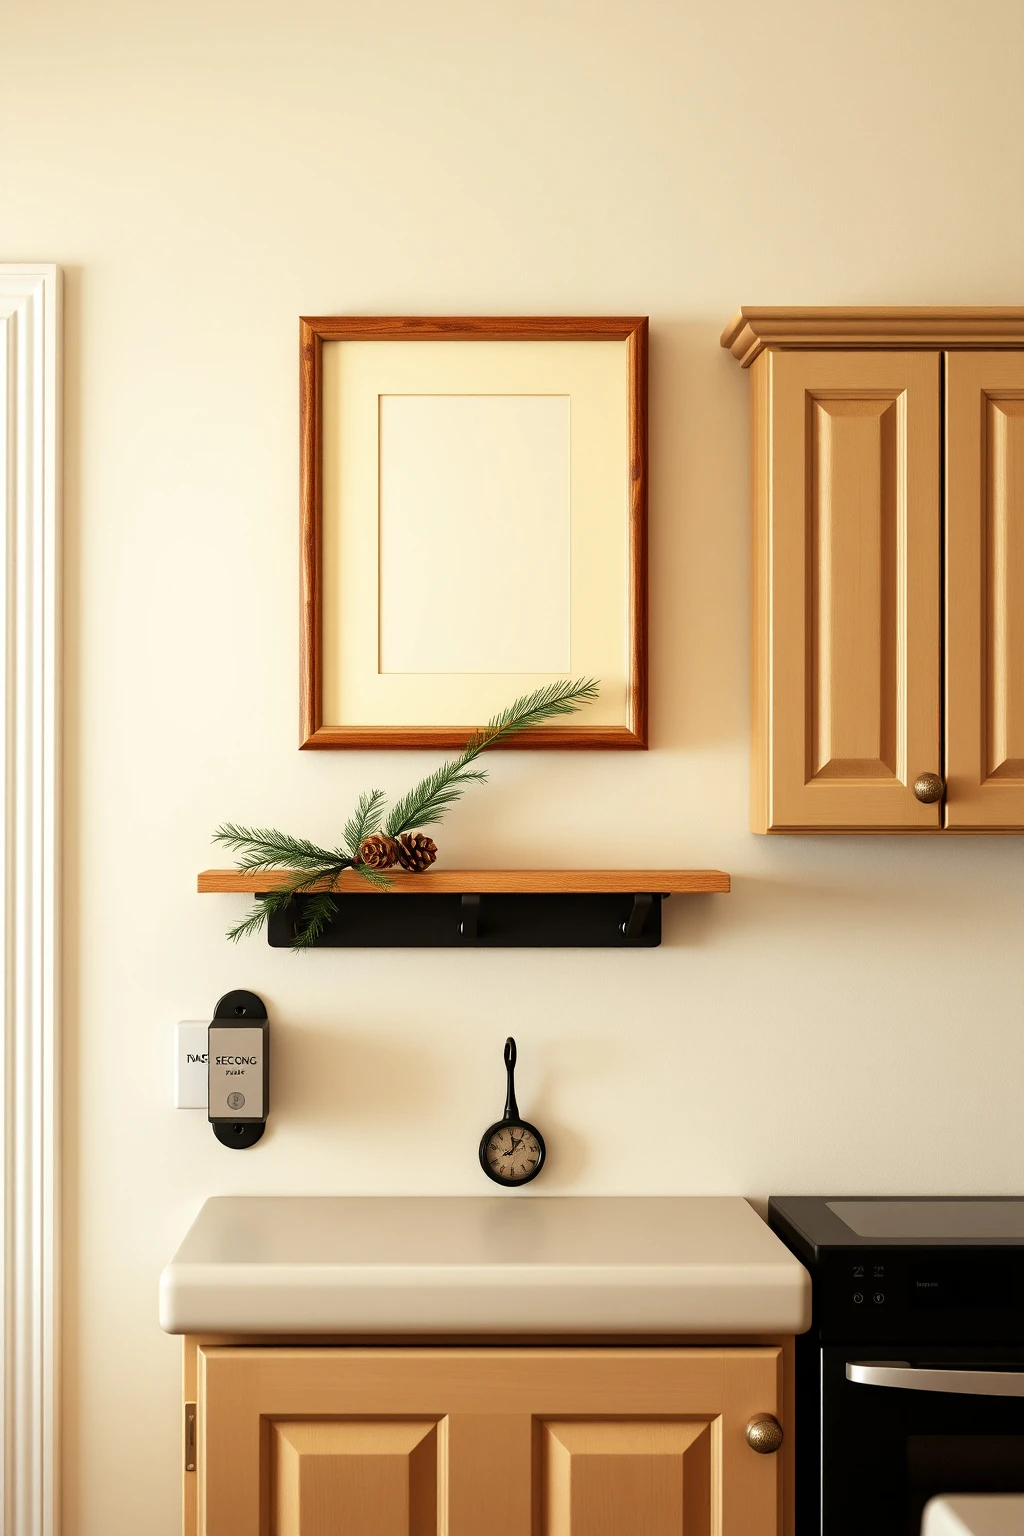
Yes, decor signs are polarizing, but they can work if you use them like a frame—one neat focal, not a clutter magnet. The trick is to place the sign where the rest of the wall can stay clean, like above a cabinet or on the side of a pantry door, away from busy open shelving.
Why it works: a framed focal point gives you “holiday structure” while keeping clutter out of sight. Use a neutral background like warm cream or charcoal and pair it with one natural element: a bow, pinecones, or a small wreath. Budget method: instead of buying a new sign, use a thrifted picture frame and swap in a simple printable photo or cut paper art you can change each year. Keep your wall styling sparse—one sign, one hook, and you’re done. Anything more starts competing with your kitchen’s daily visual tasks.
Recreate “Costco Garland” Energy With a Budget Eucalyptus Swag
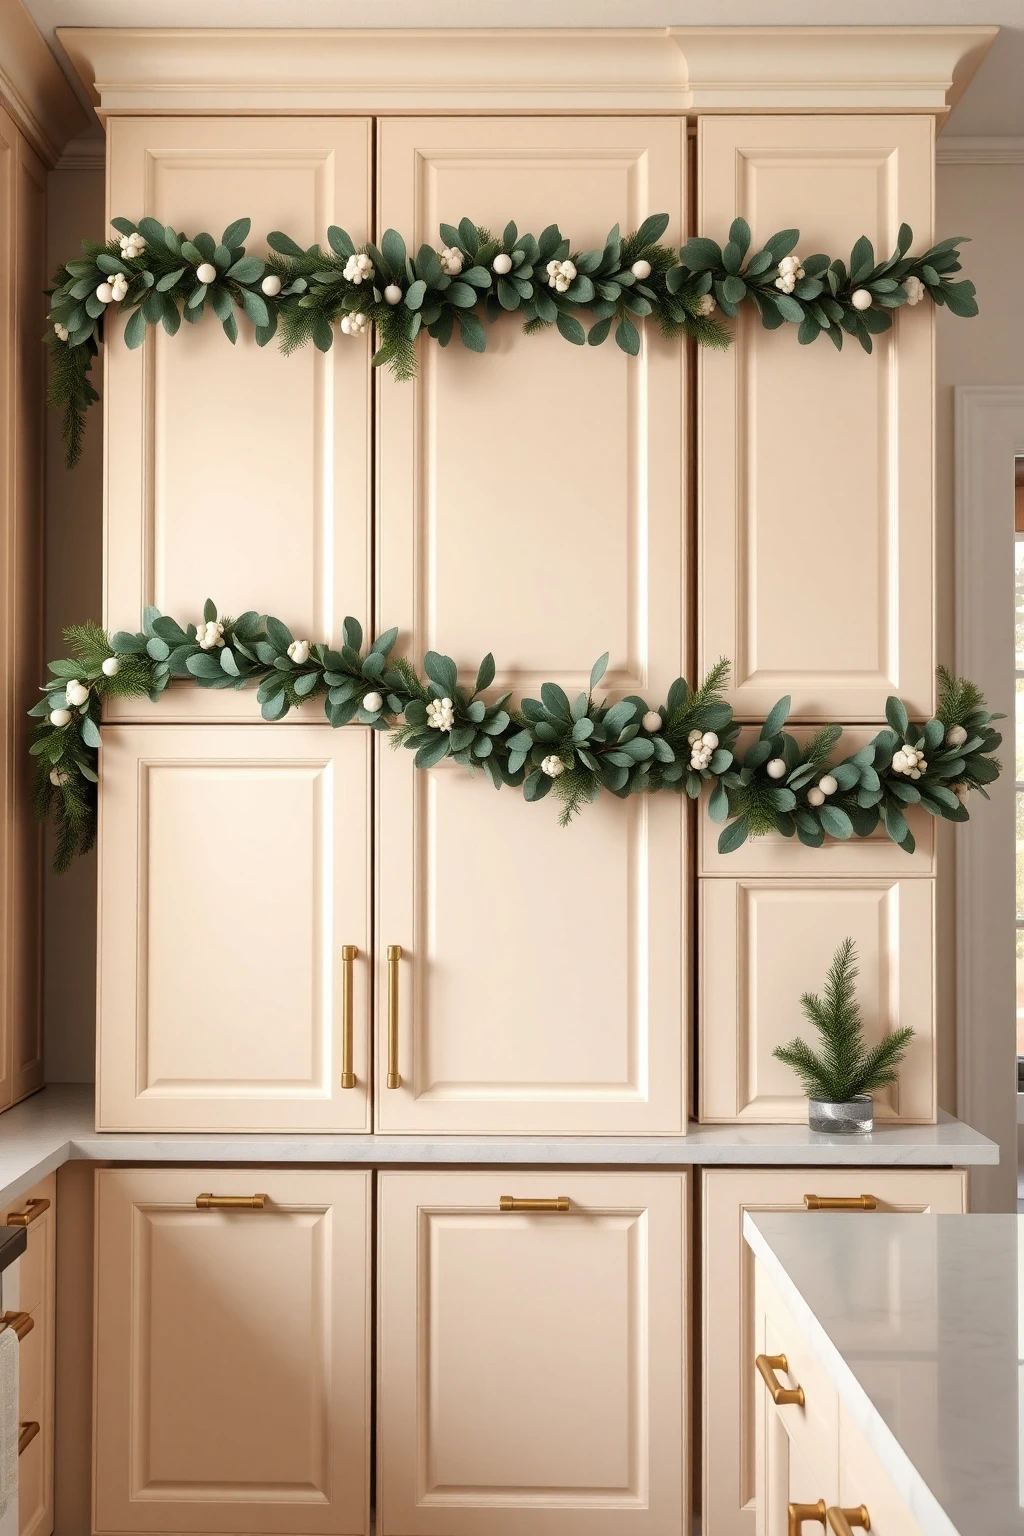
The big, lush look doesn’t require big florist prices—it requires strategic placement. You can fake that abundant energy by using a budget eucalyptus or faux pine bundle and looping it in layers along the same line (like above cabinets or along the top of a backsplash).
Why it works: layered stems create volume, and keeping everything on one horizontal plane makes the kitchen feel coordinated. Start with a long base line, then add 2–3 “puffs” at intervals, spacing them roughly 12–18 inches apart. Attach with zip ties to existing fixtures or tuck greenery into rails so you don’t need nails. Finish with a few visible highlights—matte white berries, small pinecones, or a thin red ribbon—so your eye catches something besides leaves.
Use Jute and Wood to Make Jars Feel Festive (Without Wrapping Paper)
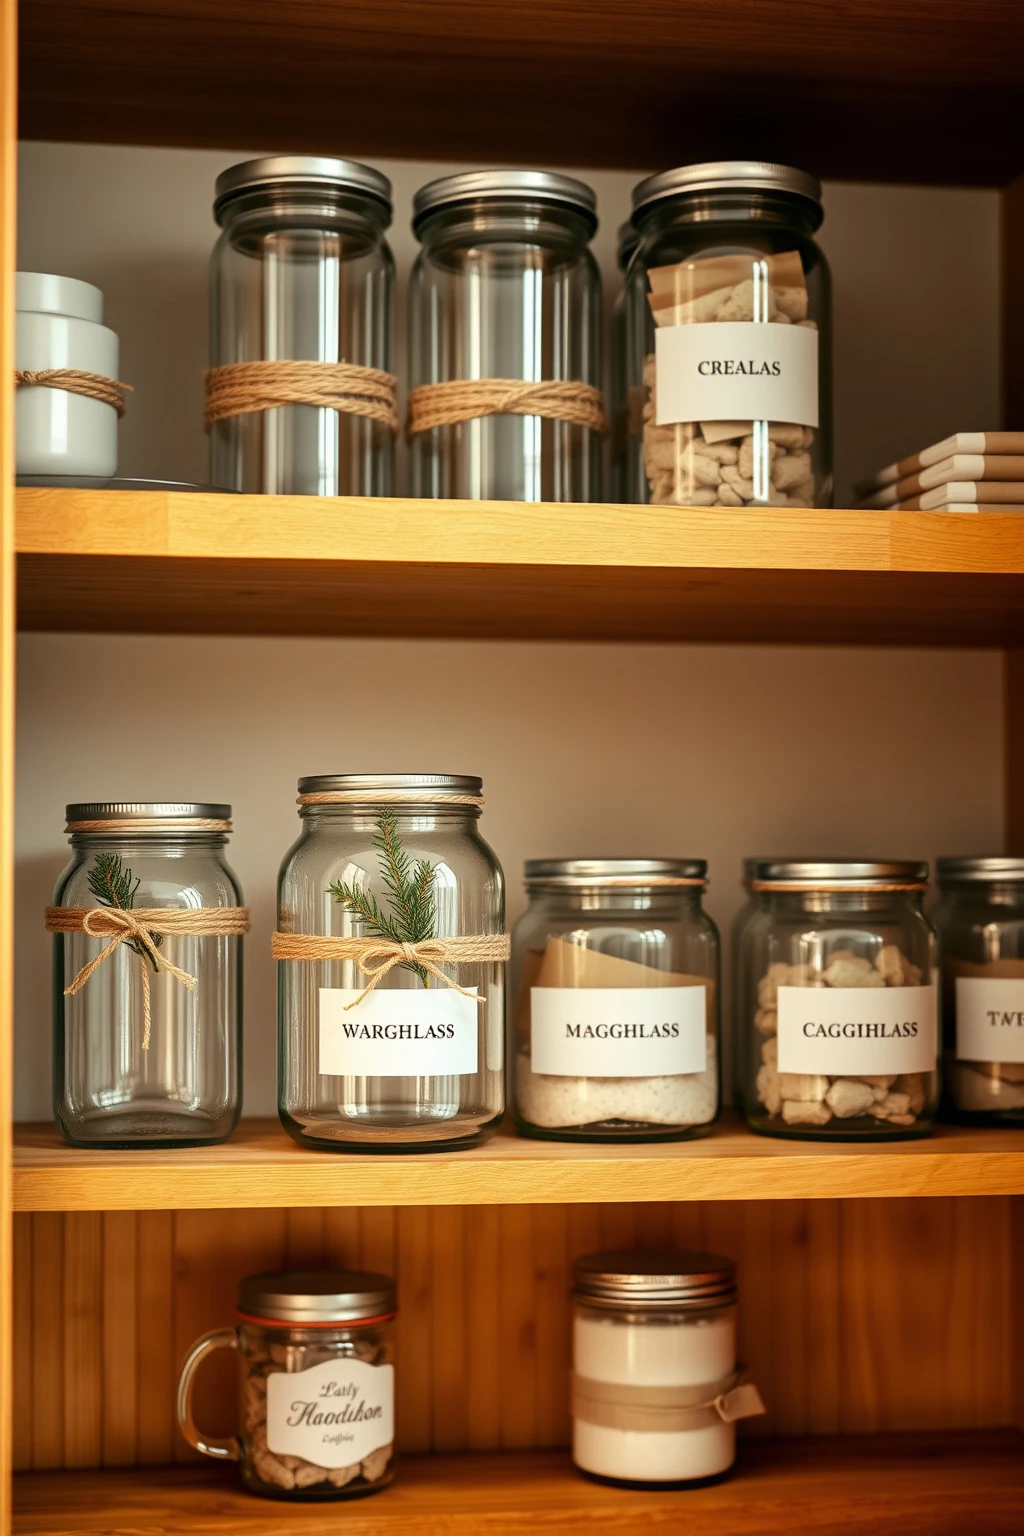
Jars are great for pantry storage, but plain glass can feel unfinished during the holidays. Wrap them in texture instead of paper—jute around the neck, then a ribbon bow or a pine sprig tucked into the knot.
Why it works: wood and jute bring in warm, tactile color that plays well with stainless steel and glossy cabinet paint. Choose jute twine that’s not too scratchy-looking—natural beige, not neon yellow. Keep the styling consistent: all jar labels hidden behind a single layer of kraft paper or brown cloth strips. Budget substitution: if you’re missing jute, use thrifted brown paper bags cut into bands, then tie with a scrap of green ribbon. Your kitchen gets that cozy “baked at home” vibe instantly.
Make a Cheap “Centerpiece” From a Cutting Board + Deep Bowl
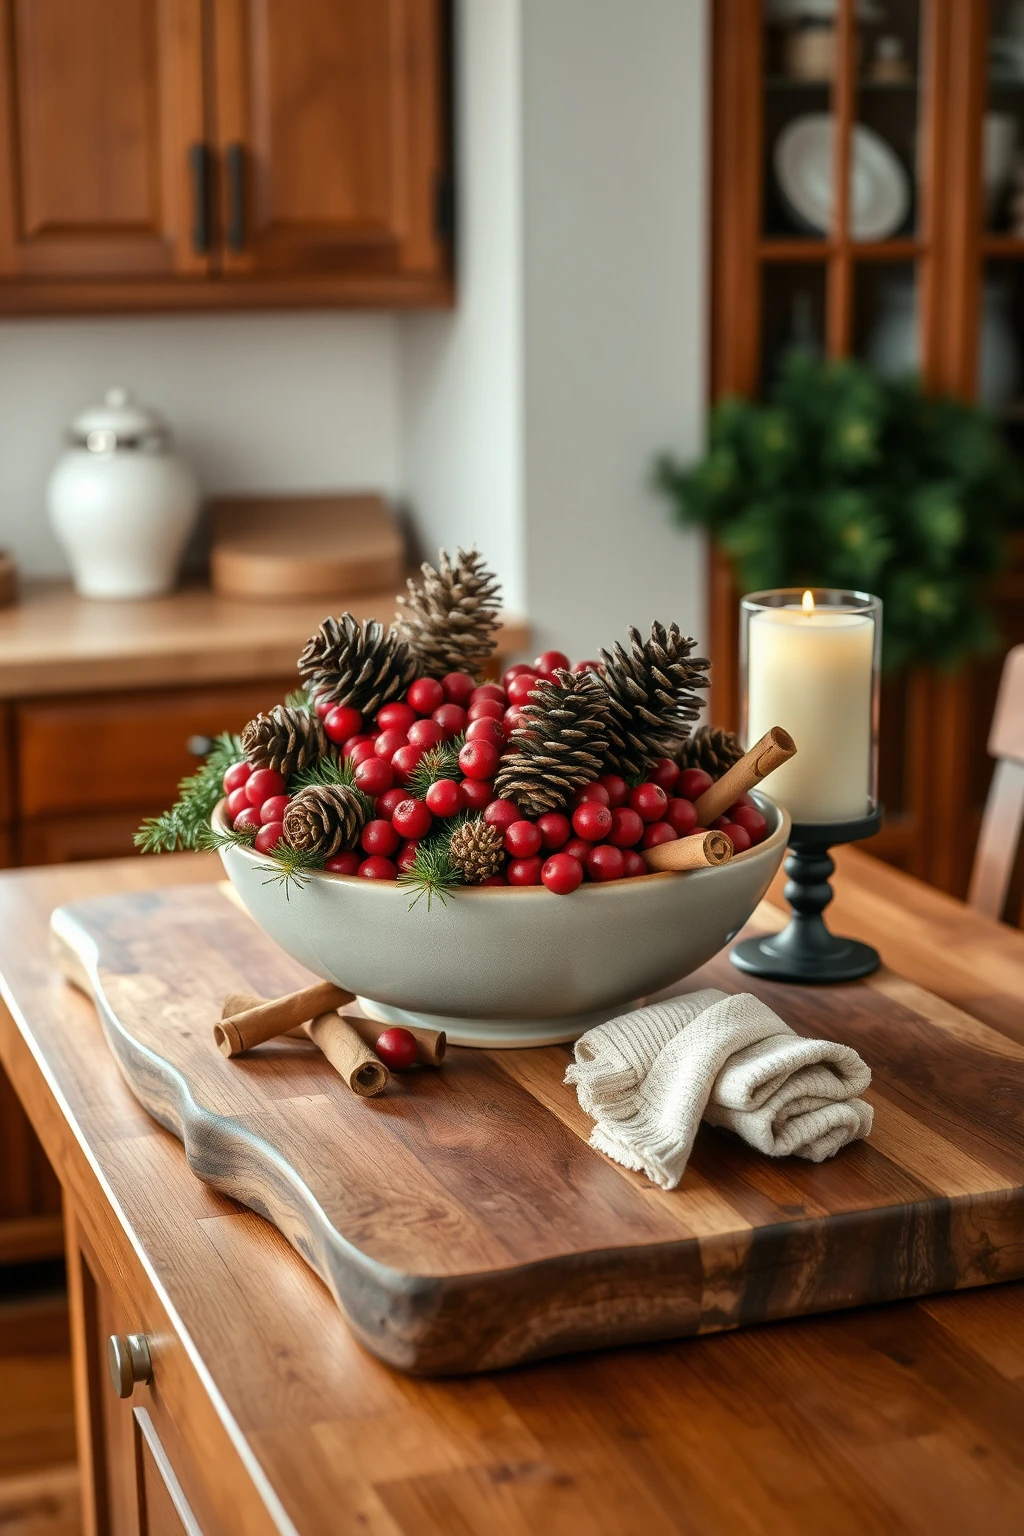
A centerpiece sounds fancy, but you can build one with kitchen basics. Use a large cutting board as the base and set a deep ceramic bowl on top, then fill it with seasonal items like cranberries (real or faux), pinecones, and a few cinnamon sticks.
Why it works: you’re creating height and focal interest in a grounded way, and the cutting board anchors the arrangement to something you’d already use. Keep the bowl centered and don’t overfill; leave space at the top so the arrangement looks intentional instead of chaotic. Budget tip: raid your own holiday storage first—odds and ends go here. If you want an extra “designer” touch, place one candle beside the board in the same line, not tucked behind it, so the light reads clearly.
Hang Stockings From a Rail, Not the Wall (Rental-Friendly)
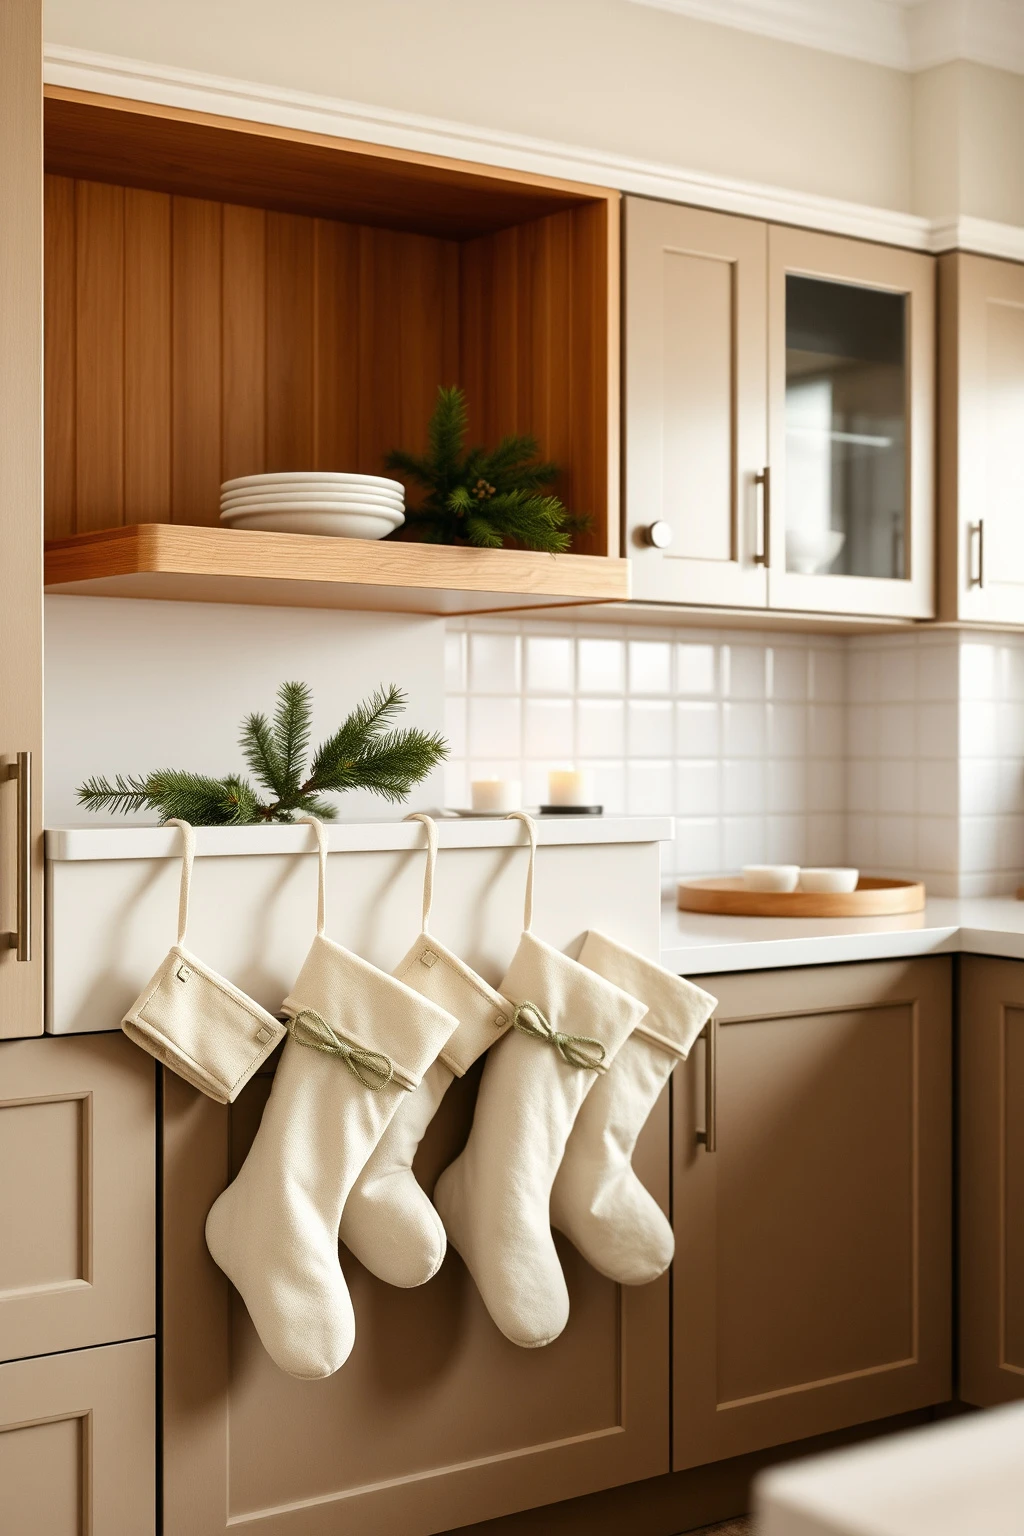
If you’re in a rental and you love the look of stockings, don’t fight the walls. Hang stockings from a rail like a pot rack bar, cabinet handle line, or even the underside edge of an open shelf using small S-hooks.
Why it works: it keeps your installation removable and protects your security deposit. It also keeps stockings visually aligned, which matters because kitchen walls can already feel “busy.” Choose stockings in a consistent fabric—felt or thick cotton in warm ivory with a little green or red detail. For a budget approach, sew or glue a small trim detail (like a faux fur cuff) onto plain thrifted stockings so they look purposeful. Make sure the stocking openings face outward so you can spot the “holiday story” from the kitchen doorway.
Light Up Upper Cabinets With One DIY Window-Glowing Light
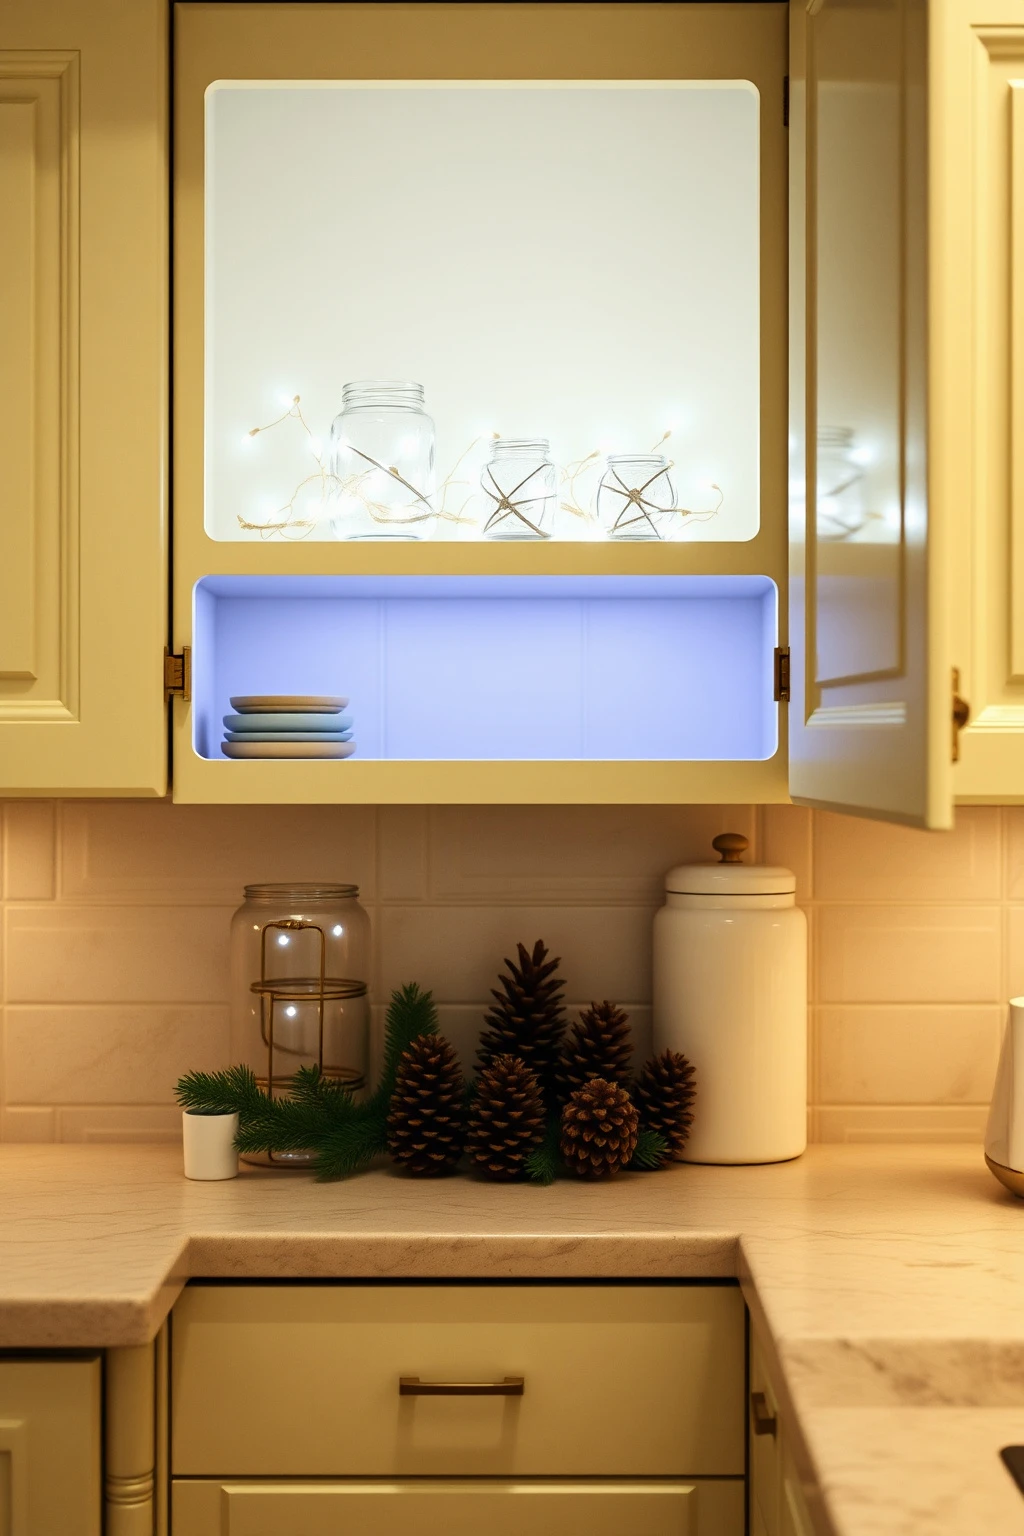
If you have open upper cabinets, they can look bare in winter. You can get that “glowing warmth” effect without installing anything complicated—use a single battery light strip or fairy lights placed inside a cabinet corner, hidden behind a jar or tall vase.
Why it works: vertical light draws your eye upward, making small kitchens feel taller and more inviting. Place the lights where you’ll actually see them—usually near the front edge when you enter the room. Use warm white bulbs (not icy blue), and keep them dim enough that they don’t overpower the rest of your decor. Budget tip: wrap lights around a wire wreath form inside the cabinet or tuck them behind a curtain of faux greenery for a soft backlit look.
Layer “Greenery + Metal” for a Modern Holiday Look
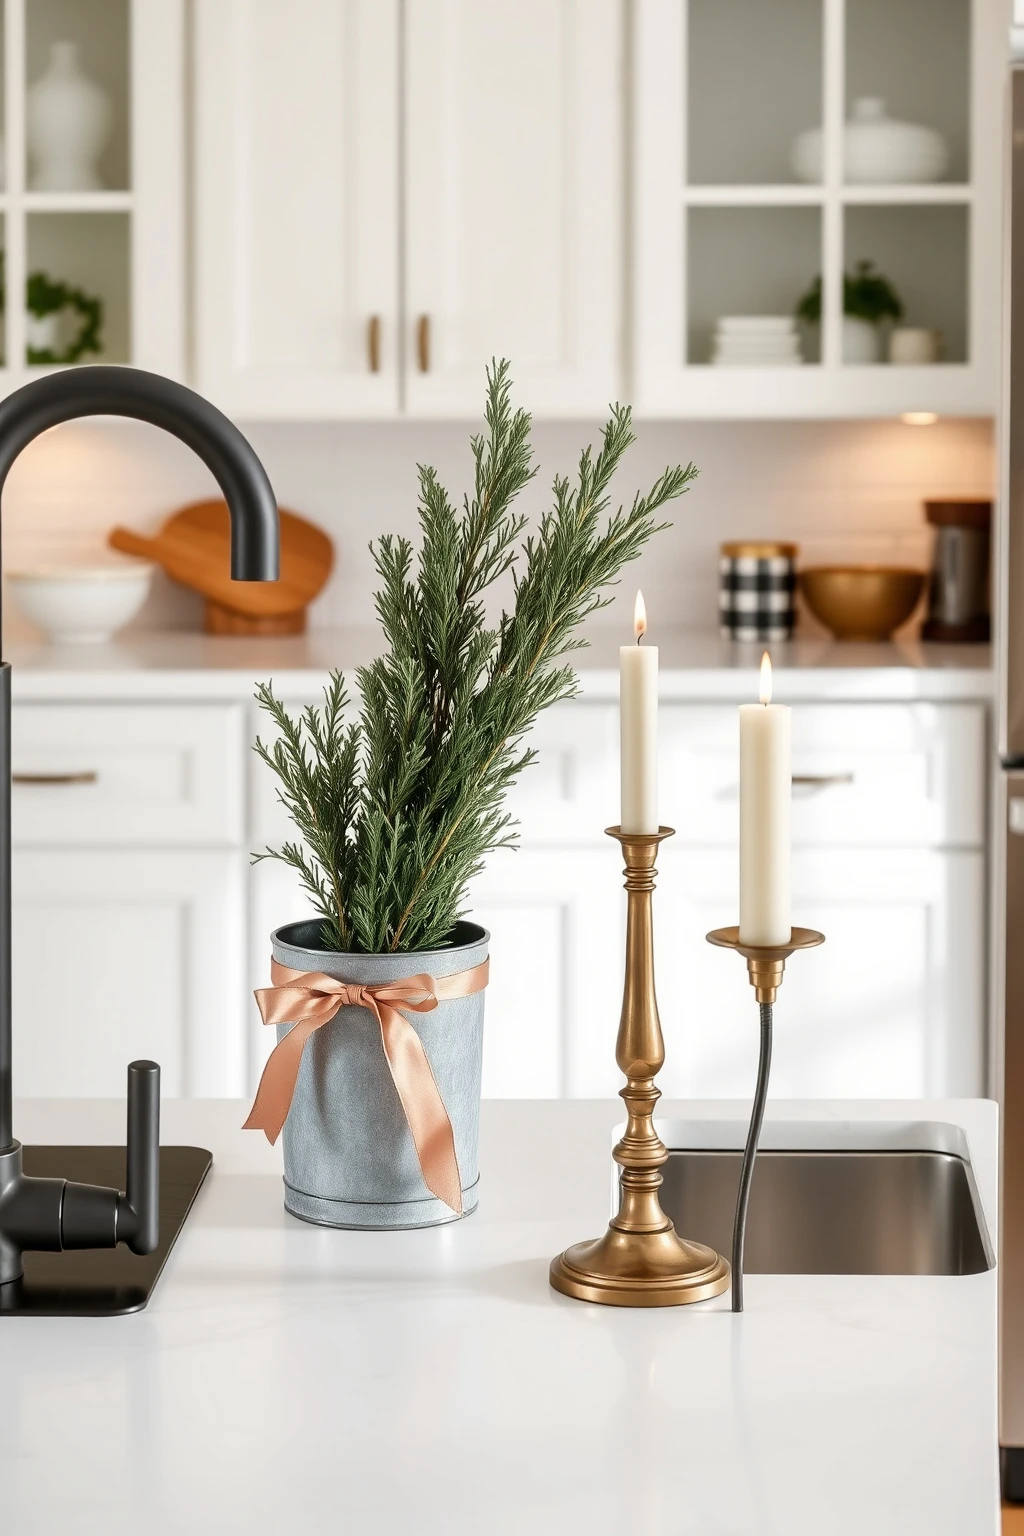
Traditional red-and-green can sometimes feel heavy in a sleek kitchen. If your kitchen already has a modern vibe—matte black fixtures, stainless steel, or white shaker cabinets—try a modern holiday mix: greenery plus metal accents.
Why it works: contrast. Green softens metal’s glare, and metal makes greenery look intentional instead of “crafty.” Use metallics sparingly: one galvanized bucket, one brass candlestick, or one tray in pewter. Add a single color accent only if needed, like a whisper of dusty rose in a small ribbon. Budget substitution: spray-paint thrifted items with metallic paint (use brass or pewter tones) and seal lightly so they don’t scuff on damp counters.
Refresh a Boring Chair Rail With a Mini Garland and Bells
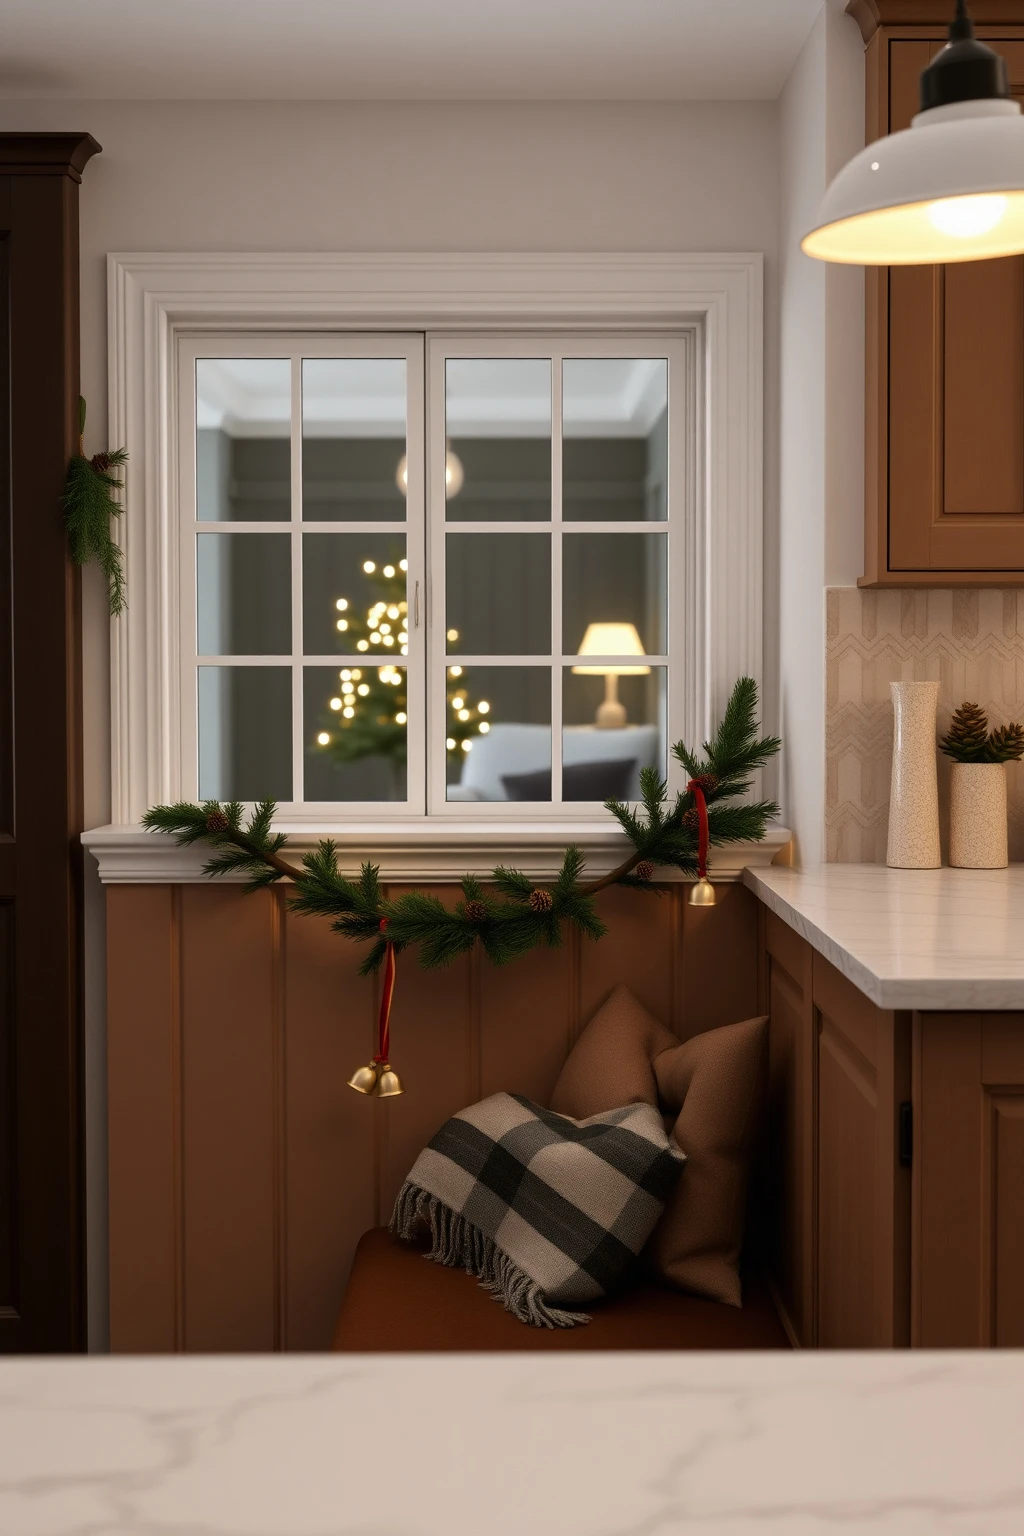
If your kitchen has a banquette or breakfast nook with a chair rail or ledge, you can make it feel festive without touching the counter. Add a mini garland (about 12–18 inches long) plus a pair of small bells or bell ornaments tied at the ends.
Why it works: it follows an architectural line you already have, so it looks integrated instead of pasted on. Keep scale in check—mini details read better on trim than full-size decorations in tight spaces. Use jute ribbon for the ties and keep bell colors consistent with your kitchen accents (brass bells if you have brass hardware, pewter if you have cooler metals). Budget tip: you can use leftovers—one bell ornament becomes two charms, and the rest is just trimming and placement.
Prevent “Holiday Grease” With a Dedicated Wipe-Clean Display Zone
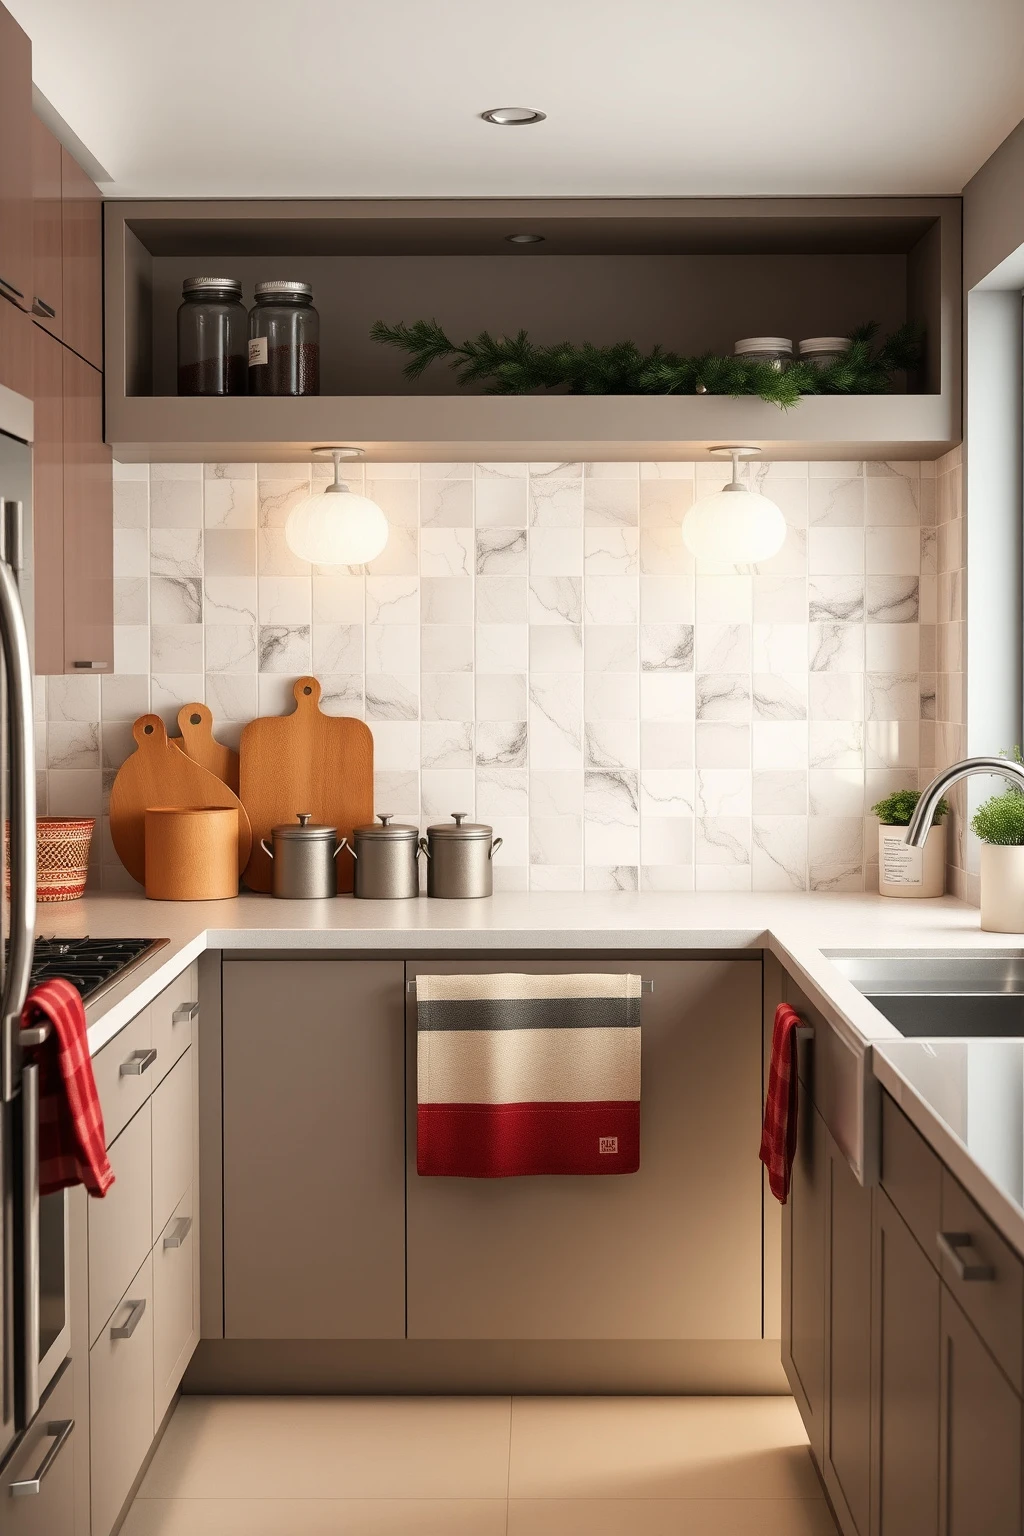
Here’s the part nobody tells you: kitchen decor has to survive real life. If your holiday items live in the same place you’re wiping crumbs, splattering sauce, or storing cooking tools, they’ll look tired quickly.
Why it works: you’re reducing maintenance and keeping your decor crisp, which directly affects how cozy and curated it feels. Choose one display zone far from the stove and sink—like the top of a cabinet, the inside of open shelves, or the back of a utensil wall—then keep all delicate decor there. For anything on counters, pick materials that wipe clean: glass, sealed ceramic, galvanized metal, or finished wood. If you do use fabric (towels, runner), place it so it doesn’t hang over splash-prone spots. The style stays fresh longer, and you’ll actually enjoy having it out.
Conclusion
If you remember one thing while you’re decorating, make it this: in a kitchen, the coziest look comes from control—one color story, one main focal zone, and decor that stays wipe-clean.
Choose a few high-impact pieces (textiles, light, greenery, and one tray or centerpiece) and let the rest of your space breathe. Your kitchen will feel holiday-ready without turning into a storage unit the day after Christmas.

Mush Decor
Writes about accessible, timeless interior styling for readers worldwide.
More about Mush DecorRelated articles
 Christmas Ideas
23 Fresh Greenery Front Door Christmas Ideas
Fresh greenery front door Christmas decor ideas: wreaths, garlands, bows, lights, and styling tips with real materials and measurements.
Read More Christmas Ideas
23 Classy Outdoor Christmas Lights (No Inflatables)
From warm-wreath porch lighting to architectural uplights, here are 23 classy outdoor Christmas light ideas that skip inflatables and stay elegant.
Read More Christmas Ideas
23 Whimsical Christmas Decor Ideas for the Whole House
Get playful Christmas styling across your whole home: whimsical wreaths, garlands, table ideas, mantel details, and lighting tips.
Read More